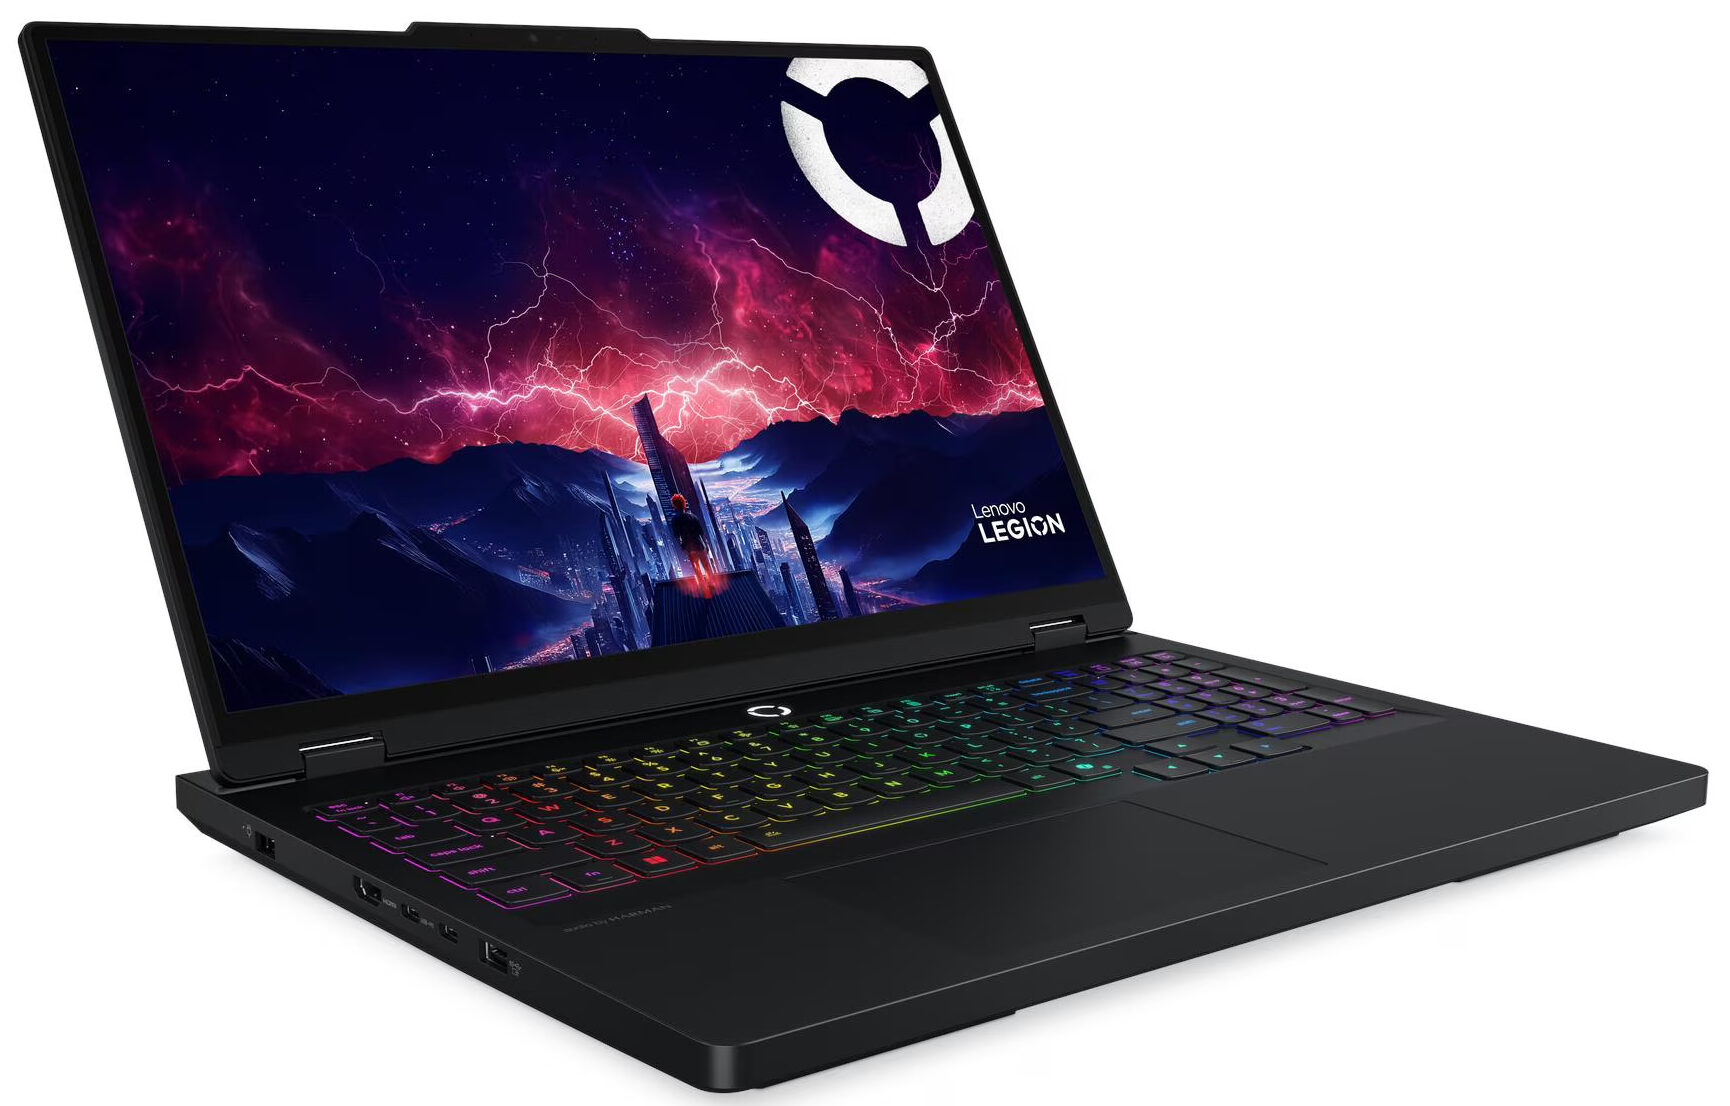
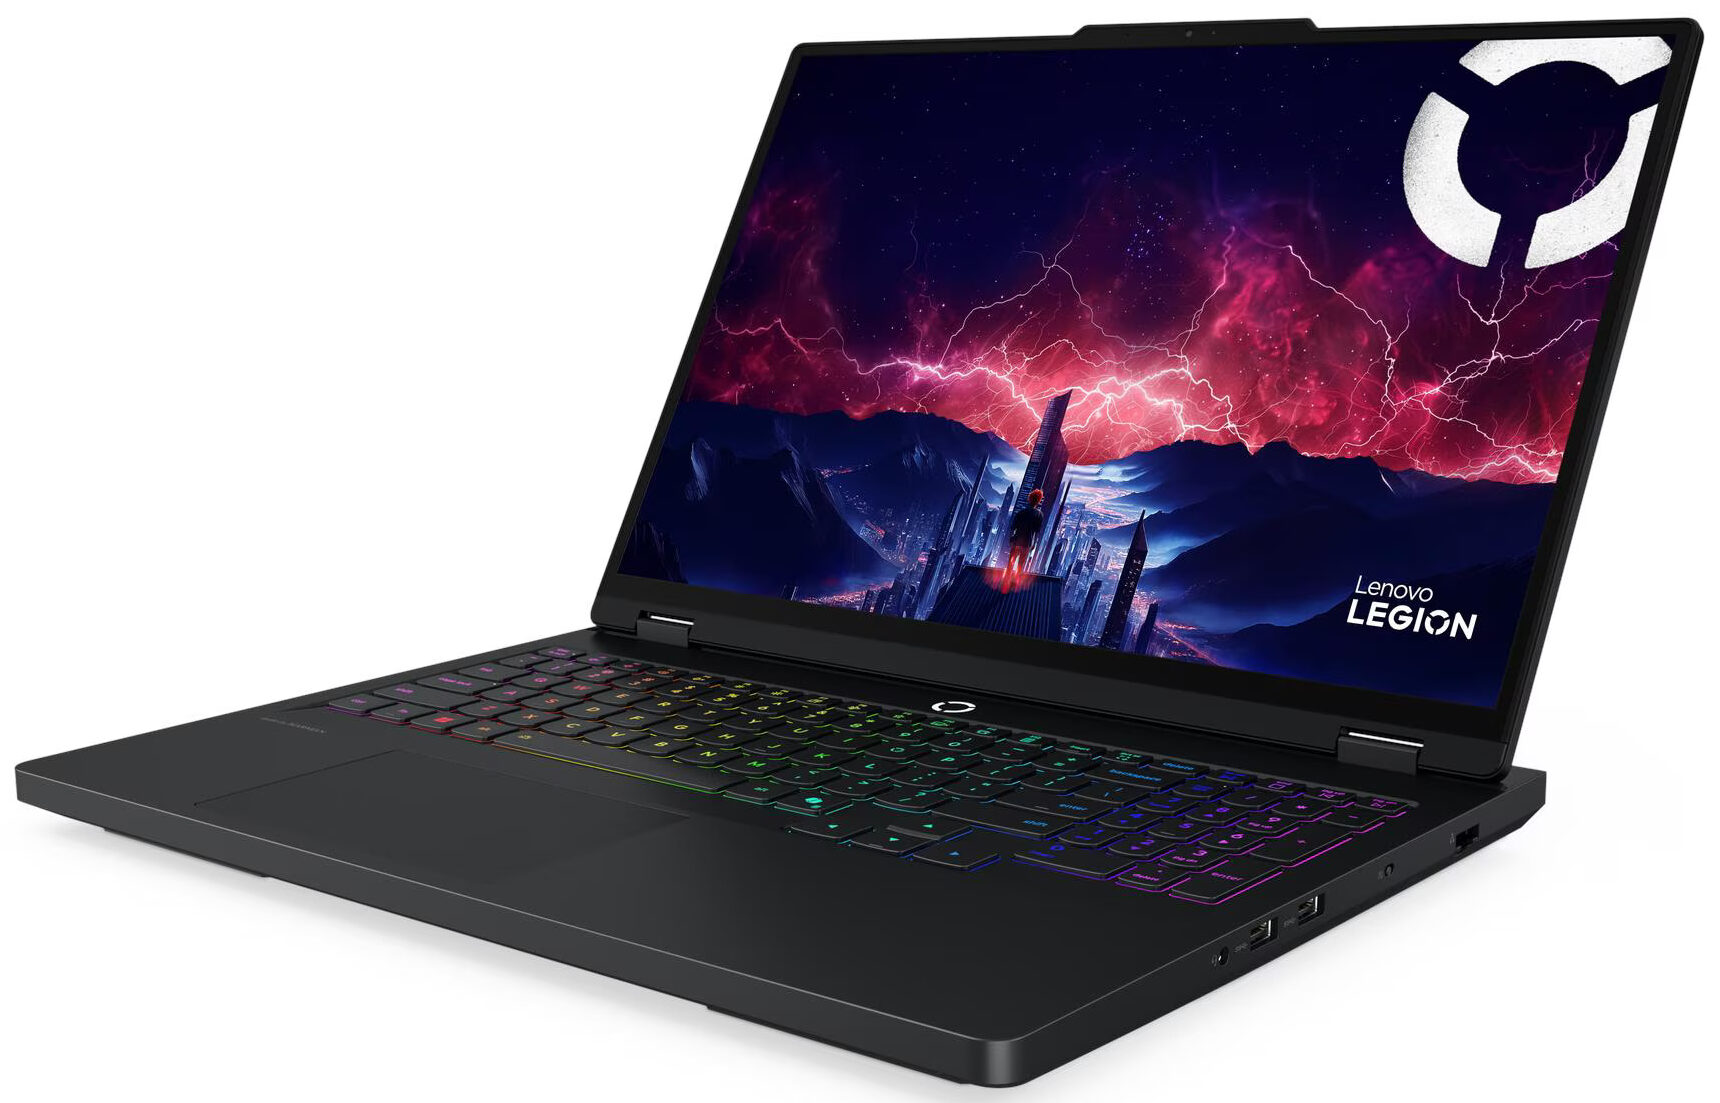
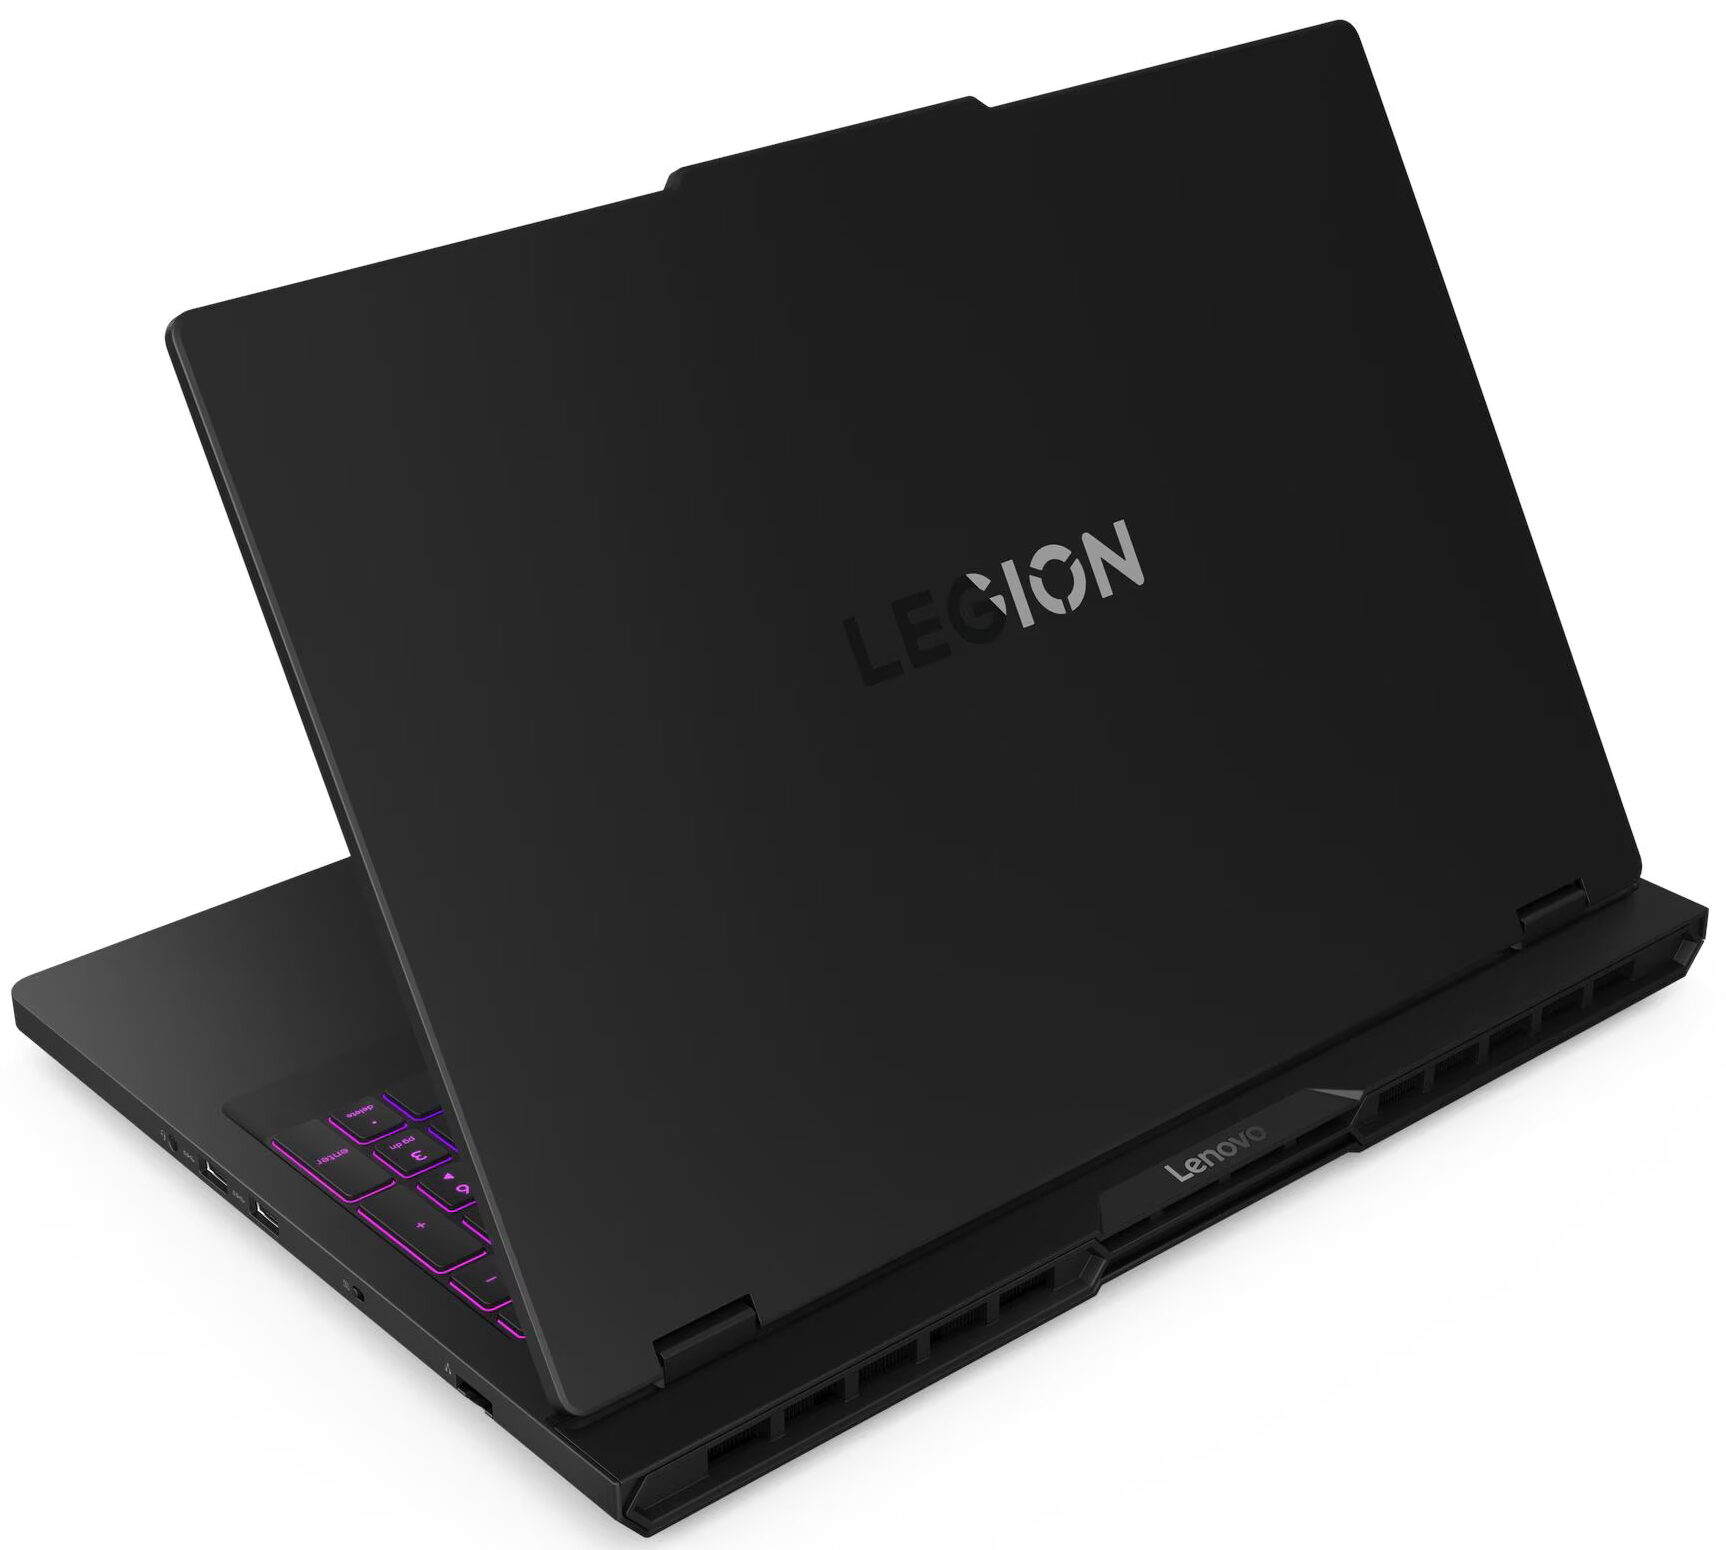
Lenovo Legion Pro 5
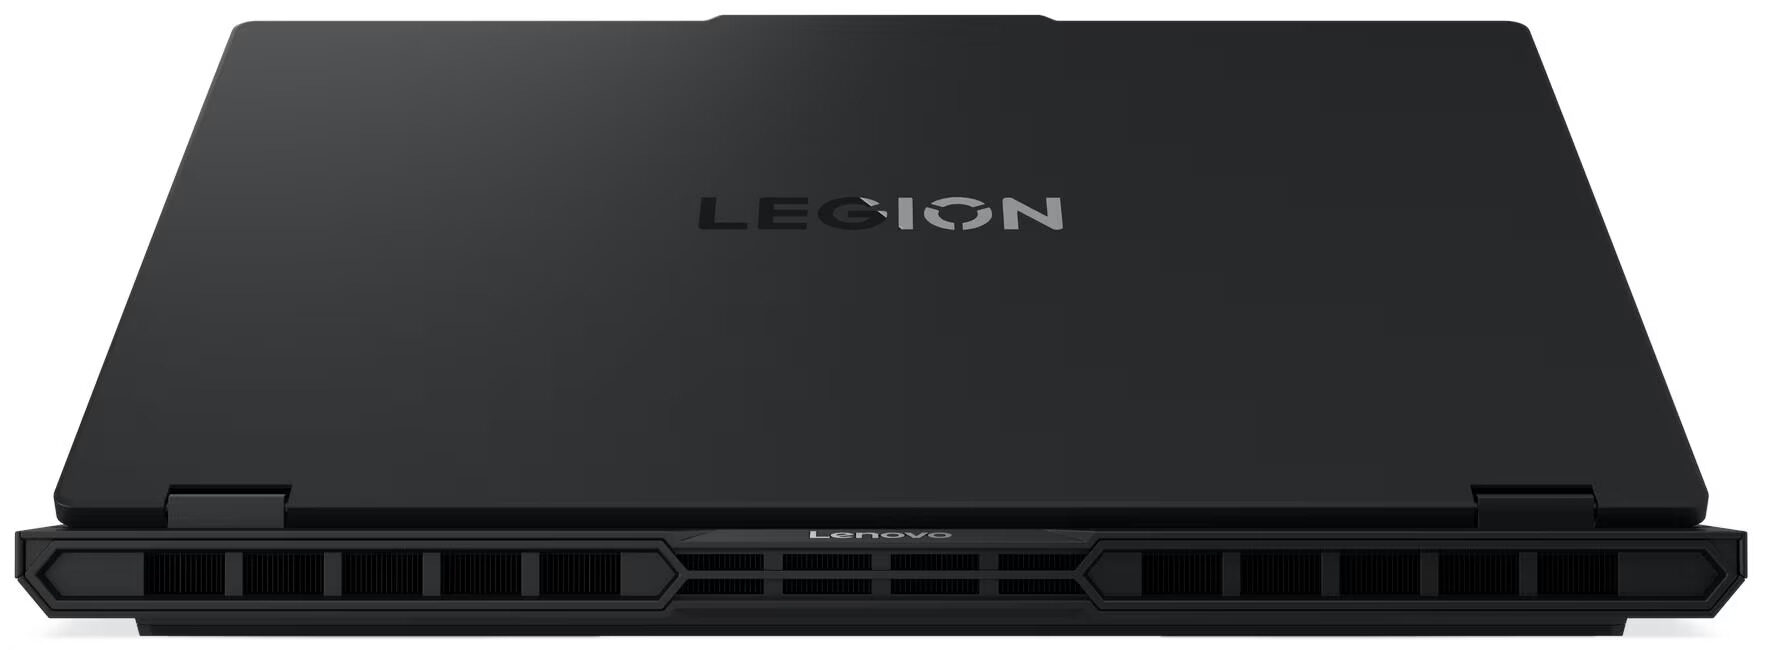
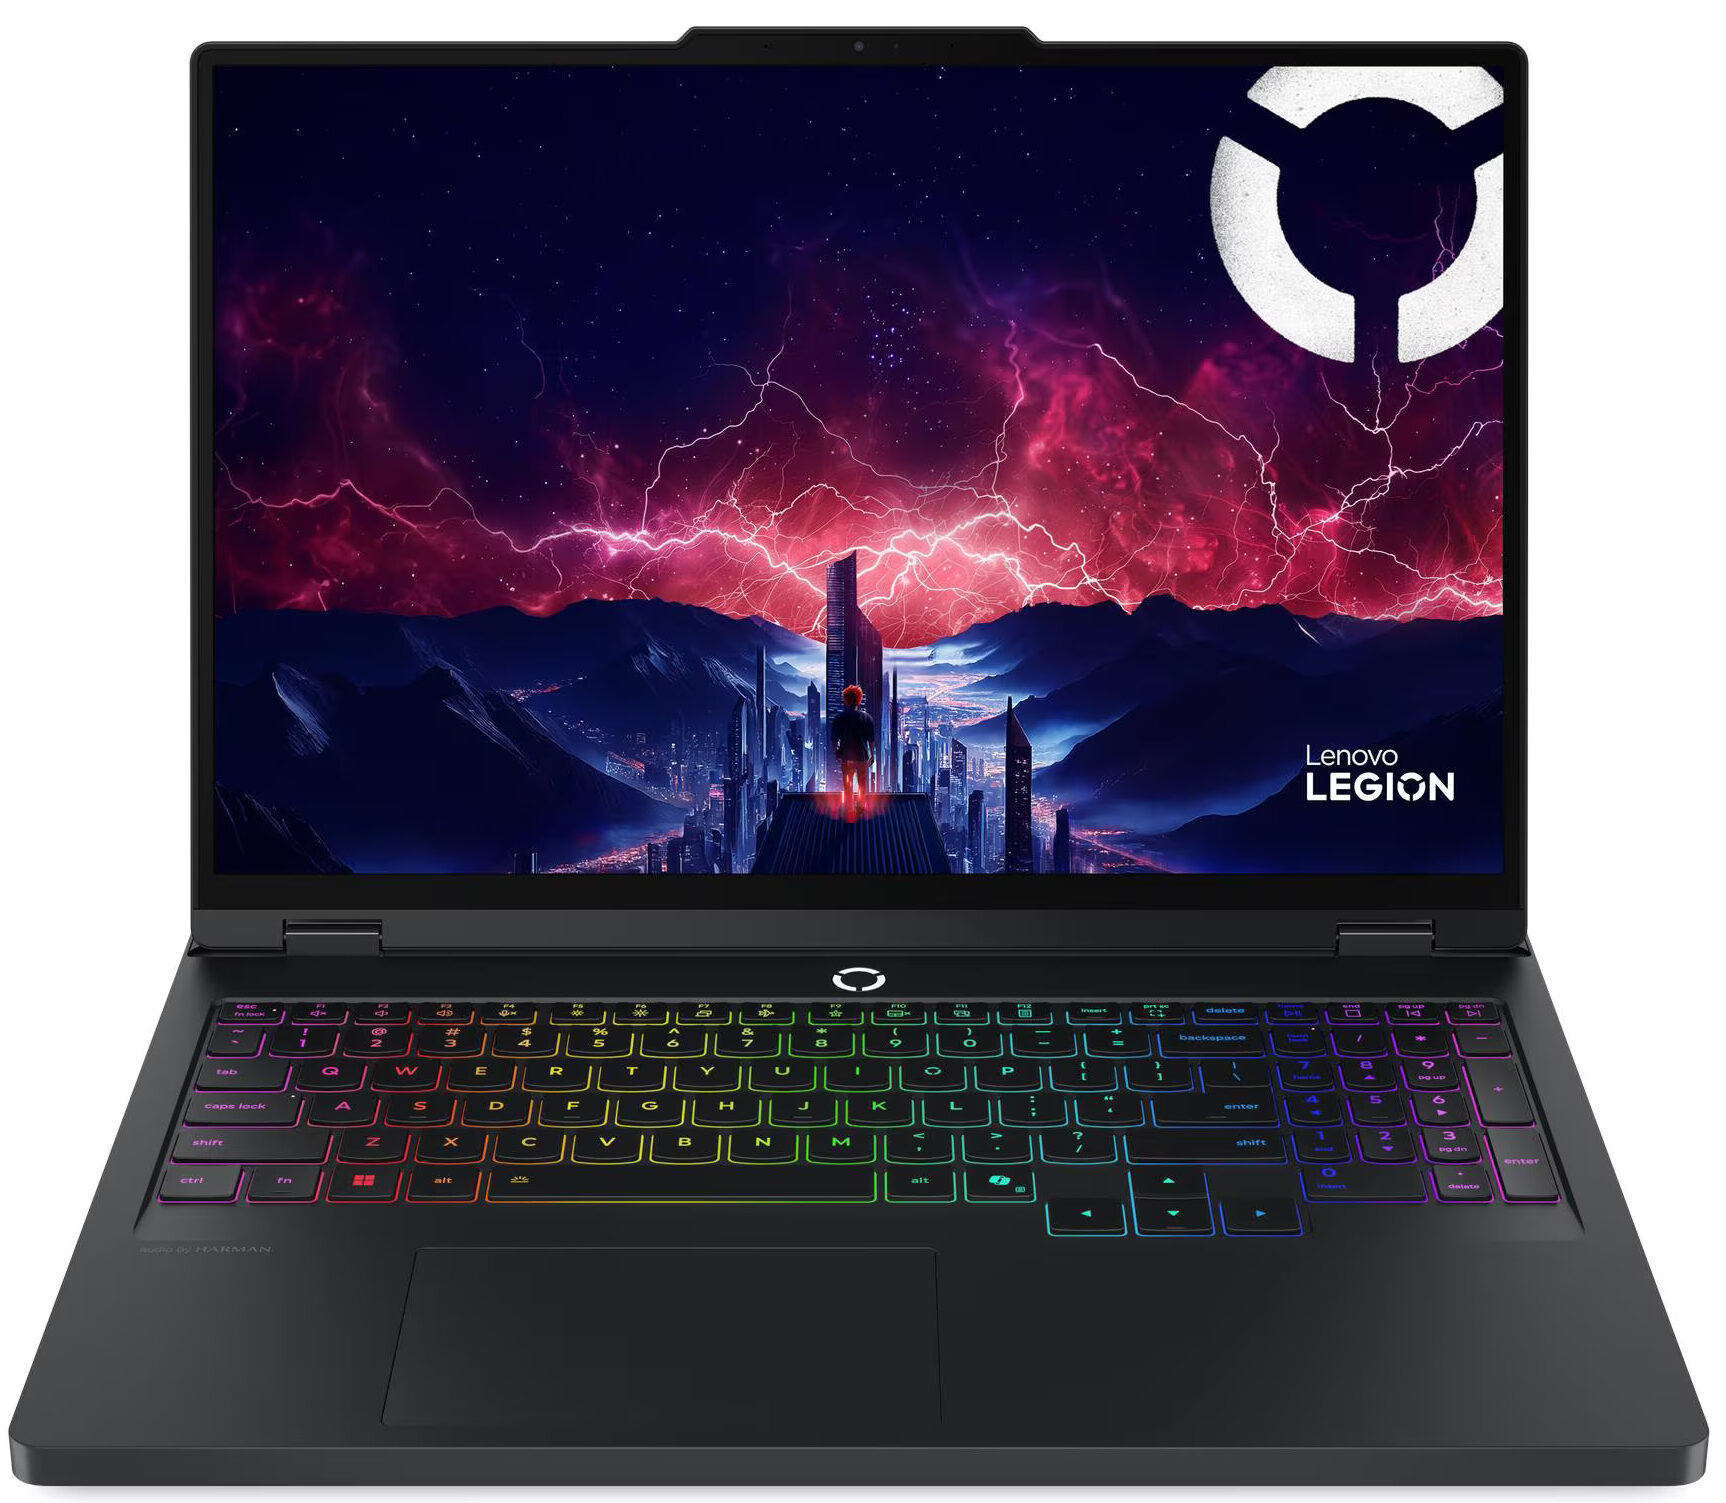
- Date Published: 18 Dec 2025
- AMD Ryzen 9 8945HX
- NVIDIA GeForce RTX 5060 (Laptop)
- 16.0", WQXGA (2560 x 1600), 240 Hz, IPS
- 4000GB SSD
- 64GB RAM
- 2.30 kg (5.1 lbs)
Review
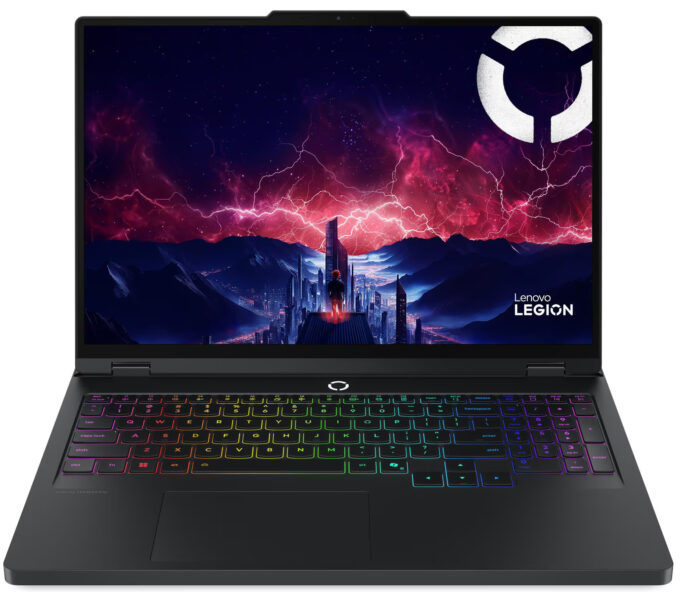
Lenovo Legion Pro 5 in-depth review
The Lenovo Legion Pro 5 (16", Gen 10) arrives with a singular purpose: to deliver the absolute best gaming performance in its class, wrapped in a chassis that means business. It doesn't rely on flashy gimmicks or overly aggressive styling; instead, it lets its benchmarks do the talking. And talk they do - in our testing, this unassuming machine shattered expectations, clocking in as the fastest RTX 5060 laptop we have ever reviewed. But this relentless pursuit of speed comes with a significant compromise that tethers it to the wall. Is record-breaking performance enough to make you overlook a battery life that feels stuck in the past?You can check the prices and configurations in our Specs System: https://laptopmedia.com/series/lenovo-legion-pro-5-16-gen-10/Specs, Drivers[...]
Read the full review
Pros
- Record-breaking GPU performance (fastest RTX 5060 tested)
- Excellent thermal management for the GPU
- Great display options, including a stunning OLED panel
- Fantastic upgradeability with two RAM and two 2280 M.2 slots
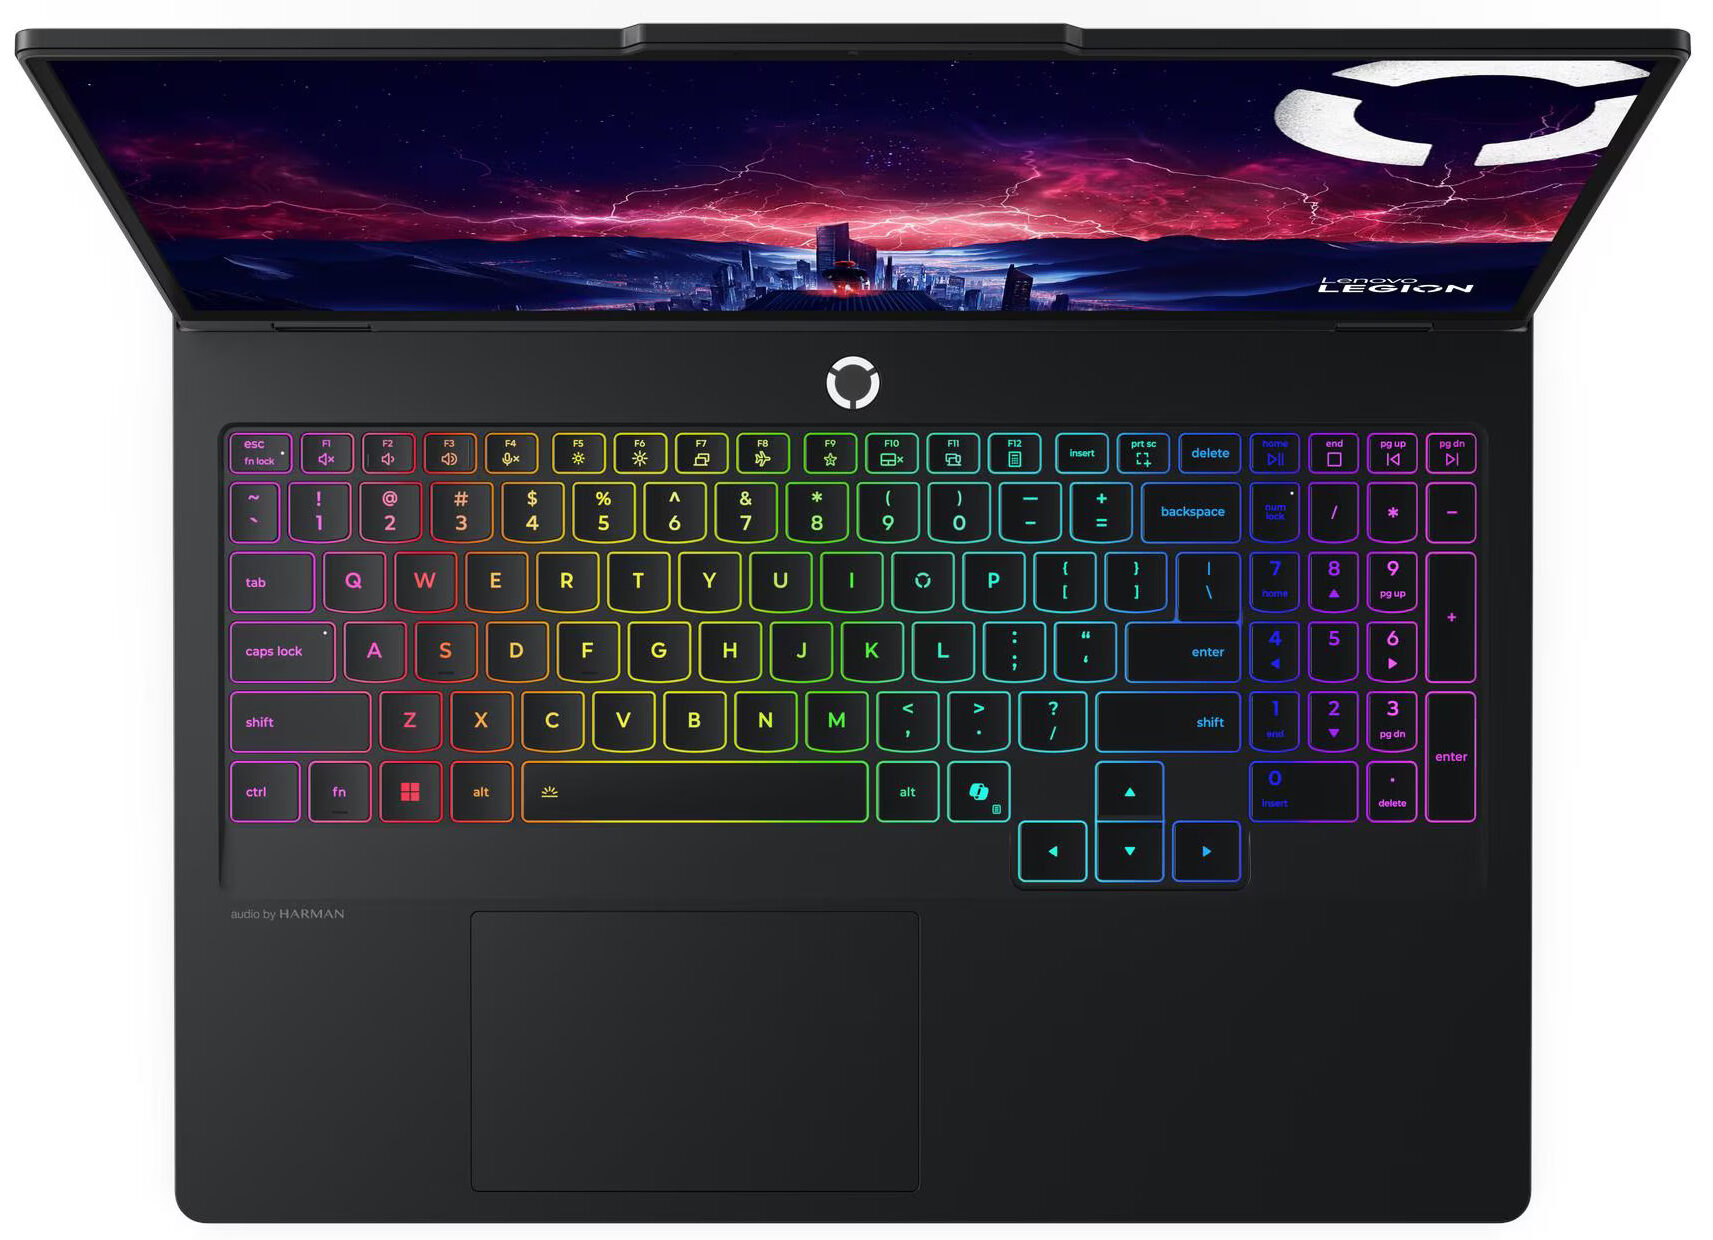
- Comfortable keyboard with full-sized arrow keys
- PWM-free screen is great for eye comfort
Cons
- Extremely poor battery life (under 3 hours)
- CPU runs hot under sustained heavy load
Disassembly, maintenance and upgrade options
Step 1: Opening the Lenovo Legion Pro 5 (16″, Gen 10)Power off the laptop and place it on a soft, clean surface. Remove the 10 screws securing the bottom panel. Use a thin plastic pry tool to release the clips around the edges. Work carefully so the tool doesn't dip too far into the chassis and touch internal components. Lift the bottom cover away from the base.More info: Once inside, the layout is well organized, with clearly separated cooling, memory, storage, wireless, and battery zones. Step 2: Battery RemovalDisconnect the battery ca[...]
Read more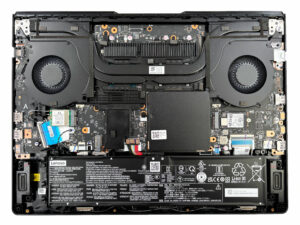


![[June 2026] Best-Selling Laptop Brands on Amazon Global – Apple’s Unrivaled Dominance in Units and Revenue](https://laptopmedia.com/wp-content/uploads/2026/07/GLOBAL-Best-Brands-400x225.jpg)
![[June 2026] Amazon Global: Top 10 Best-Selling Laptops – Apple’s New MacBook Neo Storms to #1, Reshaping the Market with Affordability](https://laptopmedia.com/wp-content/uploads/2026/07/Best-Selling-Laptops-GLOBAL-Top-10-400x225.jpg)
![[June 2026] Amazon Global: Top 10 Best-Selling Gaming Laptops – Acer’s Nitro V 16S AI Dominates Sales, While ASUS Leads Overall Revenue](https://laptopmedia.com/wp-content/uploads/2026/07/Best-Selling-Gaming-Laptops-GLOBAL-Top-10-400x225.jpg)
![[June 2026] Global Ranking of Best-Selling Laptop GPUs on Amazon – NVIDIA RTX 5060 is the Top-Selling Dedicated GPU](https://laptopmedia.com/wp-content/uploads/2026/07/Best-Selling-GPUs-GLOBAL-Top-10-400x225.jpg)
![[June 2026] Global Ranking of Best-Selling Laptop CPUs on Amazon – Apple M5 Dominates, AMD Ryzen 7 260 Gets Solid Premium Share](https://laptopmedia.com/wp-content/uploads/2026/07/Best-Selling-CPUs-GLOBAL-Top-10-400x225.jpg)