How to open ASUS ROG Xbox Ally X (2025) – disassembly and upgrade options
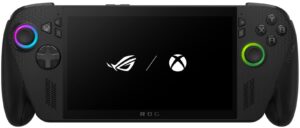
Before you start: Power the device off completely, disconnect the charger and any accessories, and hold the power button for a few seconds to discharge residual power. Work on a clean, soft surface to avoid scratching the shell.
How to open the back shell
- Place the Ally X face down, with the rear shell facing up. Make sure the thumbsticks and triggers aren’t pressing against the table.
- Undo all visible screws around the perimeter of the back shell using a suitable precision driver (Torx or Phillips, depending on the revision). Keep track of their positions and lengths for reassembly.
- Starting from a flat edge, insert a thin plastic pry tool between the back shell and the frame. Gently twist the tool to release the first clip.
- Work your way around the sides and top, releasing the clips step by step. Avoid prying near the triggers too aggressively to prevent flexing the shoulder-button PCBs.
- Once all clips are free, lift the back shell away from the device and set it aside.
Battery removal and replacement
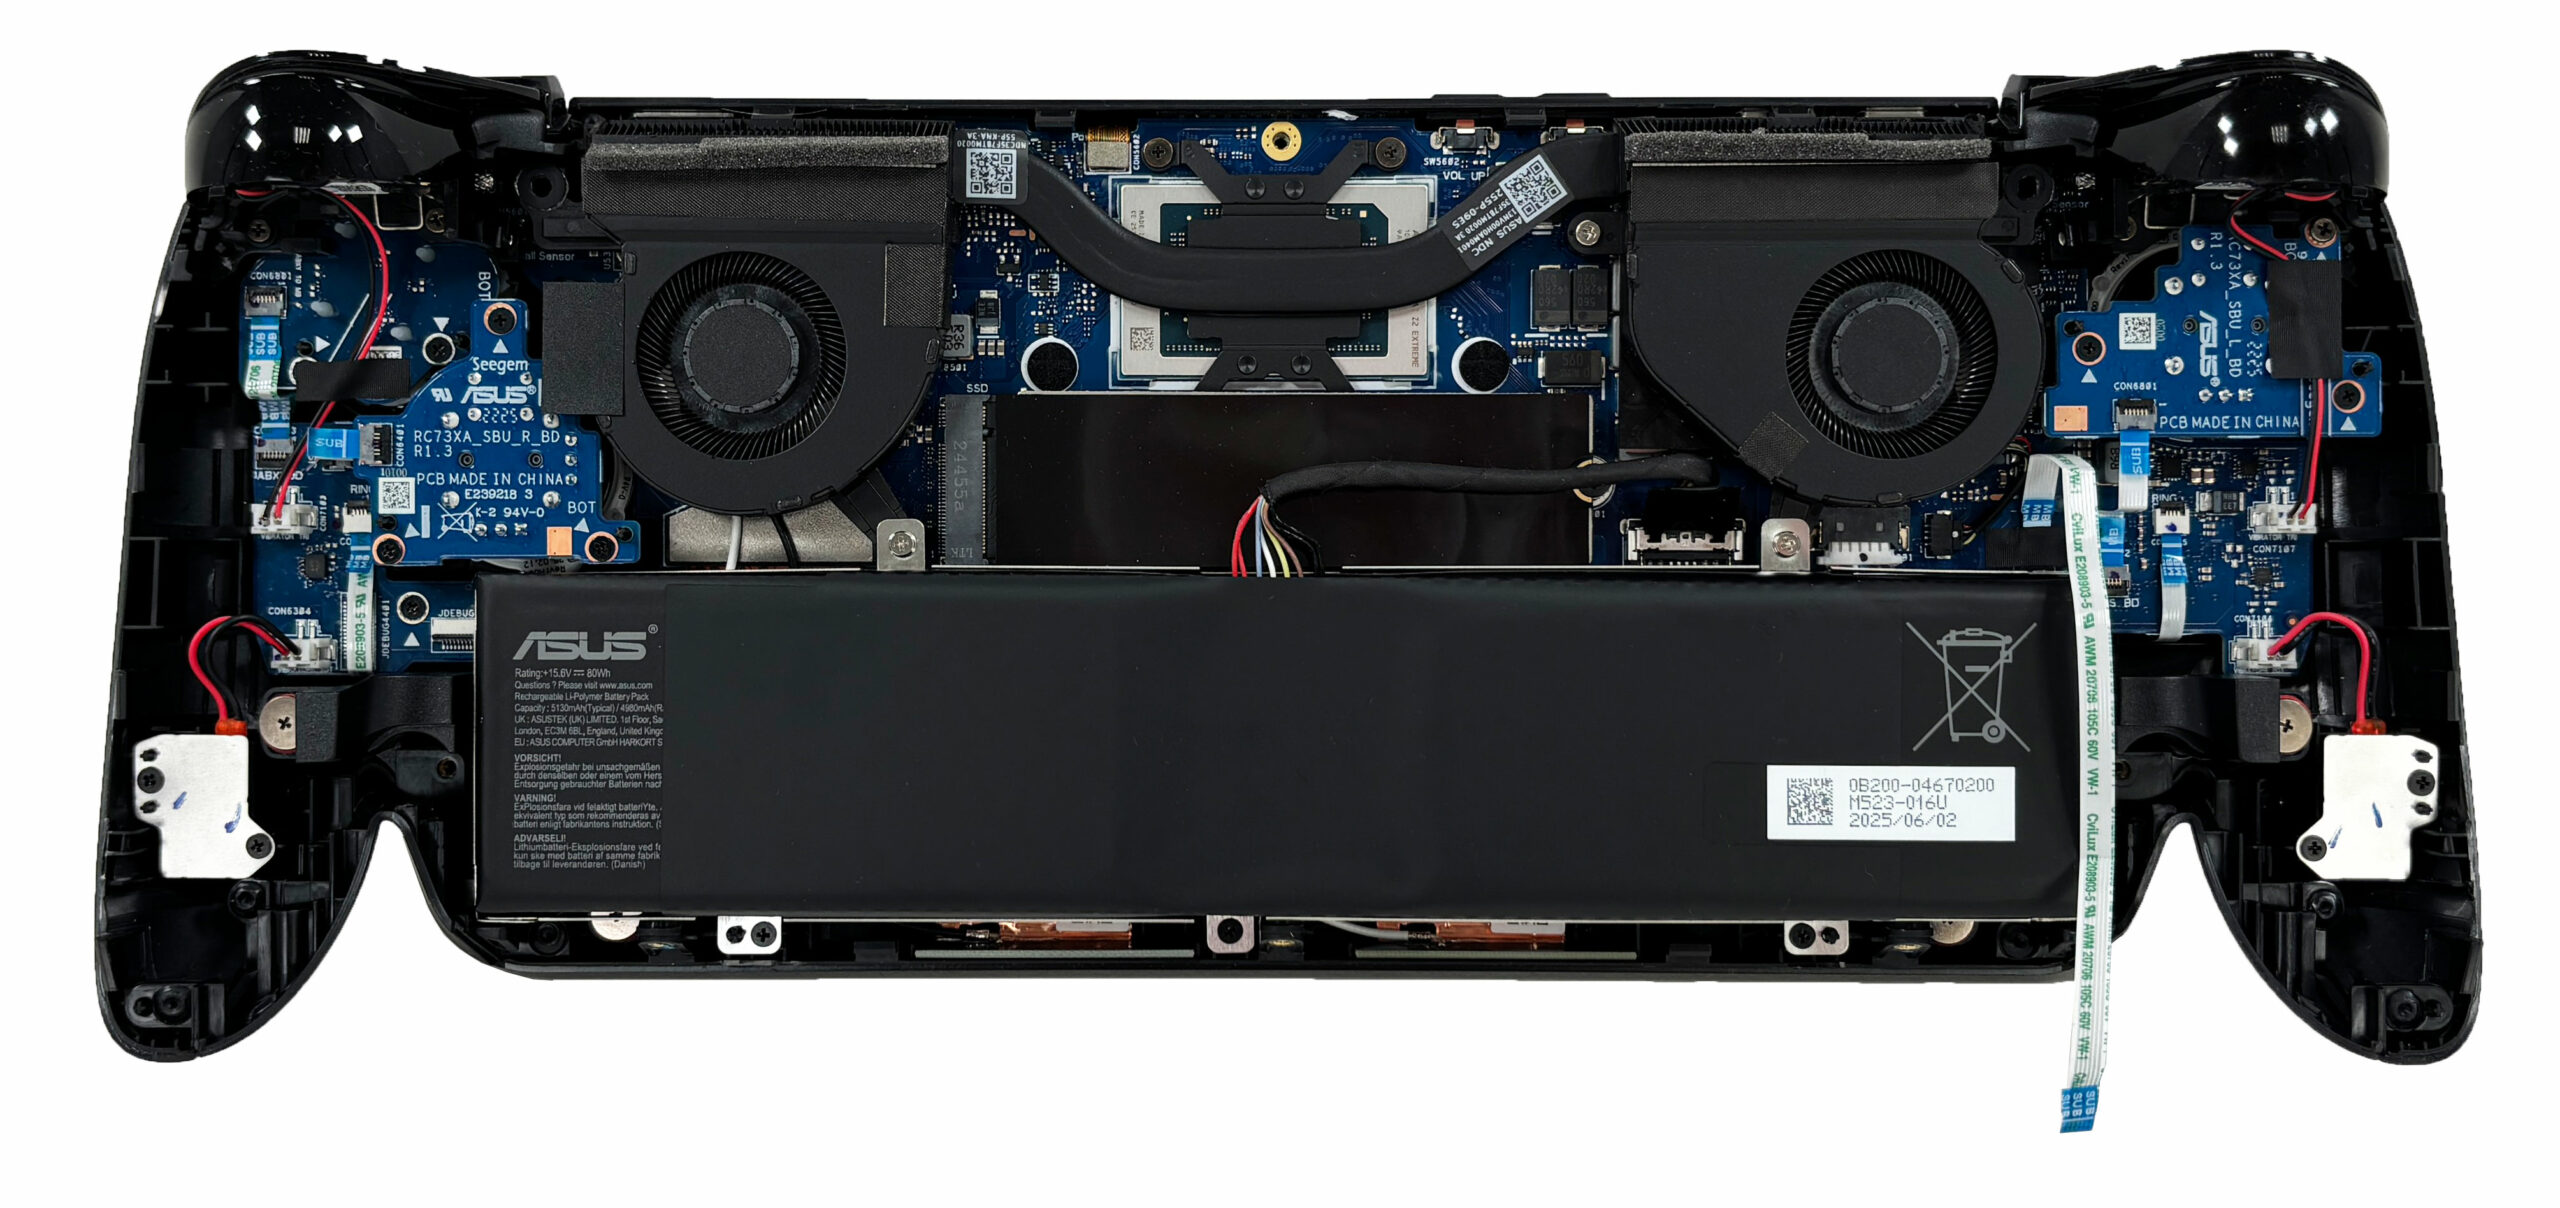
- Locate the 80Wh battery pack at the bottom of the device.
- Before touching other components, disconnect the battery. Gently lift the straight-up pull plug from the board, applying equal pressure on both sides of the connector. Do not lever it by a single corner.
- Undo the screws that secure the battery to the chassis.
- Lift the battery out of its bay, making sure you don’t pinch speaker or button-flex cables routed nearby.
- To install a new pack, position it in the same place, tighten the screws, and firmly reconnect the battery plug.
Memory (RAM) information
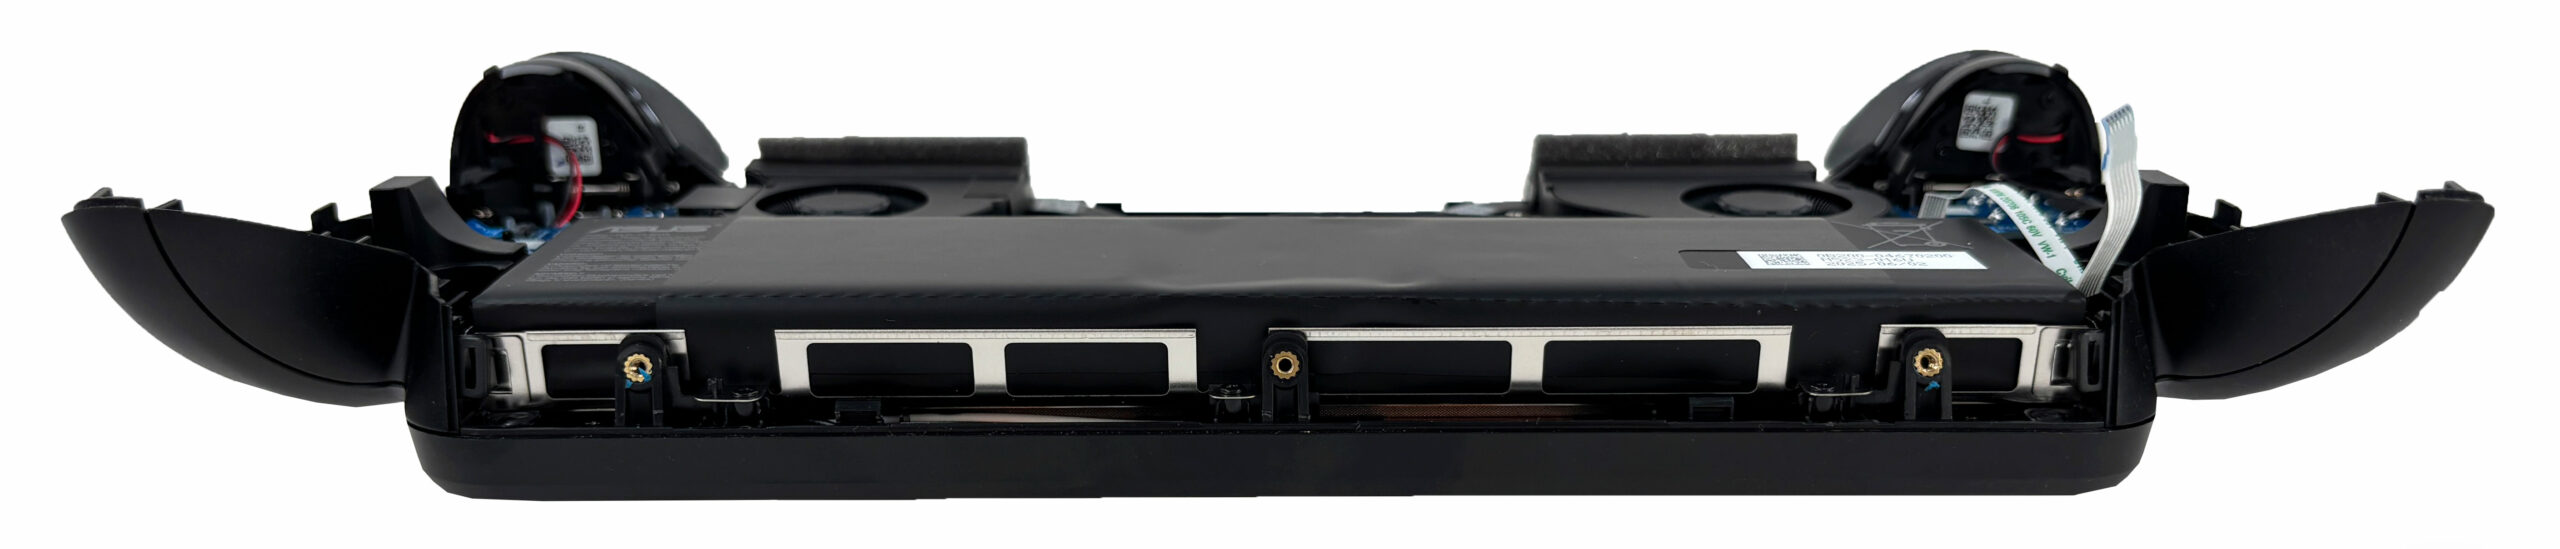
- The system memory is not user-upgradeable. The Ally X comes with 24GB of LPDDR5X RAM soldered to the motherboard, running in dual-channel mode for maximum bandwidth.
- Since there are no SO-DIMM slots, you have to choose your preferred capacity at purchase – RAM replacement or expansion isn’t possible without board-level work.
Storage upgrade options
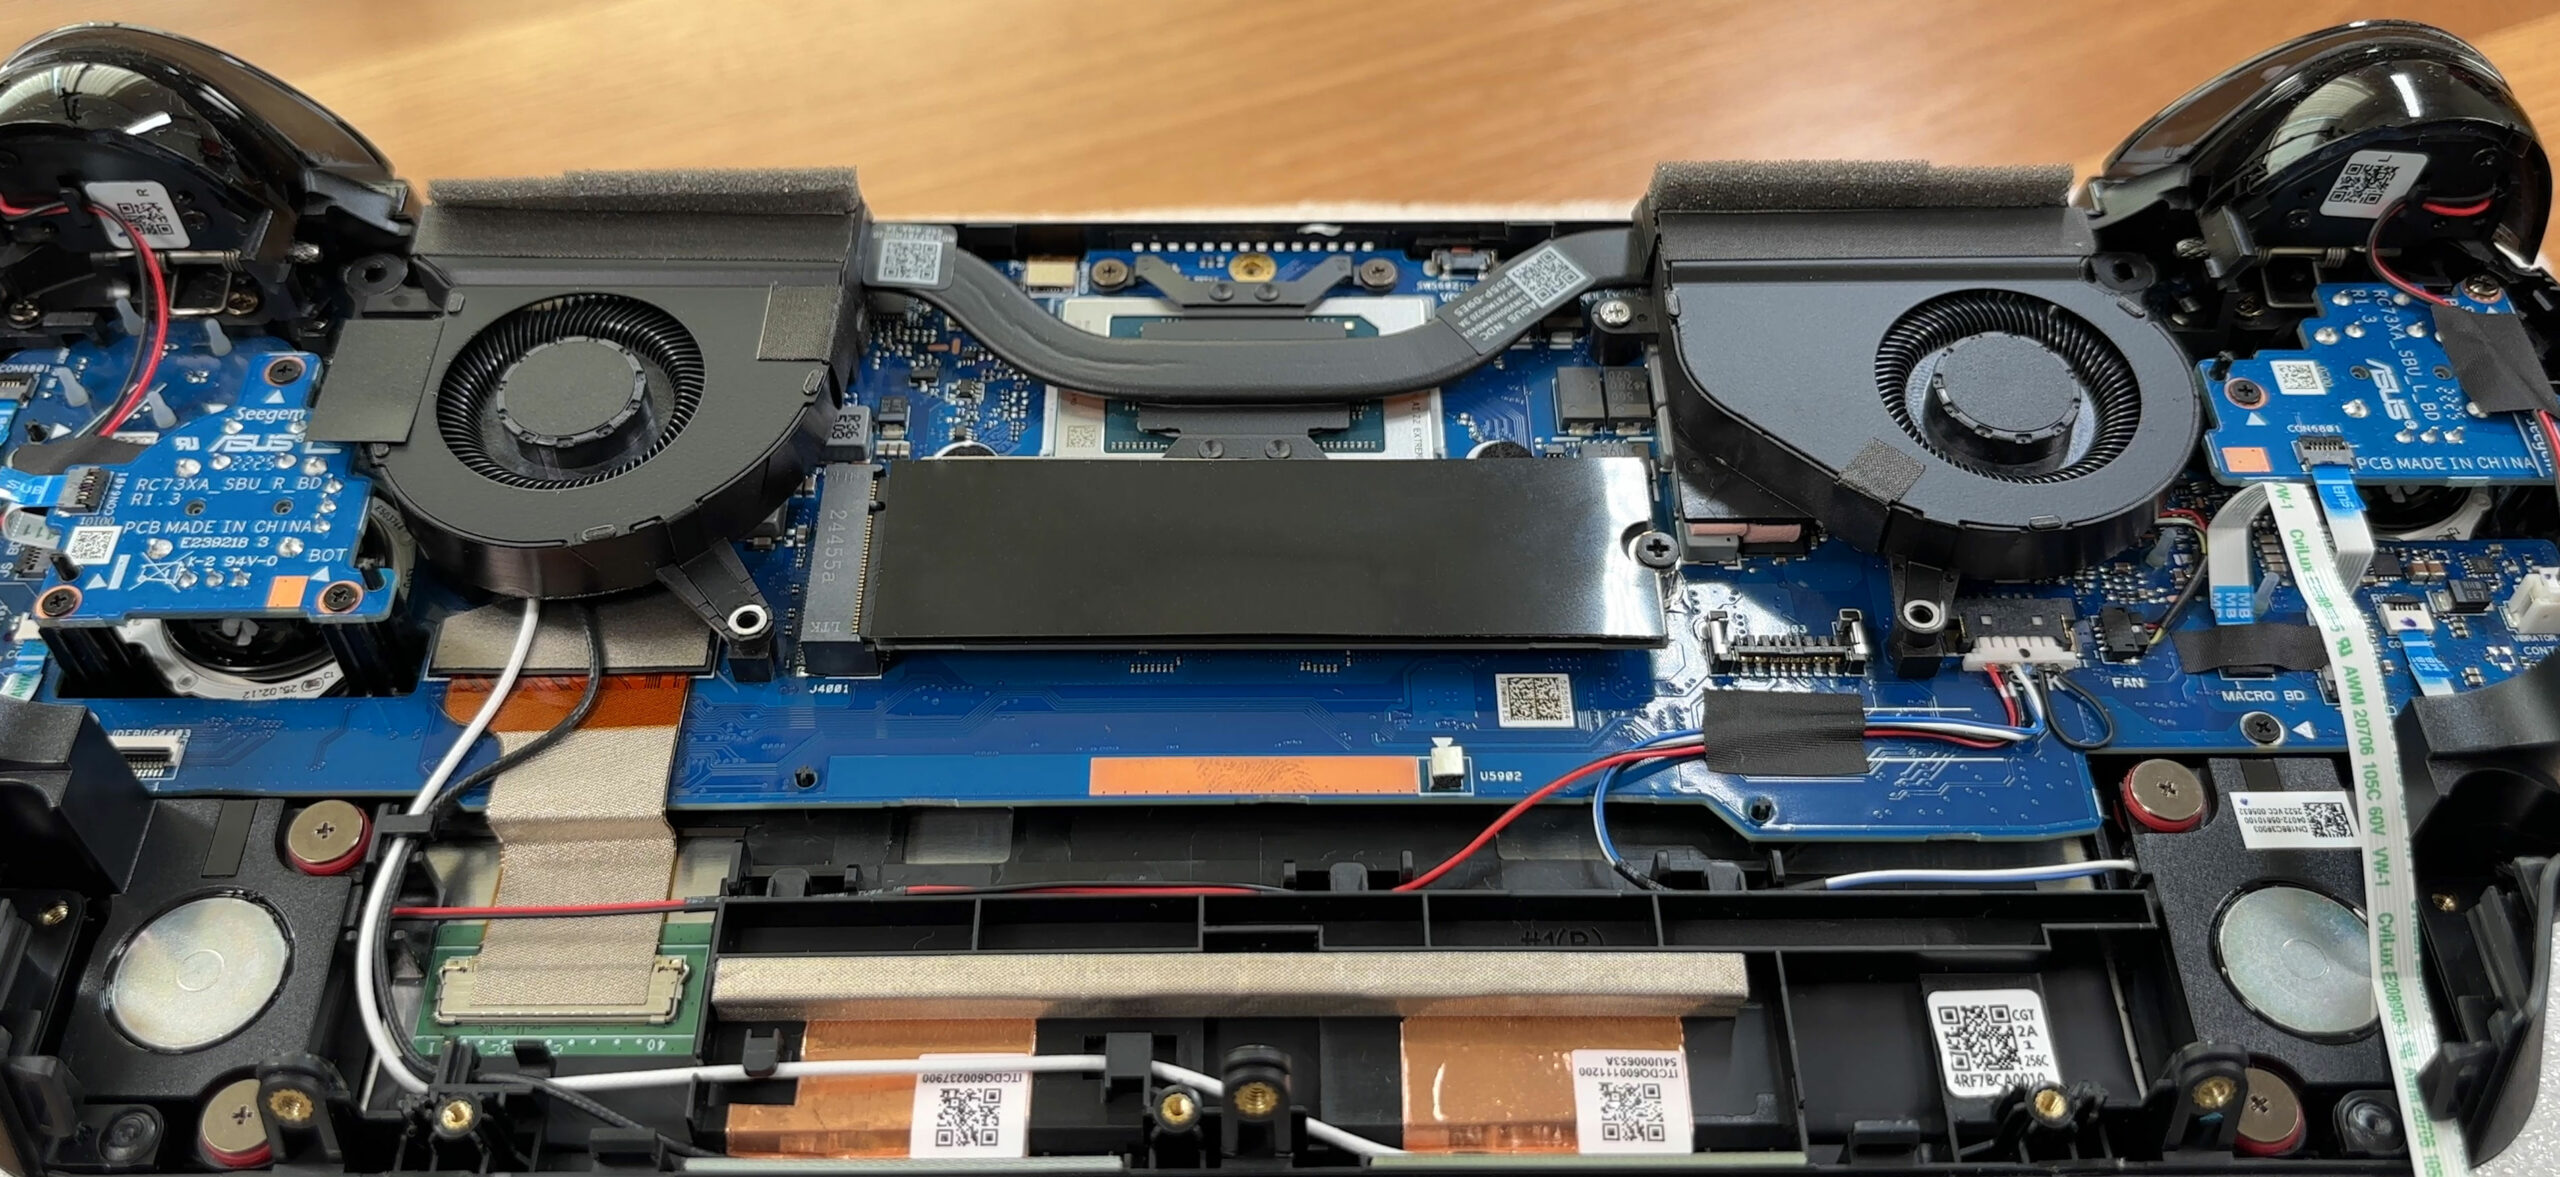
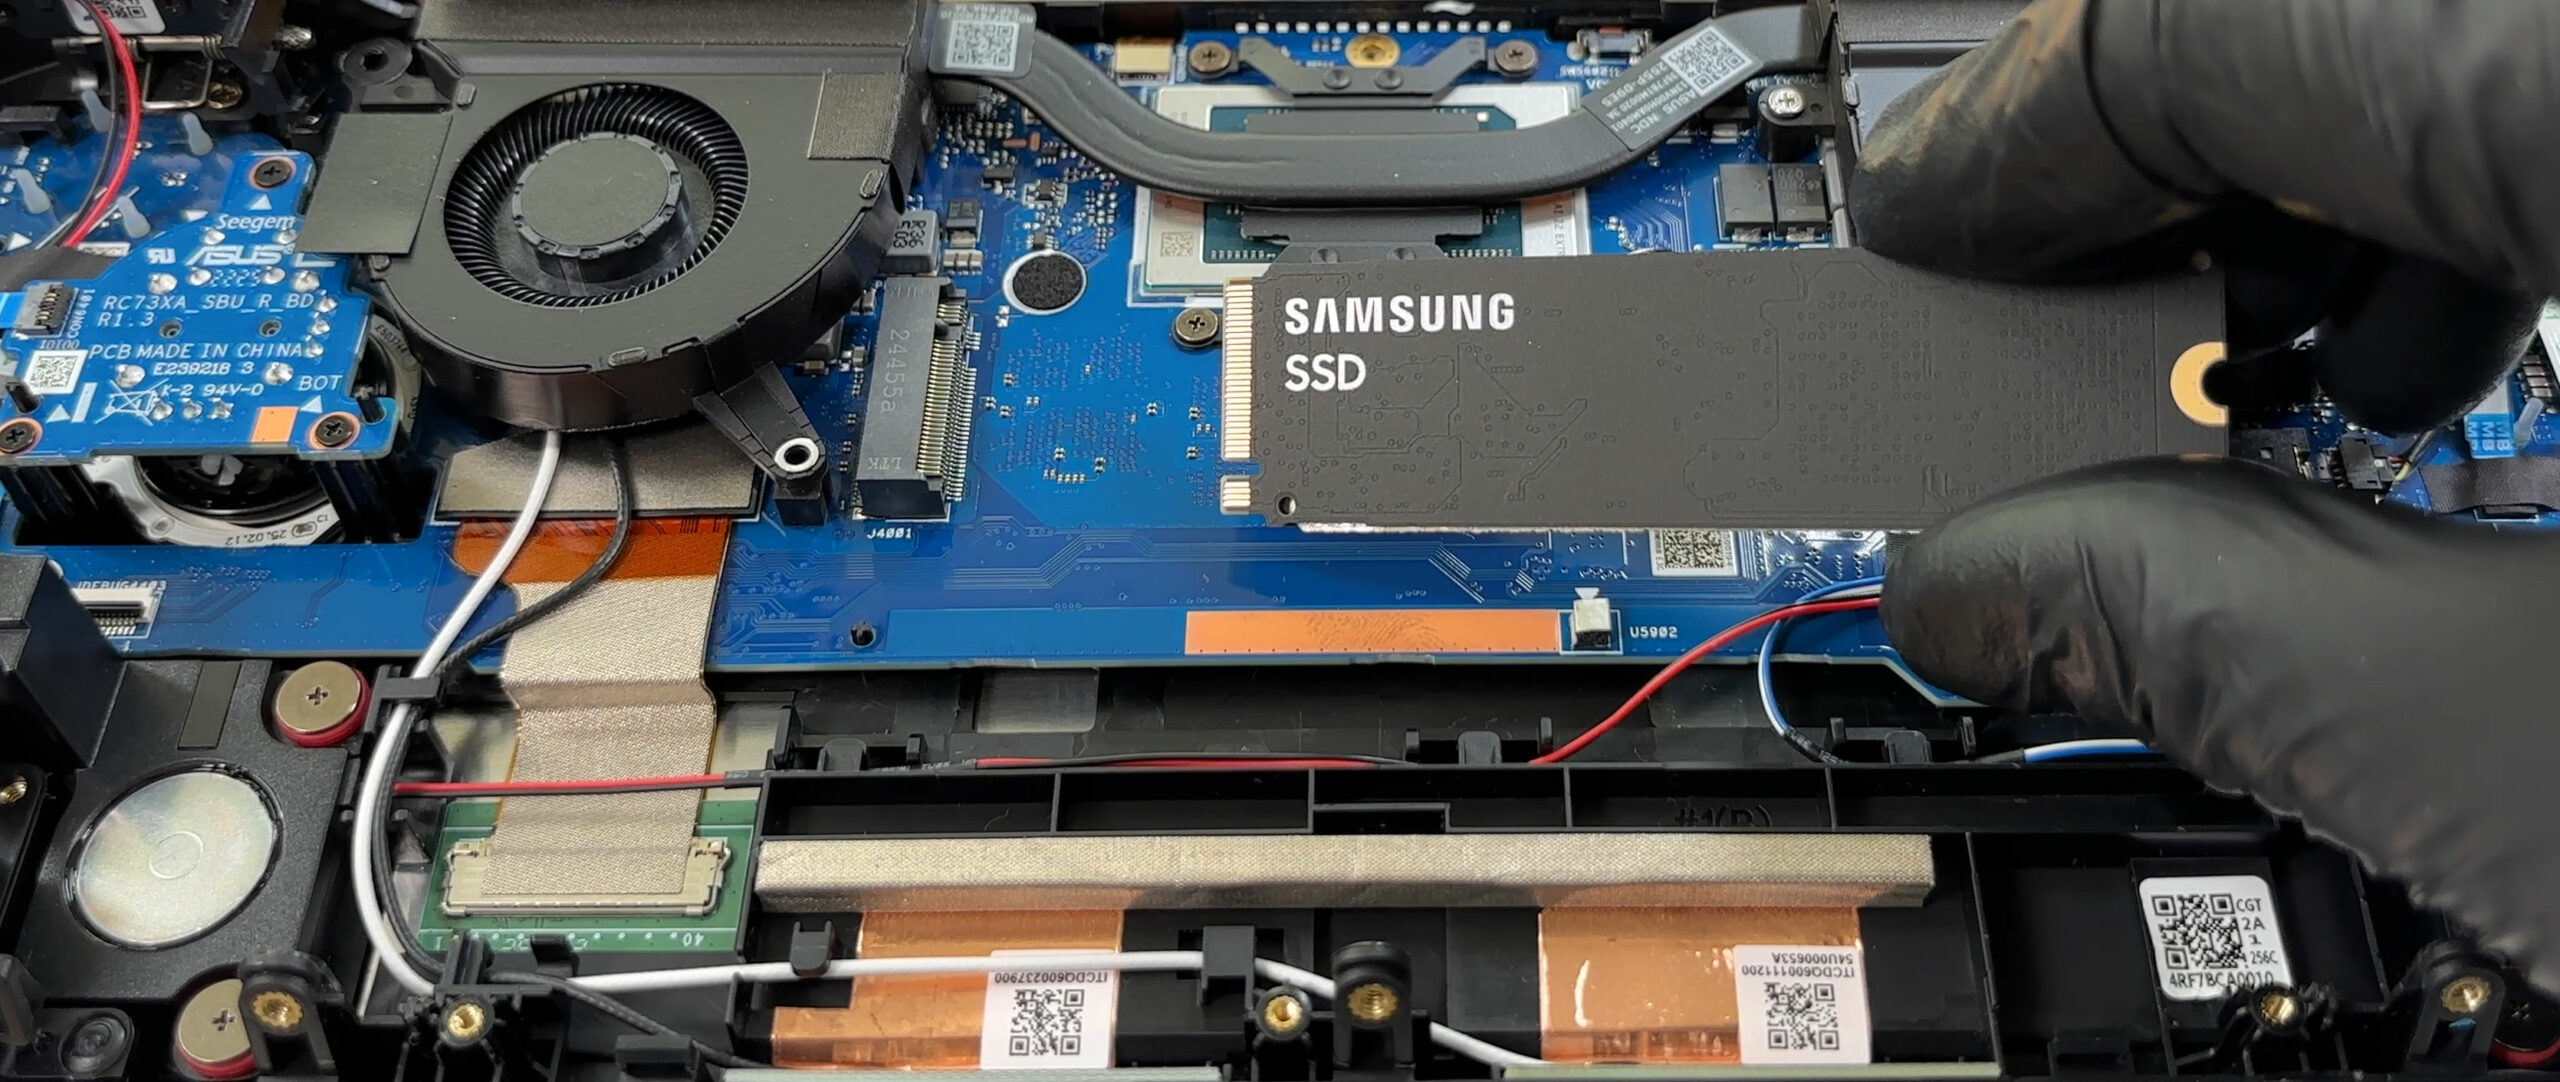
- Locate the single M.2 2280 slot on the motherboard. It is wired for PCIe 4.0 NVMe drives and typically comes populated with a 1TB SSD from the factory.
- The drive is covered by EMI shielding and a thermal interface (pad or film). Carefully lift or peel the shield so you can access the SSD, keeping it intact for reuse later.
- Undo the single screw that secures the SSD. The drive will spring up at an angle.
- Pull the SSD straight out of the connector.
- Insert the new PCIe 4.0 NVMe drive at a shallow angle, push it into the slot fully, then press it down and secure it with the screw.
- Reinstall the EMI shield and thermal interface so the drive maintains proper electrical shielding and heat transfer.
You can buy PCIe 4.0 NVMe SSDs here: Buy from Amazon.com (#CommissionsEarned)
Hint: Consider reviewing our Top M.2 SSDs Performance Rankings to select the best storage solution for your needs.
Cooling system and maintenance
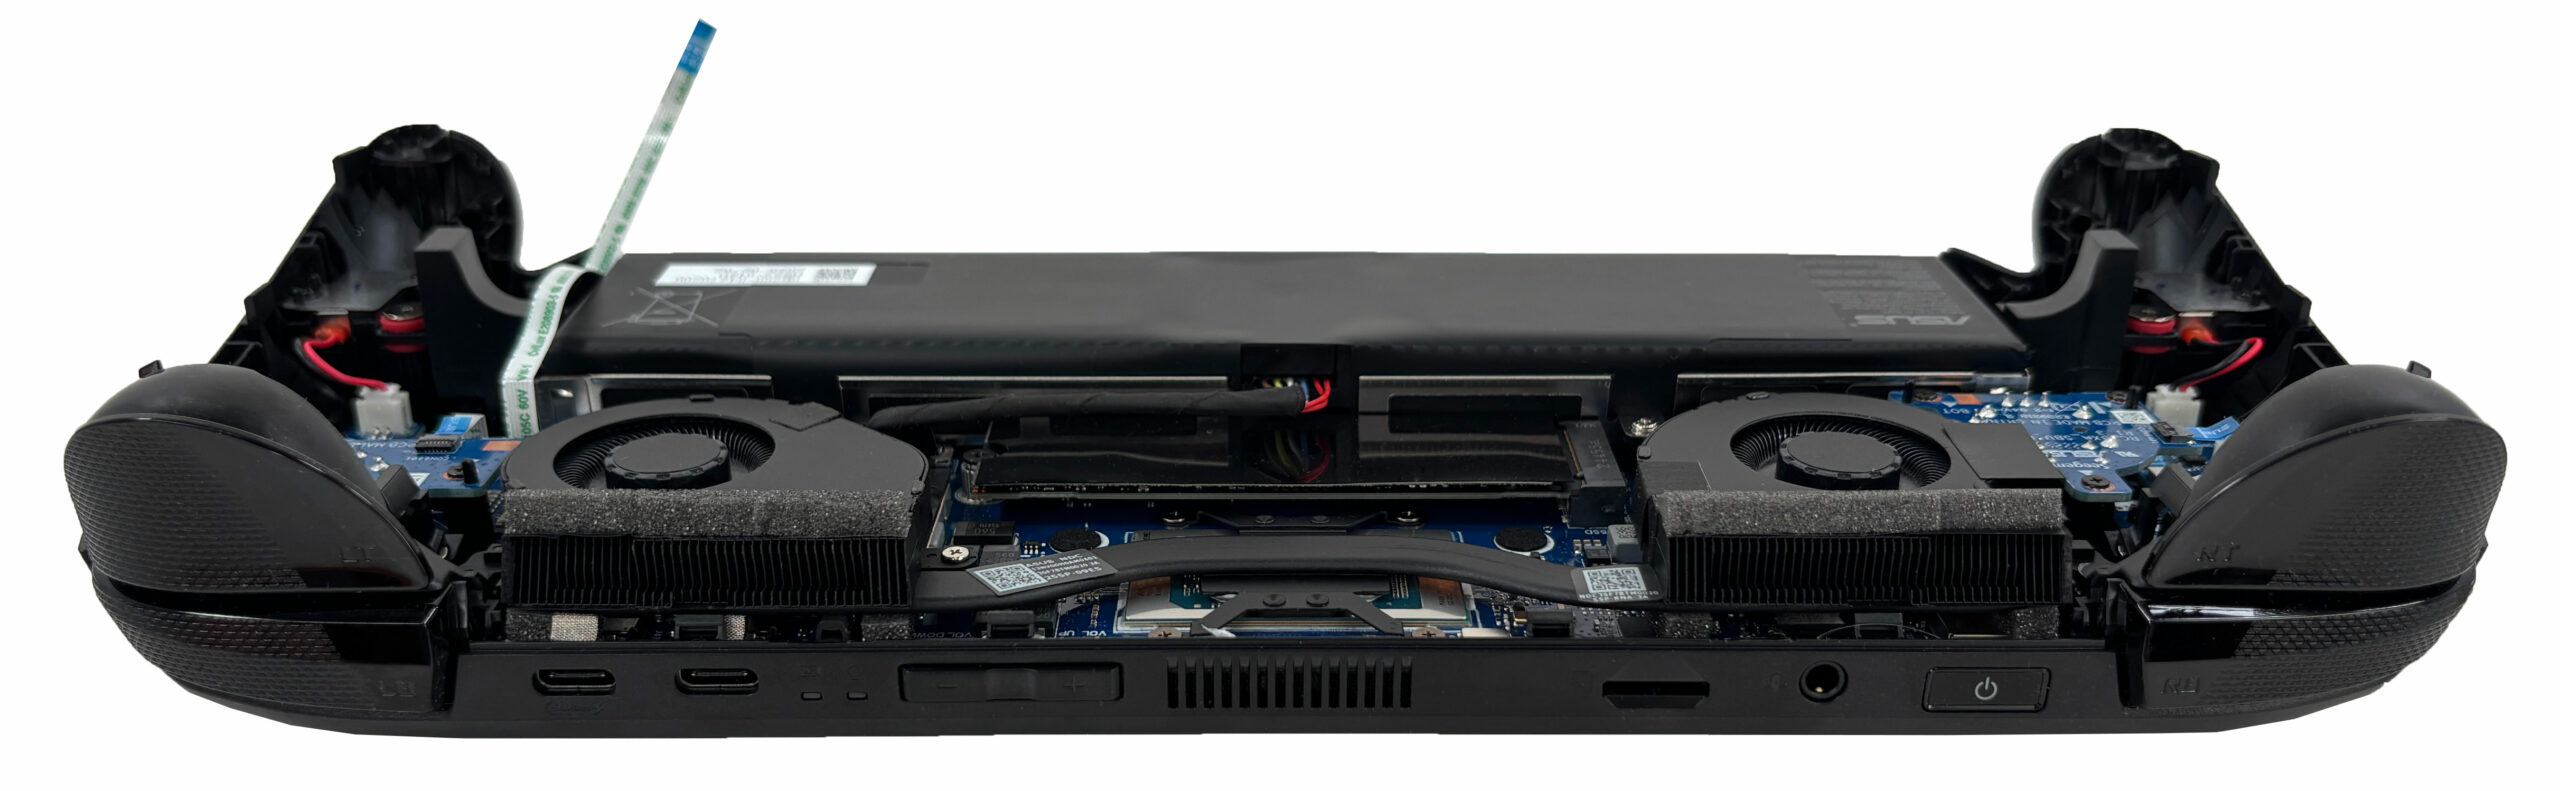
- The Ally X uses two small radial (blower-type) fans and dense fin stacks connected by a shared heat pipe over the APU. Foam barriers around the heatsinks guide airflow and reduce recirculation.
- To clean the fans and heatsinks, make sure the battery is disconnected. Use short bursts of compressed air from the intake side while gently holding the fan blades with a plastic tool or cotton swab to prevent overspinning.
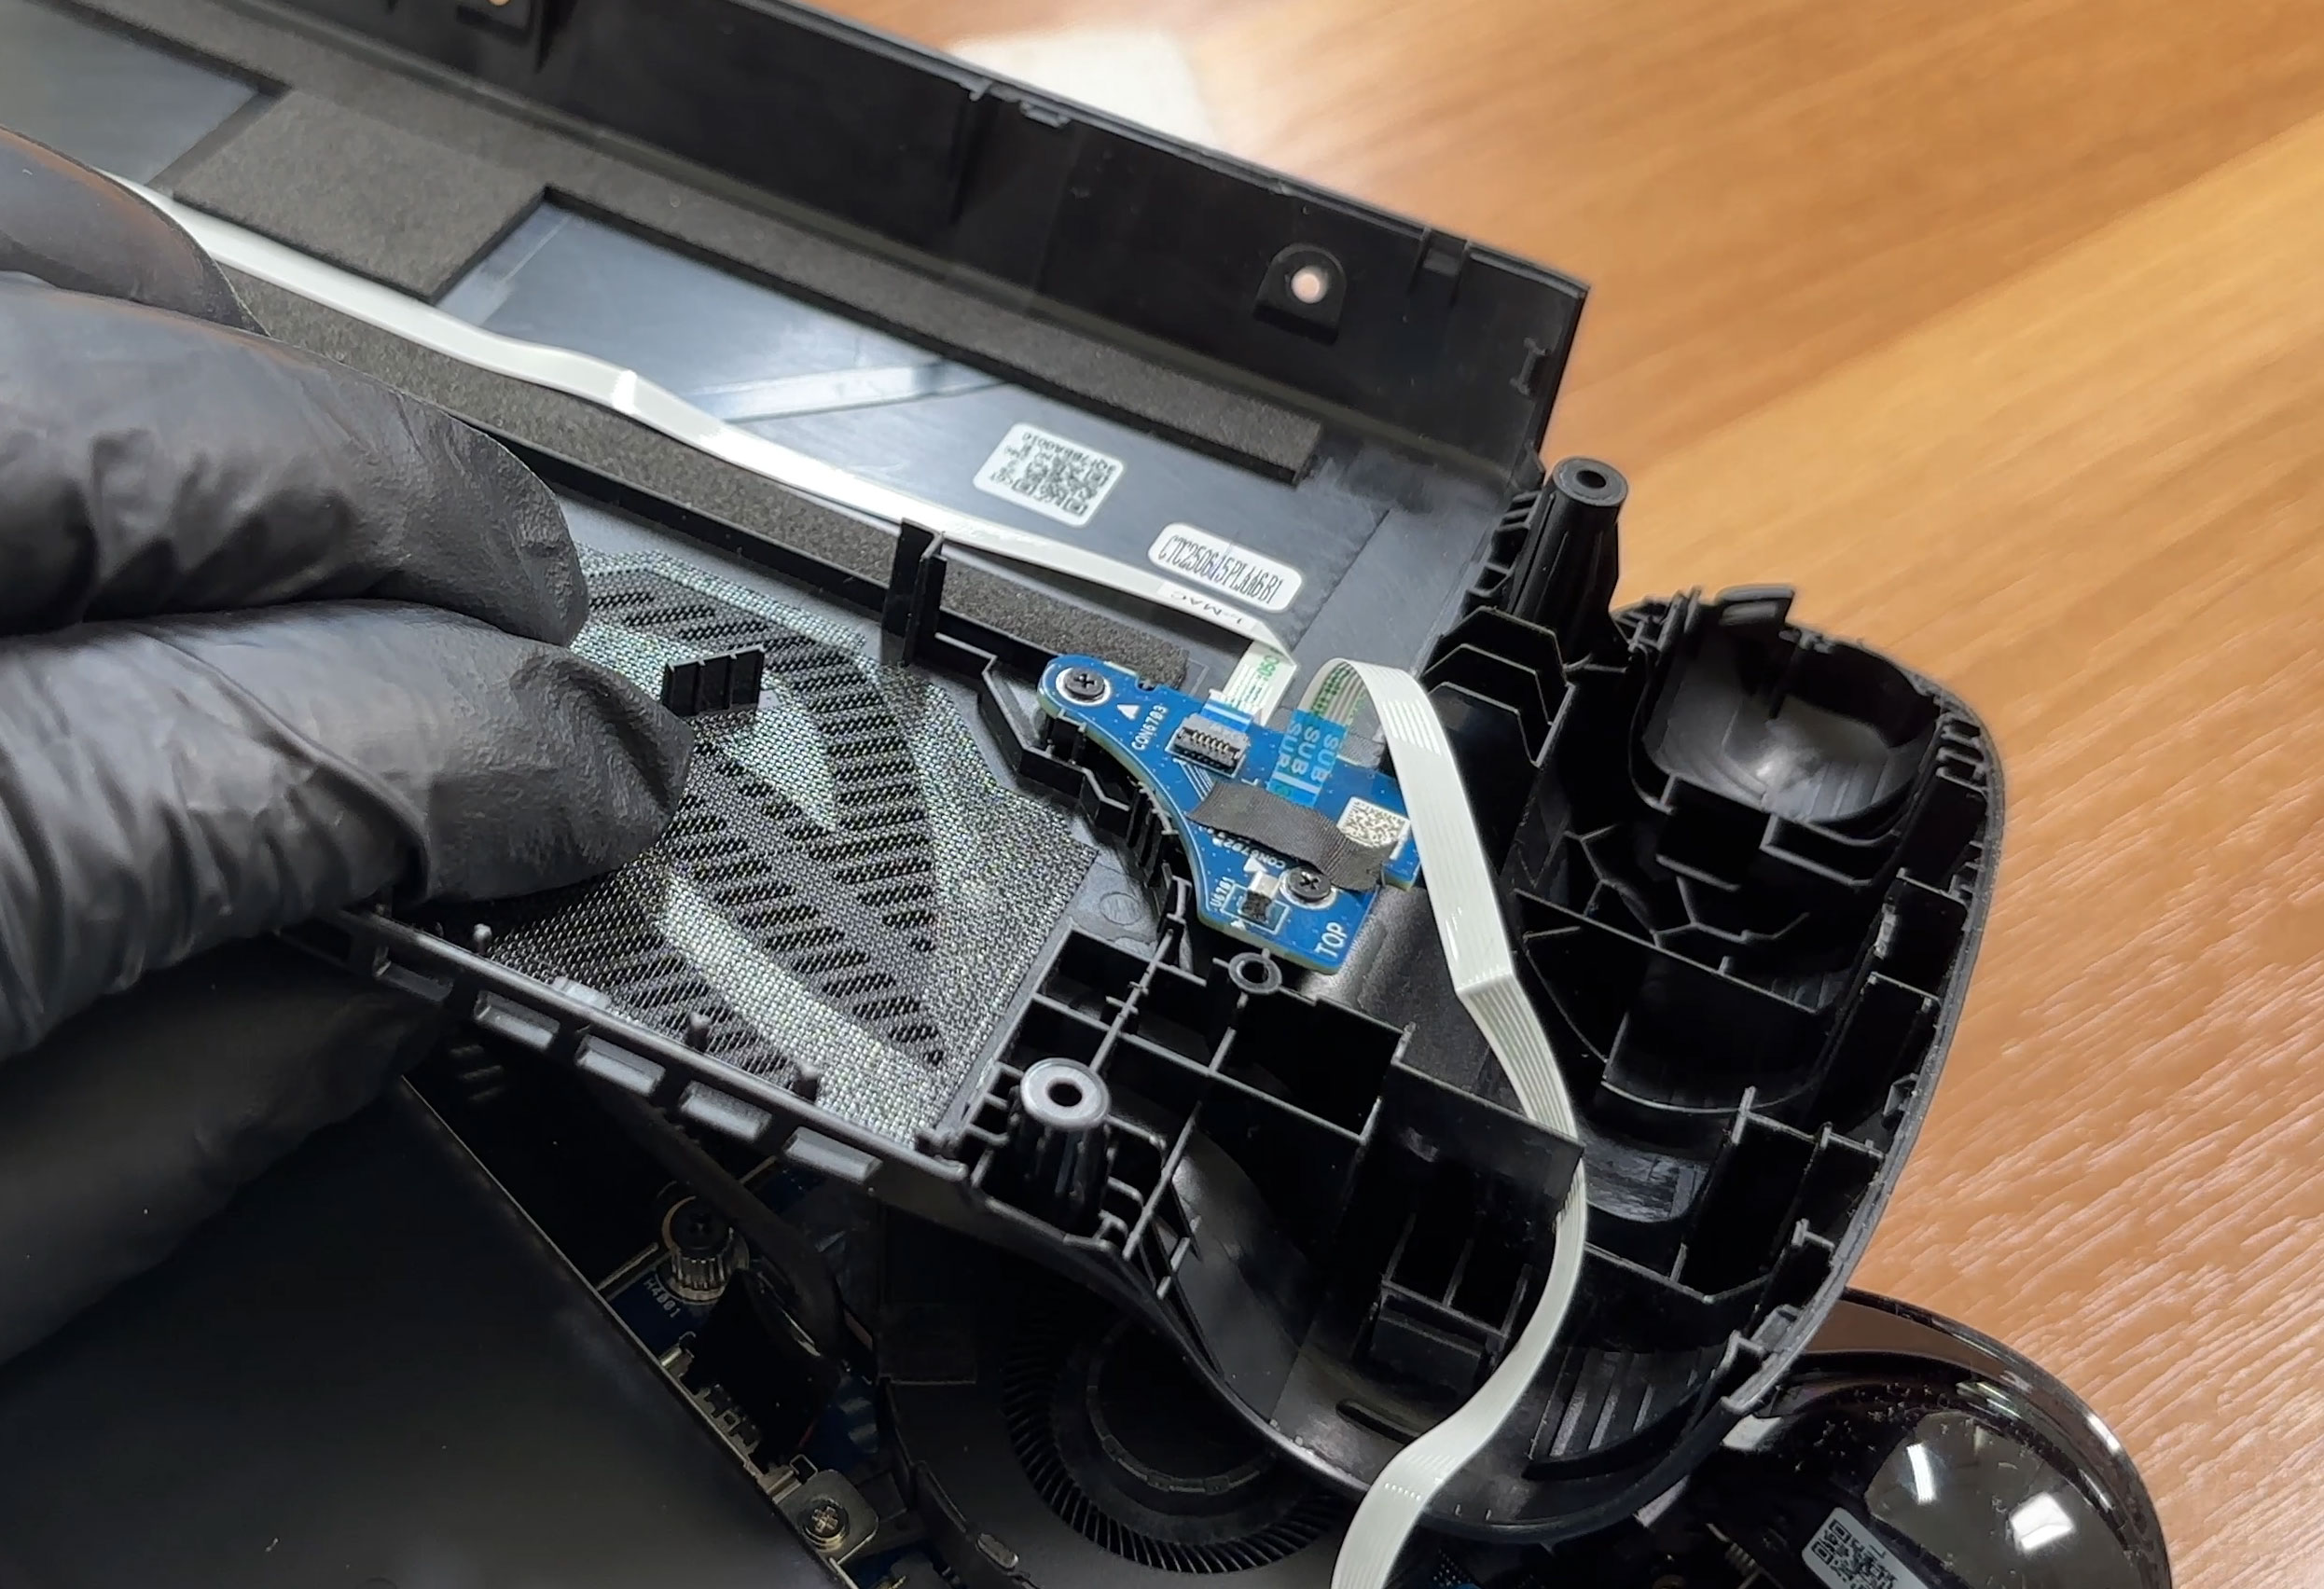
- Inspect the fine mesh and plastic baffles on the underside of the top cover (above the intake area). If they’re dusty, clean them carefully with a soft brush or compressed air before reassembly.
- If you remove the fans, unplug each fan connector from the motherboard and undo their mounting screws. Lift the fans out vertically, avoiding contact with nearby cables.
- Reinstall the fans in the same orientation, check that all cables are clear of the blades, and reconnect the fan headers firmly.
Speakers and control-button modules
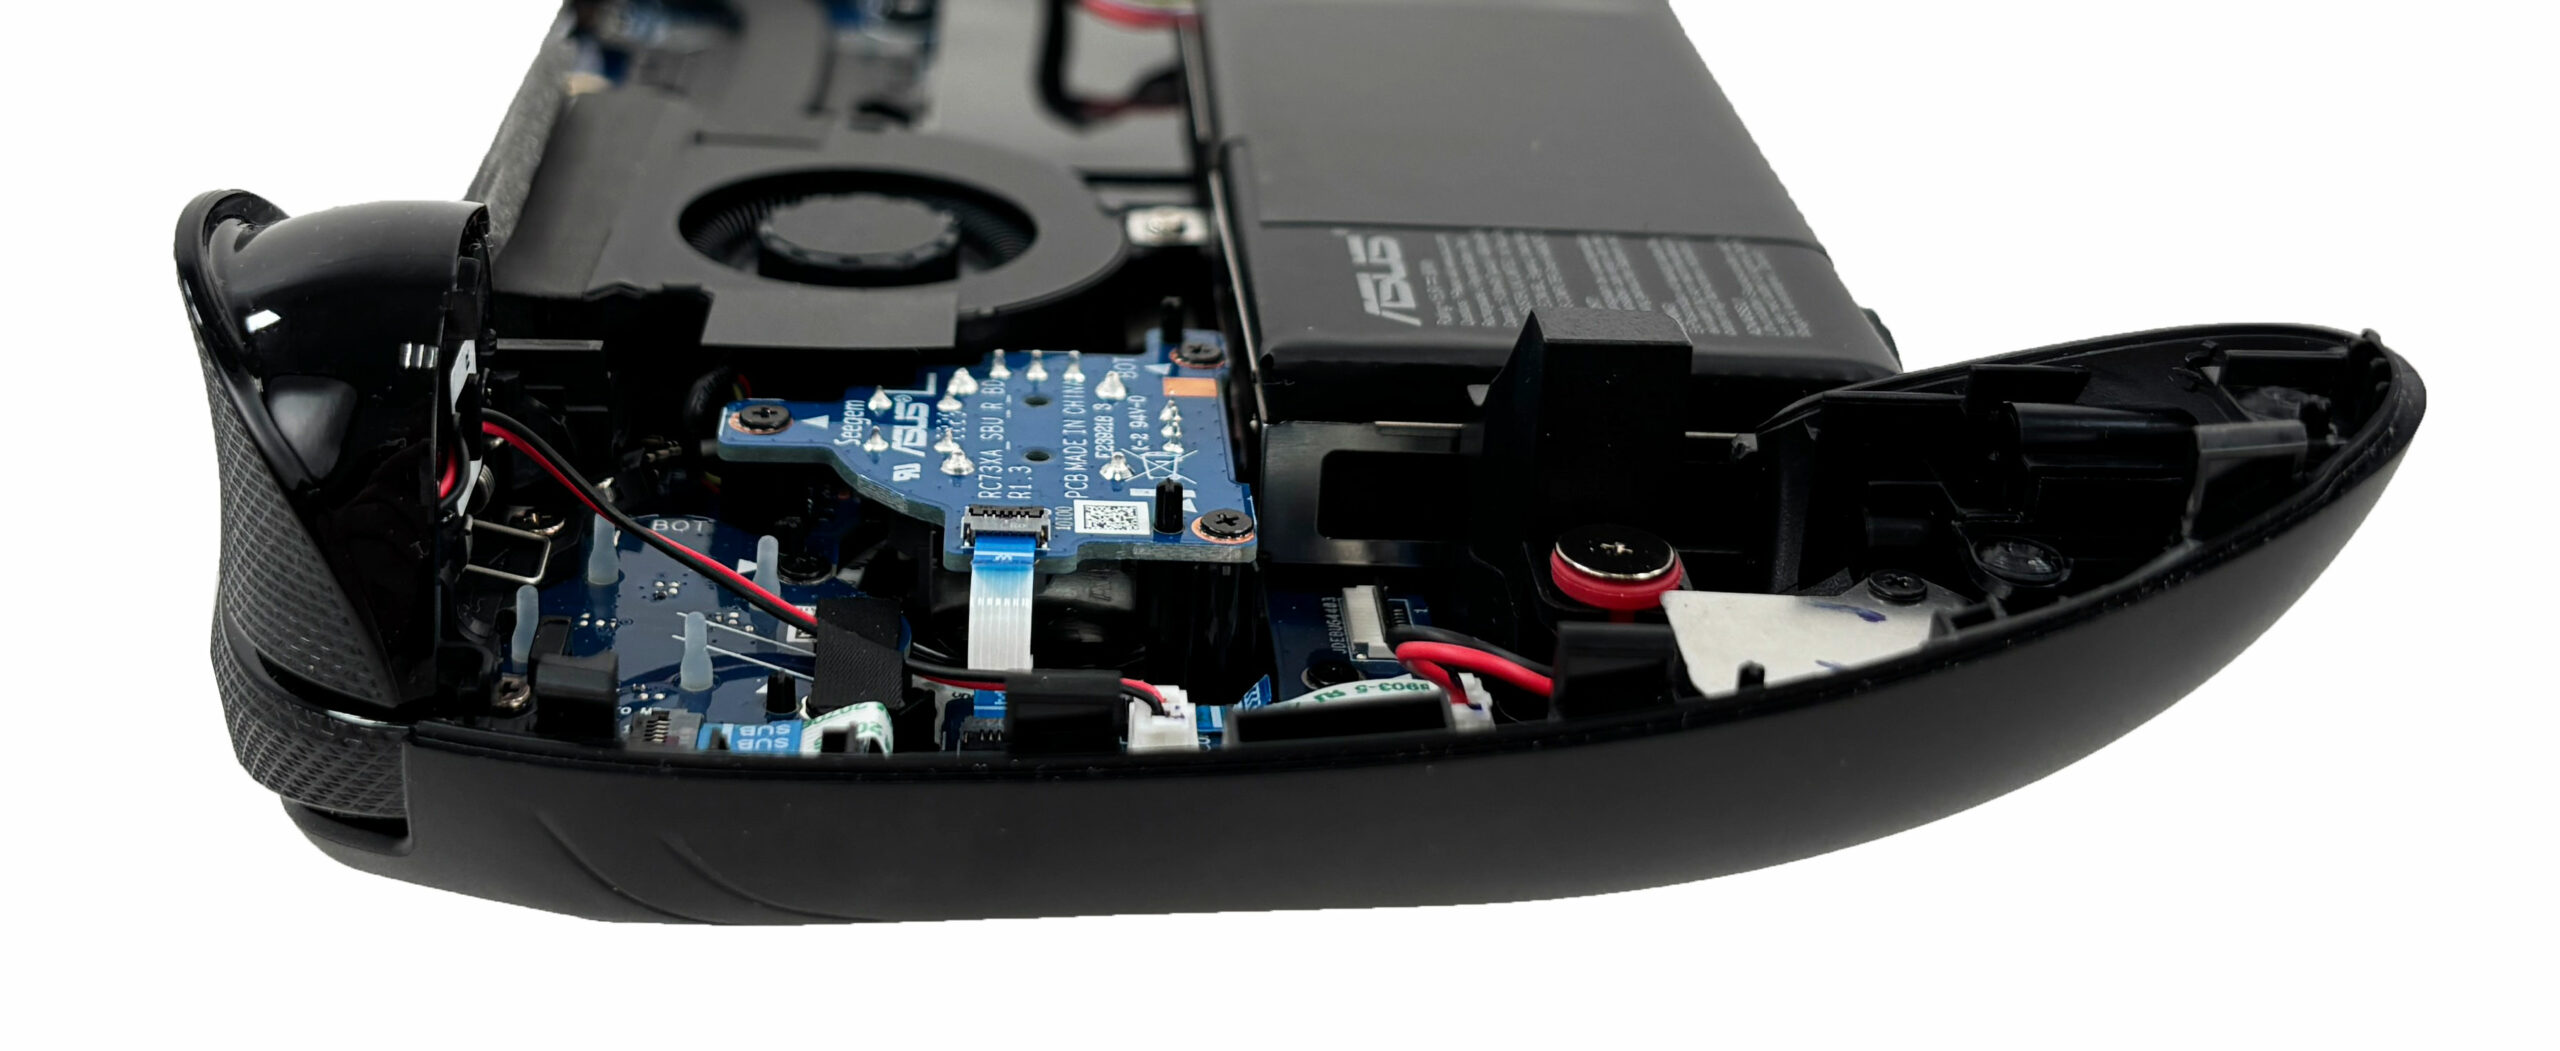
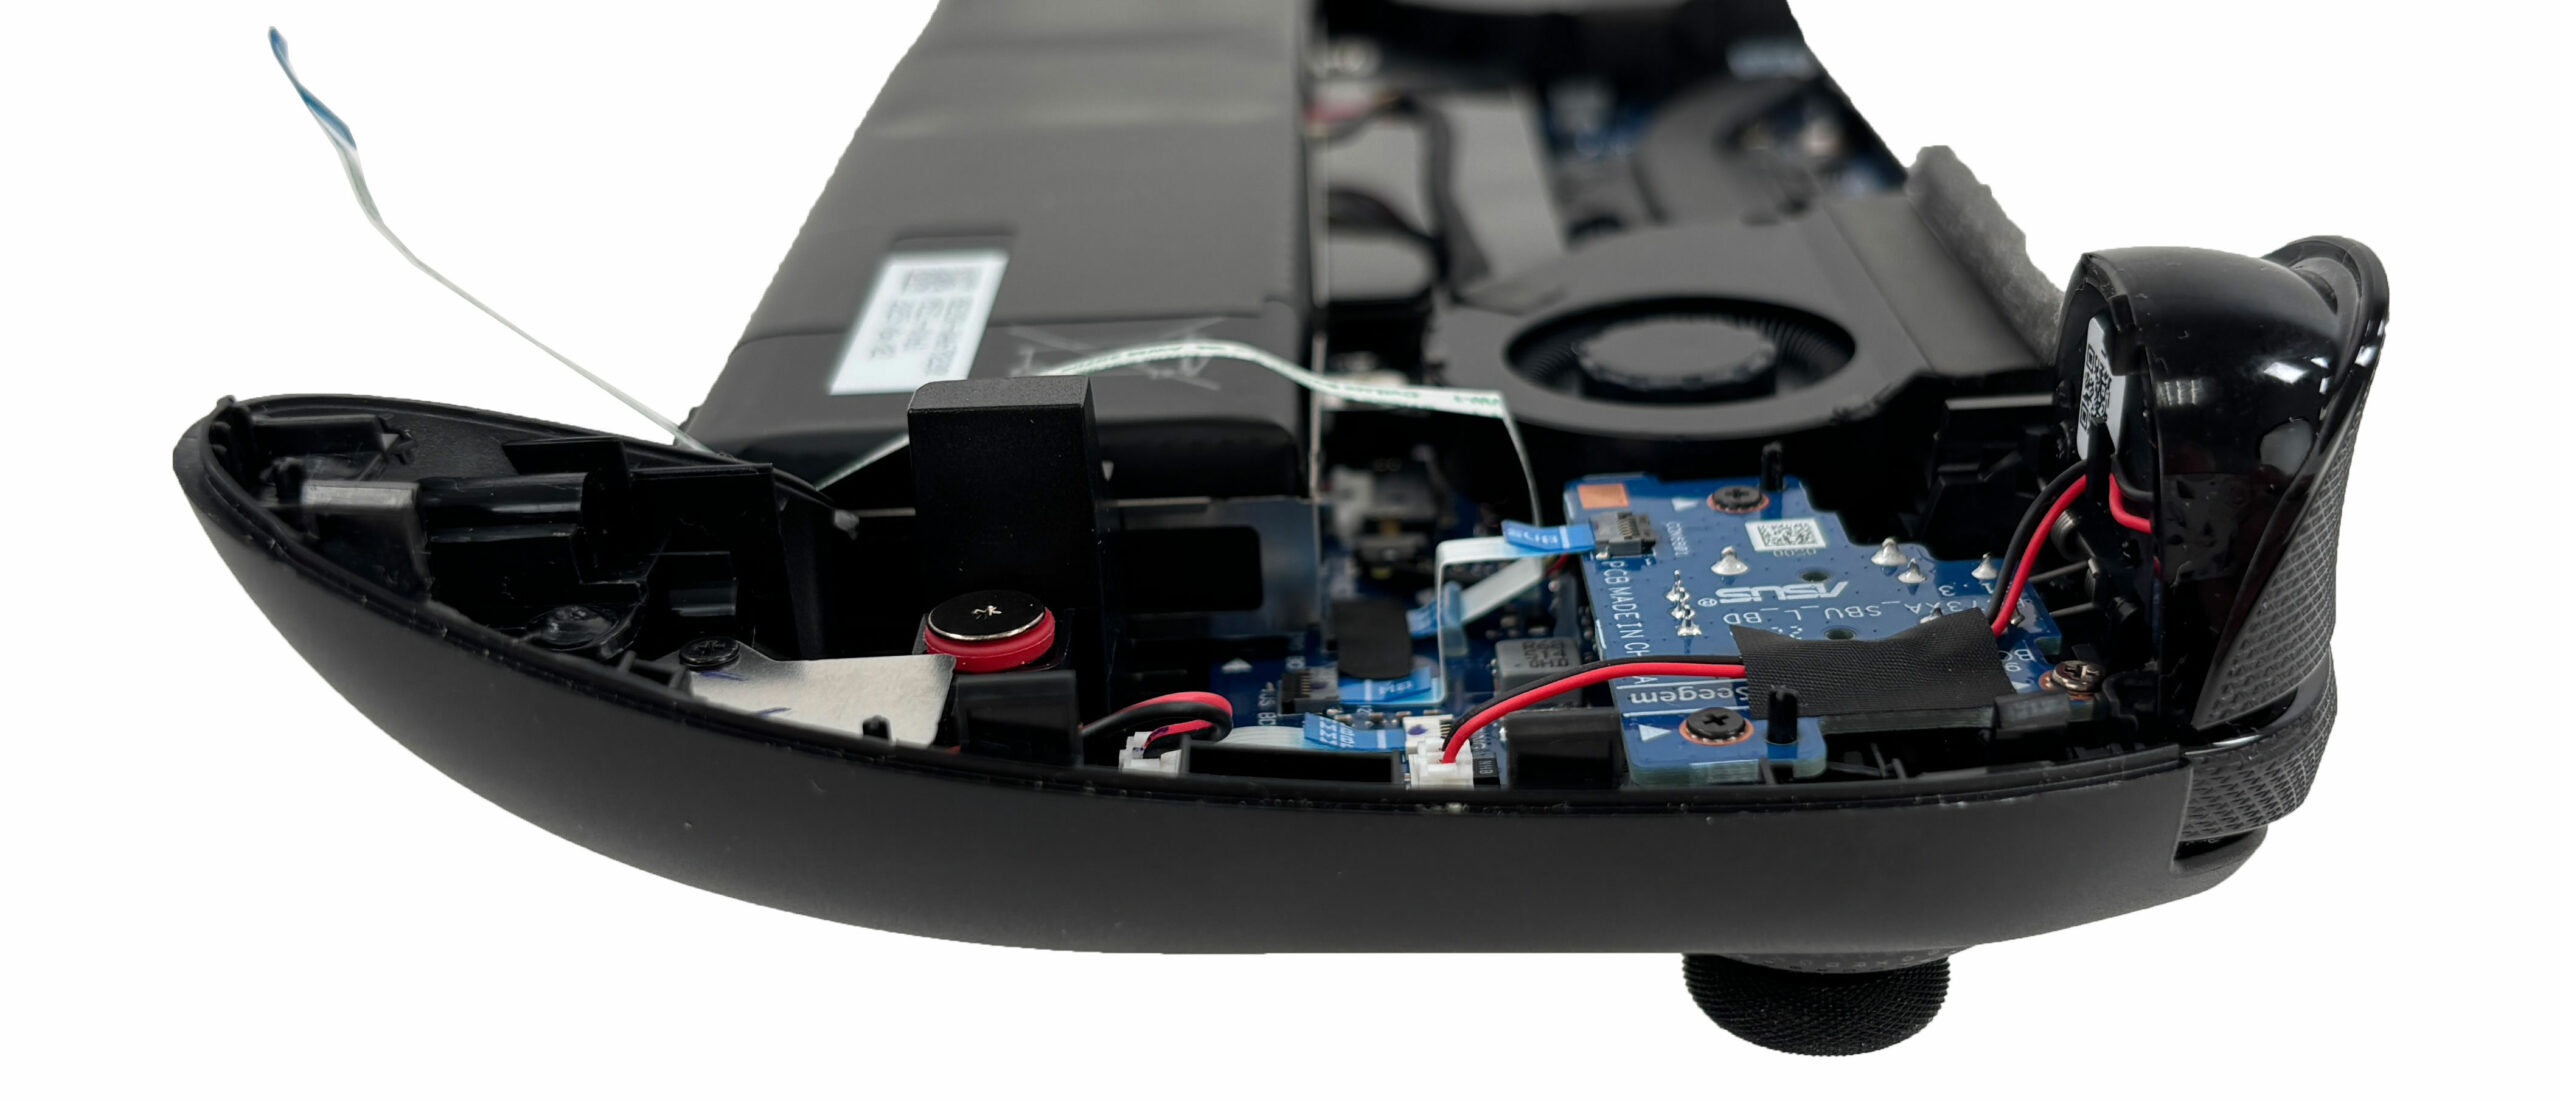
- The stereo speakers are positioned near the corners and are held in place with small screws and locating pegs. You can remove and replace them once the back shell is off by undoing their screws and disconnecting their cables.
- The shoulder buttons and side controls sit on small modular PCBs connected via ribbon cables. If you need to replace a board, gently lift the latch on the ribbon connector, slide the cable out, and then undo the screws holding the PCB.
- When reinstalling, slide the ribbon back into the connector fully and lock the latch down evenly to avoid intermittent button operation.
Reassembly
- Double-check that the battery connector is plugged in, the SSD is secured and shielded, all fan and speaker cables are connected, and all ribbon cables are locked.
- Place the back shell over the device, aligning it around the triggers and ports.
- Press along the edges until all clips snap into place.
- Reinstall all screws, matching the original locations and lengths.
- Power on the Ally X and verify that the system boots, storage is recognized, and all buttons, fans, and speakers work correctly.
More info: The ASUS ROG Xbox Ally X offers a good balance for a handheld: storage, battery, fans, speakers, and control boards are all user-serviceable, while the high-bandwidth 24GB LPDDR5X memory is soldered for space and efficiency. Regular cleaning of the dust mesh and fan inlets will help maintain stable performance over time.
ASUS ROG Xbox Ally X in-depth review
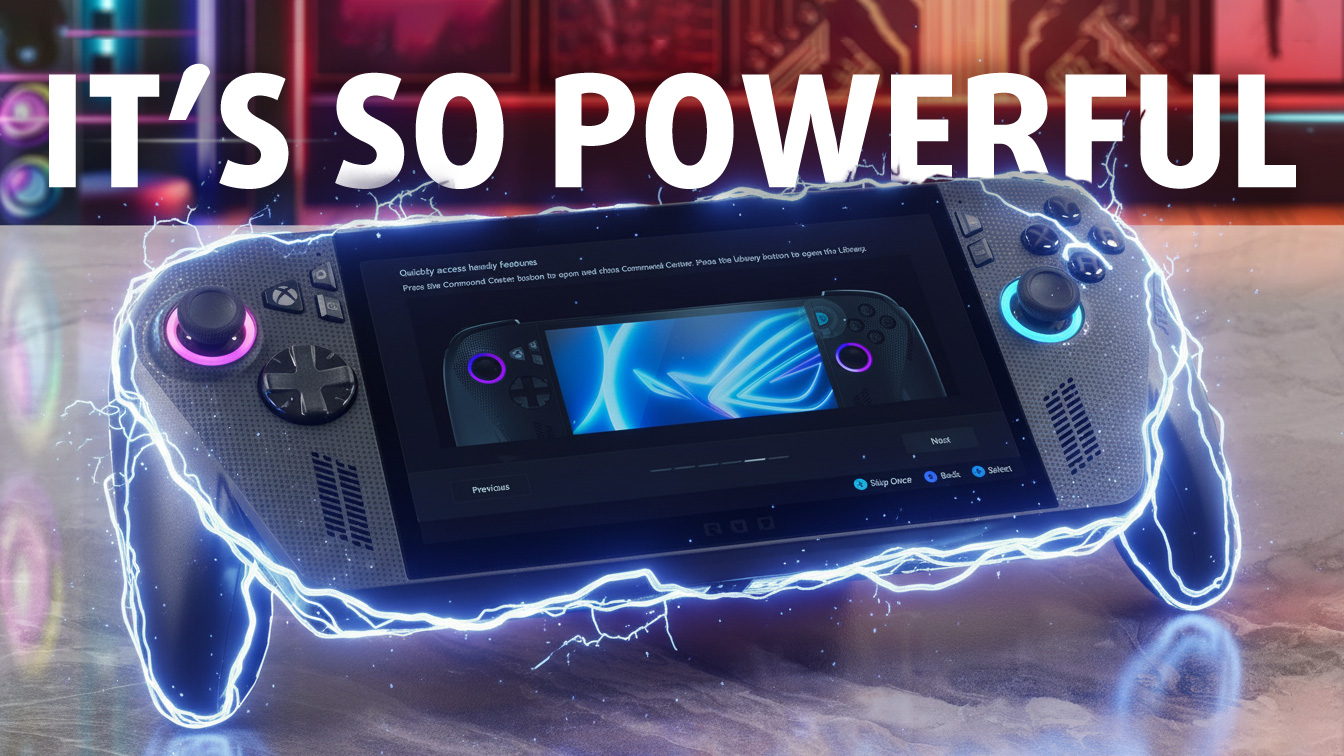
This month marks a significant moment for handheld gaming as Microsoft officially enters the market - not by building a console from scratch, but by partnering with ASUS to debut the ROG Xbox Ally and the more powerful ROG Xbox Ally X. Today, we're looking at the Ally X: the premium model for enthusiasts. It's an ambitious device that combines the rich Xbox ecosystem (Game Pass, Xbox Live) with powerful PC hardware from ASUS in a direct attack on the Steam Deck's dominance.As the successor to the original ROG Ally X (2024), this "Xbox" model aims to fix the shortcomings of its predeces[...]
Pros
- Game-changing, class-leading battery life
- Exceptional CPU and GPU performance, the best in its class
- Excellent 120Hz display that is fast, color-accurate, and PWM-free
- Xbox Full-Screen Experience makes Windows feel like a console
- Great connectivity with two USB-C ports, including USB4/Thunderbolt 4
- Uses a standard, user-replaceable 2280 M.2 SSD
Cons
- Heavier and thicker than the competition
- Display is IPS, not OLED
- Higher starting price ($999 in the U.S.)
 Author: Dimitar Stalev

![[August 2026] Amazon Global: Top 10 Best-Selling Laptops – Apple MacBook Neo Dominates the Charts as Budget and Mid-Range Windows Portables Fight for Volume](https://laptopmedia.com/wp-content/uploads/2026/09/Best-Selling-Laptops-GLOBAL-Top-10-400x225.jpg)
![[August 2026] Best-Selling Laptop Brands on Amazon Global – Apple Dominates Revenue While HP Leads in Model Variety](https://laptopmedia.com/wp-content/uploads/2026/09/GLOBAL-Best-Brands-400x225.jpg)
![[August 2026] Amazon Global: Top 10 Best-Selling Gaming Laptops – HP Victus 15 Captures the Crown as Budget-Friendly Models Dominate the Charts](https://laptopmedia.com/wp-content/uploads/2026/09/Best-Selling-Gaming-Laptops-GLOBAL-Top-10-400x225.jpg)
![[August 2026] Best-Selling Laptop Brands on Amazon Japan – Apple Dominates Market Share and Revenue Led by Strong Unit Sales](https://laptopmedia.com/wp-content/uploads/2026/09/CO.JP-Best-Brands-1-400x225.jpg)
![[August 2026] Best-Selling Laptop Brands on Amazon USA – Apple Dominates Market Revenue and Volume Despite Lower Model Diversity](https://laptopmedia.com/wp-content/uploads/2026/09/COM-Best-Brands-1-400x225.jpg)