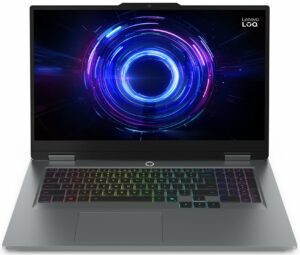
How to open Lenovo LOQ 17IRX10 (17″, Gen 10) – disassembly and upgrade options
How to open the bottom panel
- Power off the laptop and unplug the charger. Press and hold the power button for a few seconds to discharge any residual electricity.
- Turn the device upside down on a soft surface.
- Undo the ten Phillips/JIS screws that secure the bottom panel.
- Four screws are shorter (around 4.5 mm).
- Six screws are longer (around 8.5 mm).
- Carefully note where each screw length is used so you can reinstall them in the correct positions.
- Use a thin plastic pry tool to release the ring of plastic clips around the perimeter of the bottom panel.
- Lift the cover away to expose the internals.
Hint: Keep the short and long screws grouped separately (e.g., on a white sheet or magnetic mat) to avoid overtightening the wrong length into a standoff during reassembly.
Battery
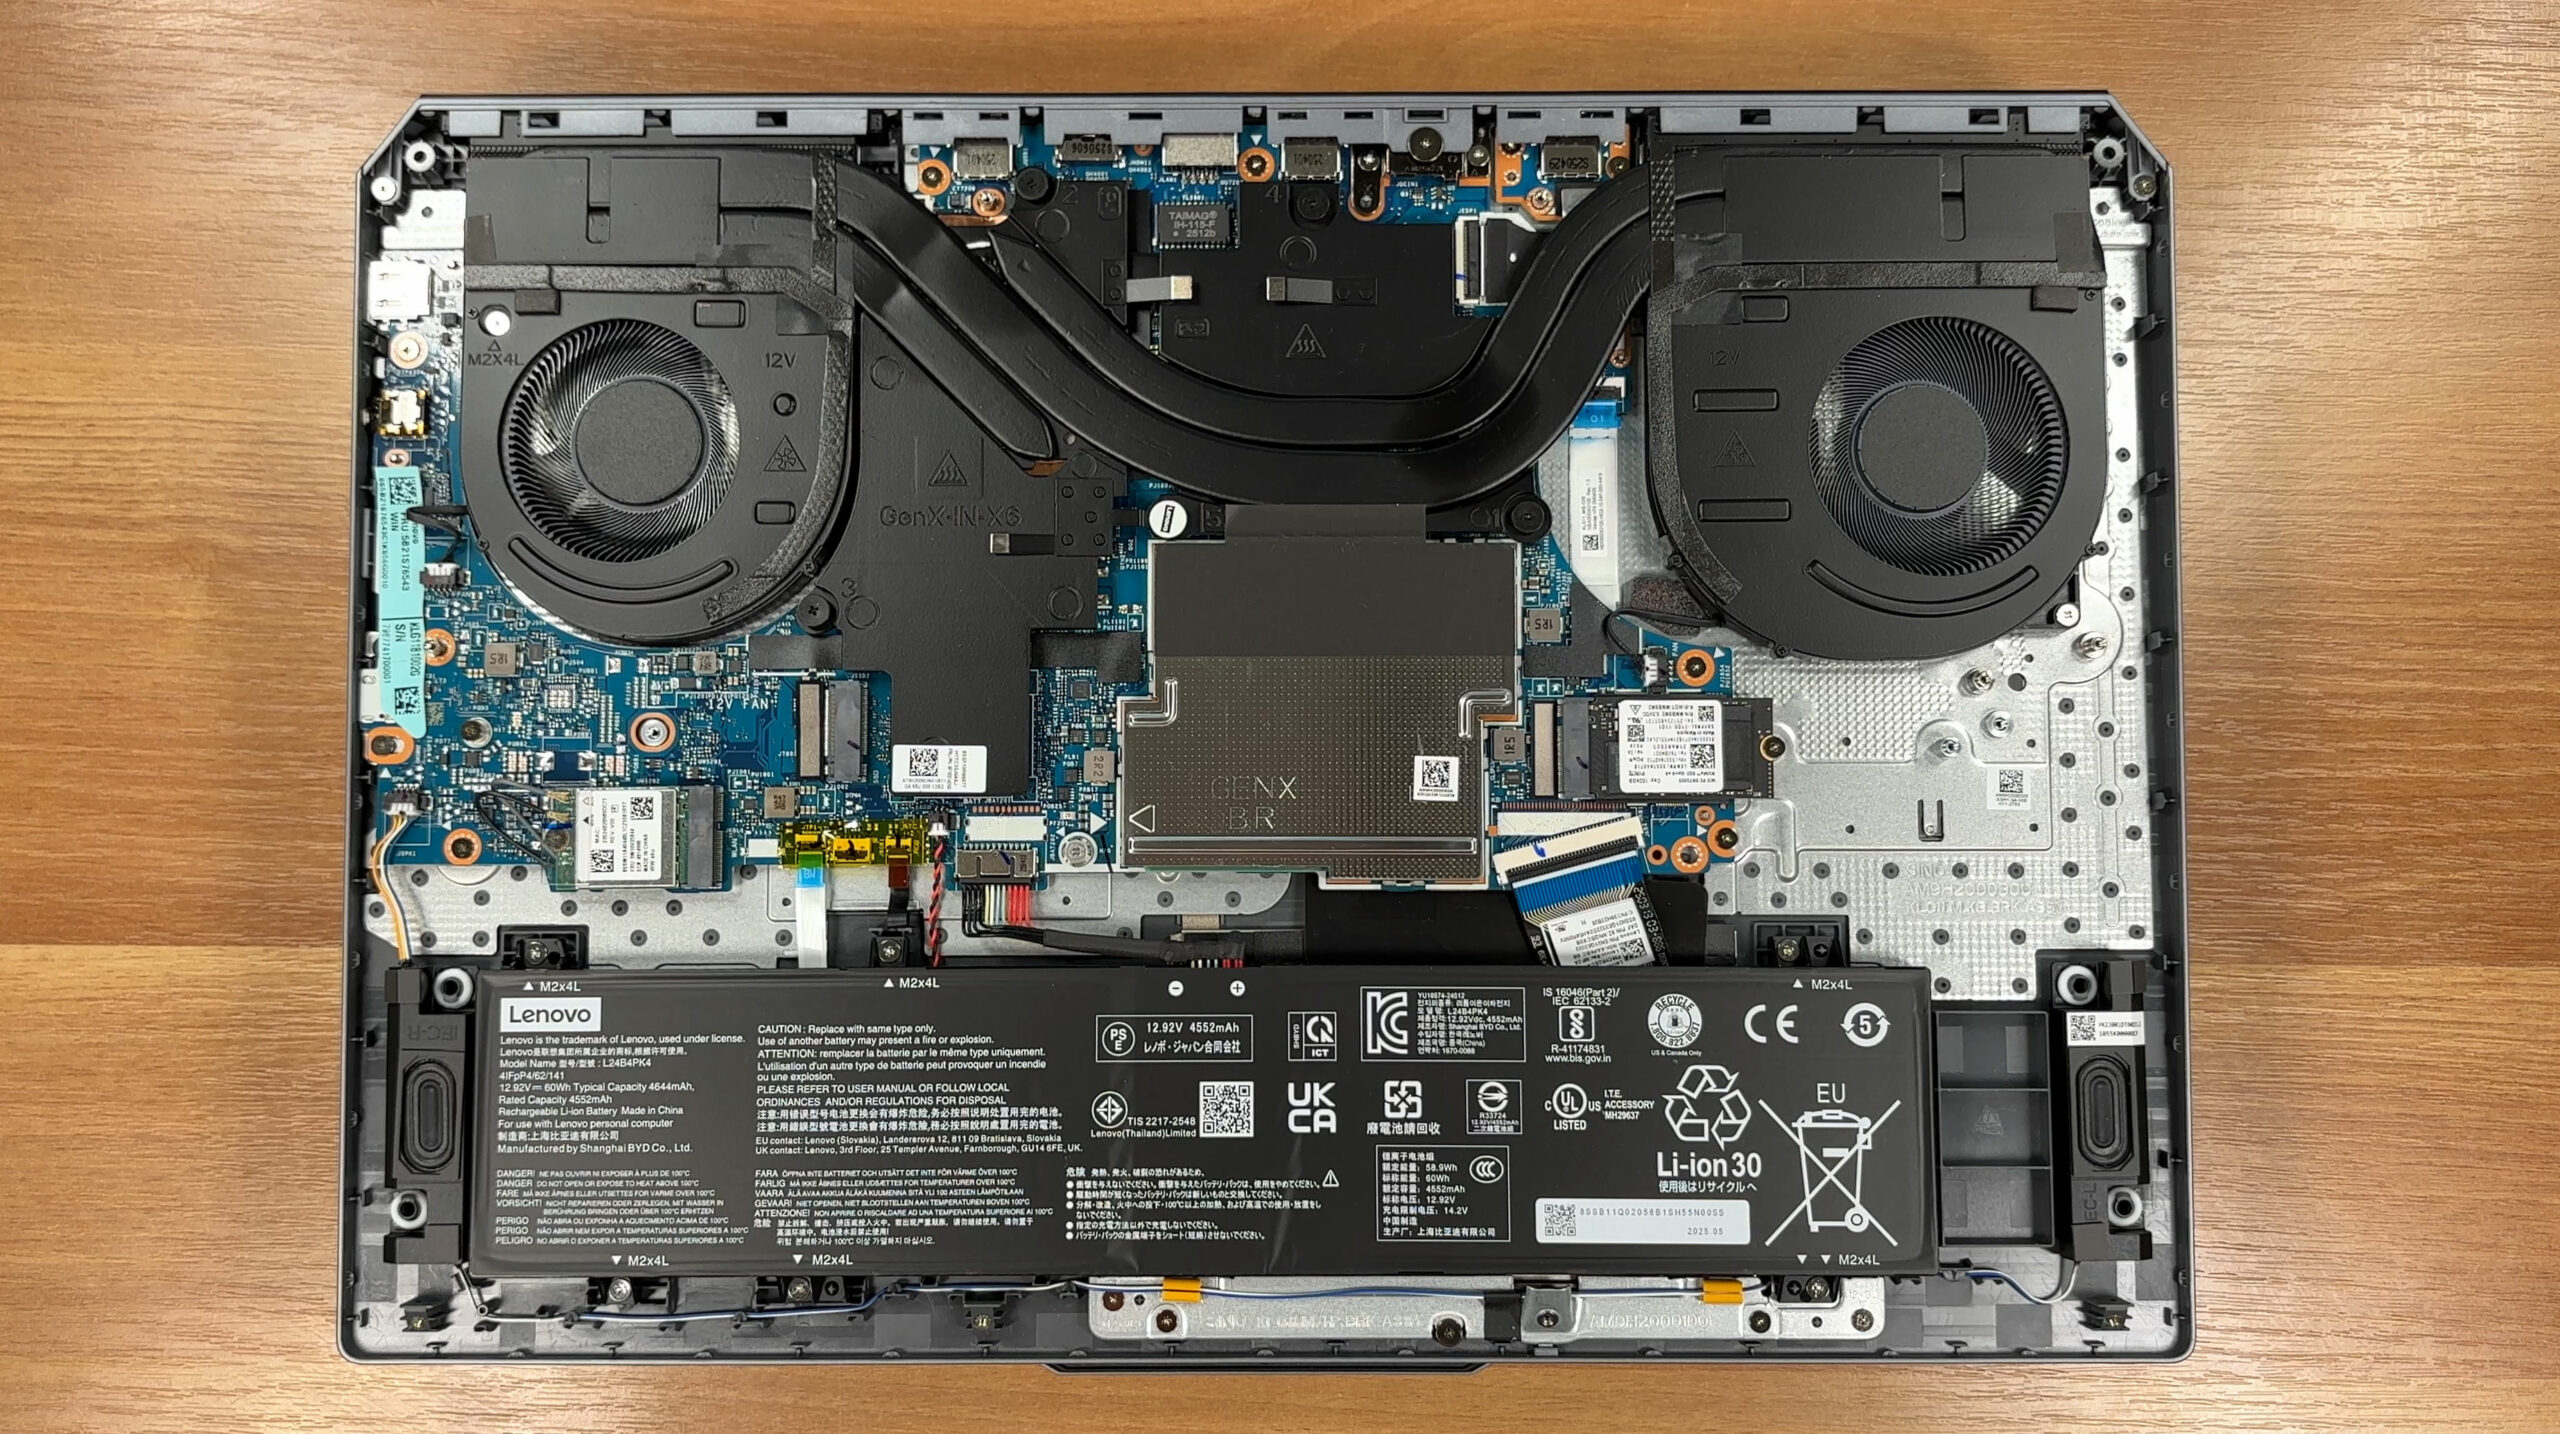
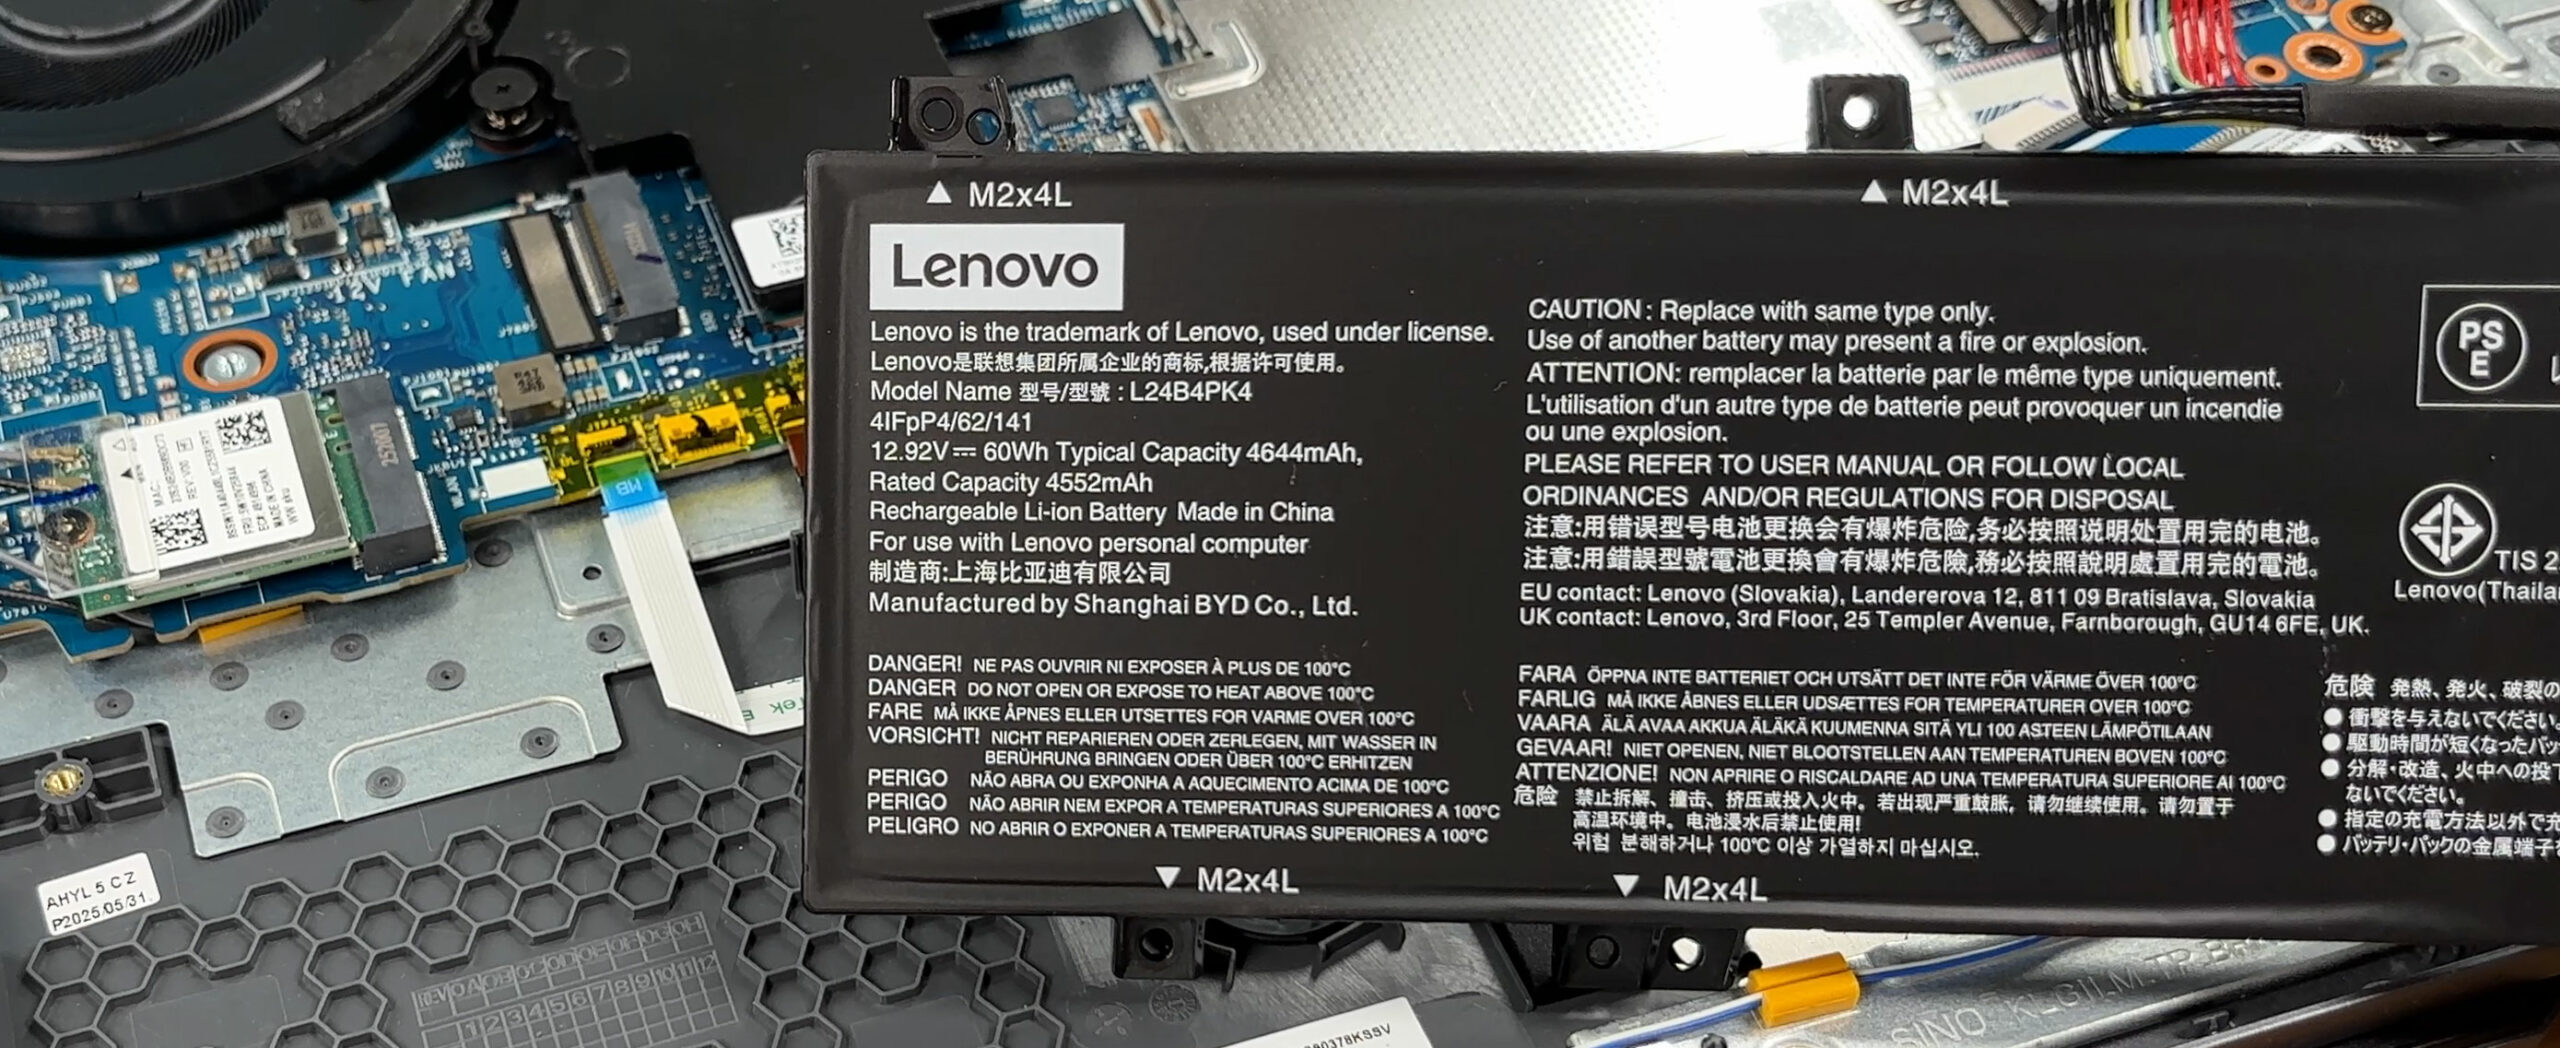
- Locate the 60 Wh Li-ion battery pack (model L24B4PK4) at the front of the chassis.
- Gently pull the battery connector straight out of its socket on the motherboard.
- Undo the six screws that secure the battery to the chassis.
- Lift the battery out of the laptop.
- When installing a new battery, seat it flat, reinstall all six screws, and reconnect the cable firmly.
More info: The 60 Wh pack supports Rapid Charge Pro, which can replenish the battery to about 50% in roughly 30 minutes.
Memory (RAM) upgrade
- Find the spring-steel memory shield near the center of the motherboard.
- Carefully peel back the metallized tape that grounds the shield to the chassis. Try not to tear it so it can be reused.
- Release the shield from its spring clips and lift it away to reveal the two DDR5 SO-DIMM slots.
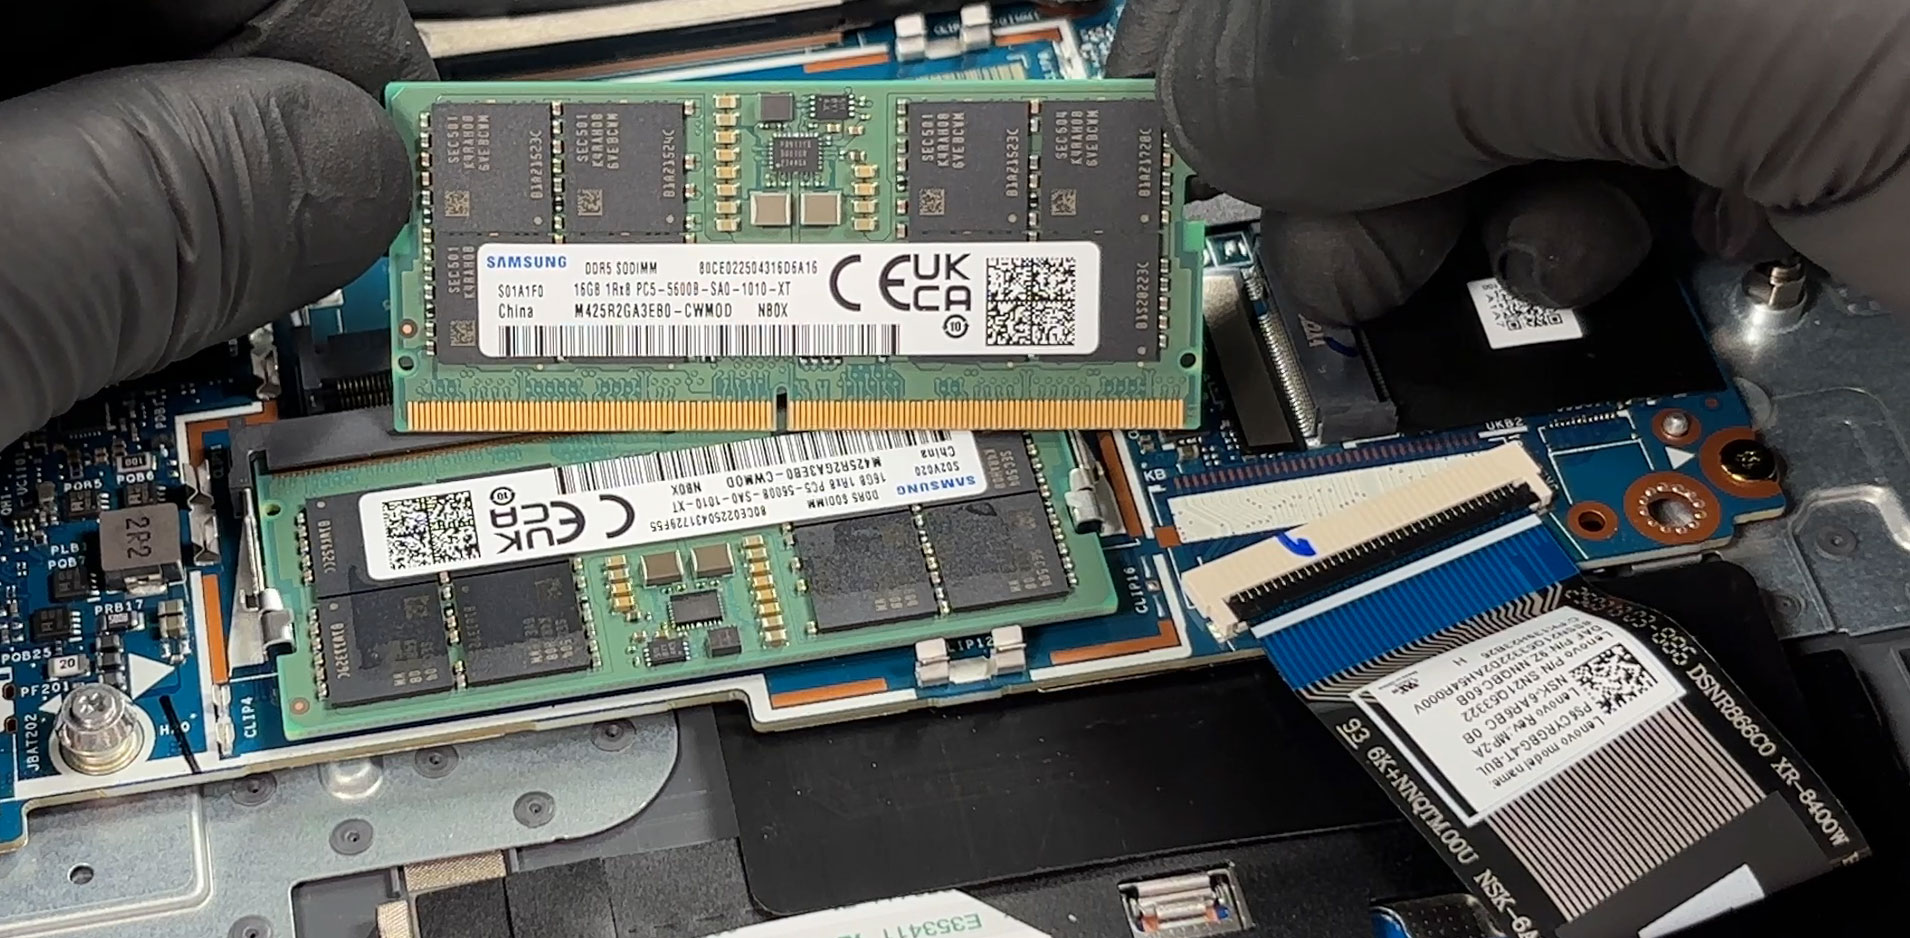
- Press the side latches of a slot outward to release an installed module (if present), then pull it out at an angle.
- Insert the new DDR5 module at about a 30° angle, align the notch with the key in the slot, and push it in until the contacts are fully engaged.
- Press the module down gently until both side latches click into place.
- Reinstall the memory shield, ensuring it is properly seated in its clips, and re-apply the conductive tape so the shield and chassis remain well grounded.
More info: The two SO-DIMM slots support DDR5-4800 or DDR5-5600 memory in dual-channel mode. The tested configuration uses two 16 GB Samsung modules at DDR5-5600. There is no soldered memory, so both modules can be replaced.
You can buy DDR5 SO-DIMM RAM modules here: Buy from Amazon.com (#CommissionsEarned)
Storage upgrade
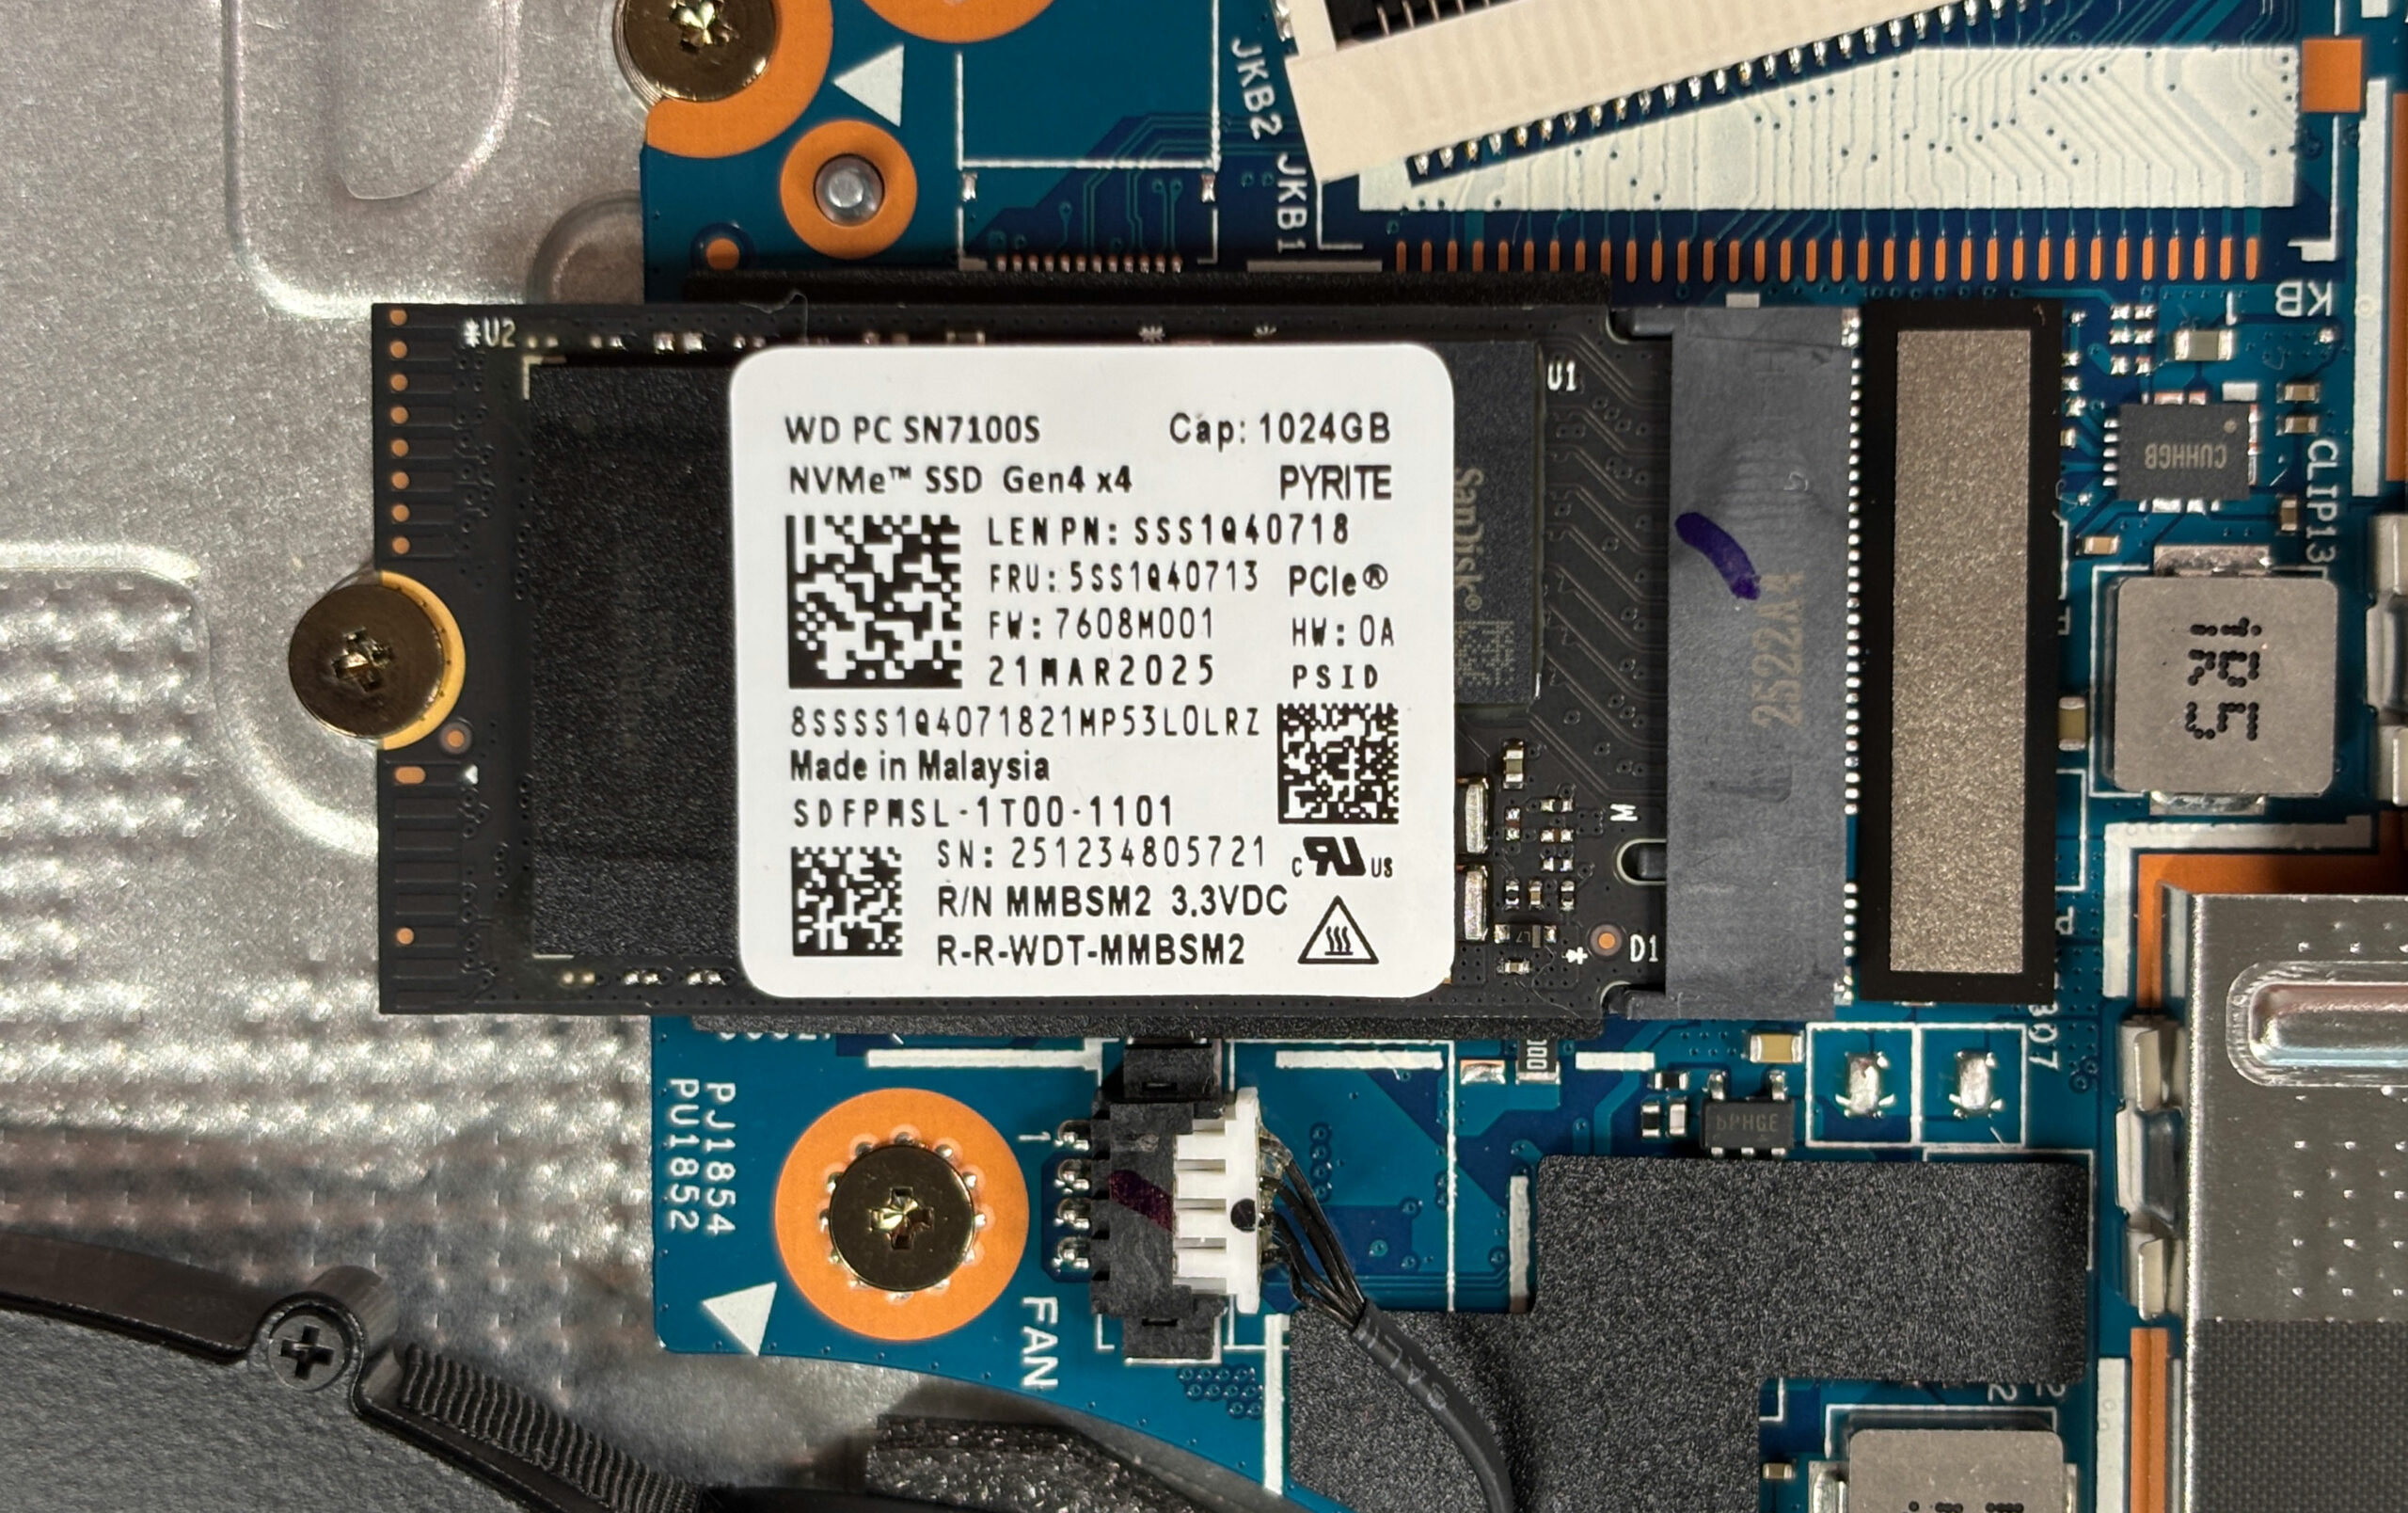
- Locate the two M.2 2280 PCIe 4.0 x4 slots near the middle of the motherboard.
- Identify Slot 1 (typically occupied by the factory SSD) and Slot 2 (often empty and ready for expansion).
- To remove an existing SSD:
- Undo the mounting screw at the end of the drive.
- Let the SSD spring up slightly, then pull it out of the slot at an angle.
- To install a new SSD:
- Slide the M.2 2280 PCIe Gen 4 NVMe drive into the connector at about 30°.
- Press the drive down gently and secure it with the mounting screw.
- Repeat the steps for the second slot if you are adding a second drive.
More info: In our test unit, a WD PC SN7100S 1 TB PCIe 4.0 drive occupies the first slot, with the second bay free for expansion.
You can buy Gen 4 NVMe SSDs here: Buy from Amazon.com (#CommissionsEarned)
Hint: Consider reviewing our Top M.2 SSDs Performance Rankings to select the best storage solution for your needs.
Wireless and other replaceable components
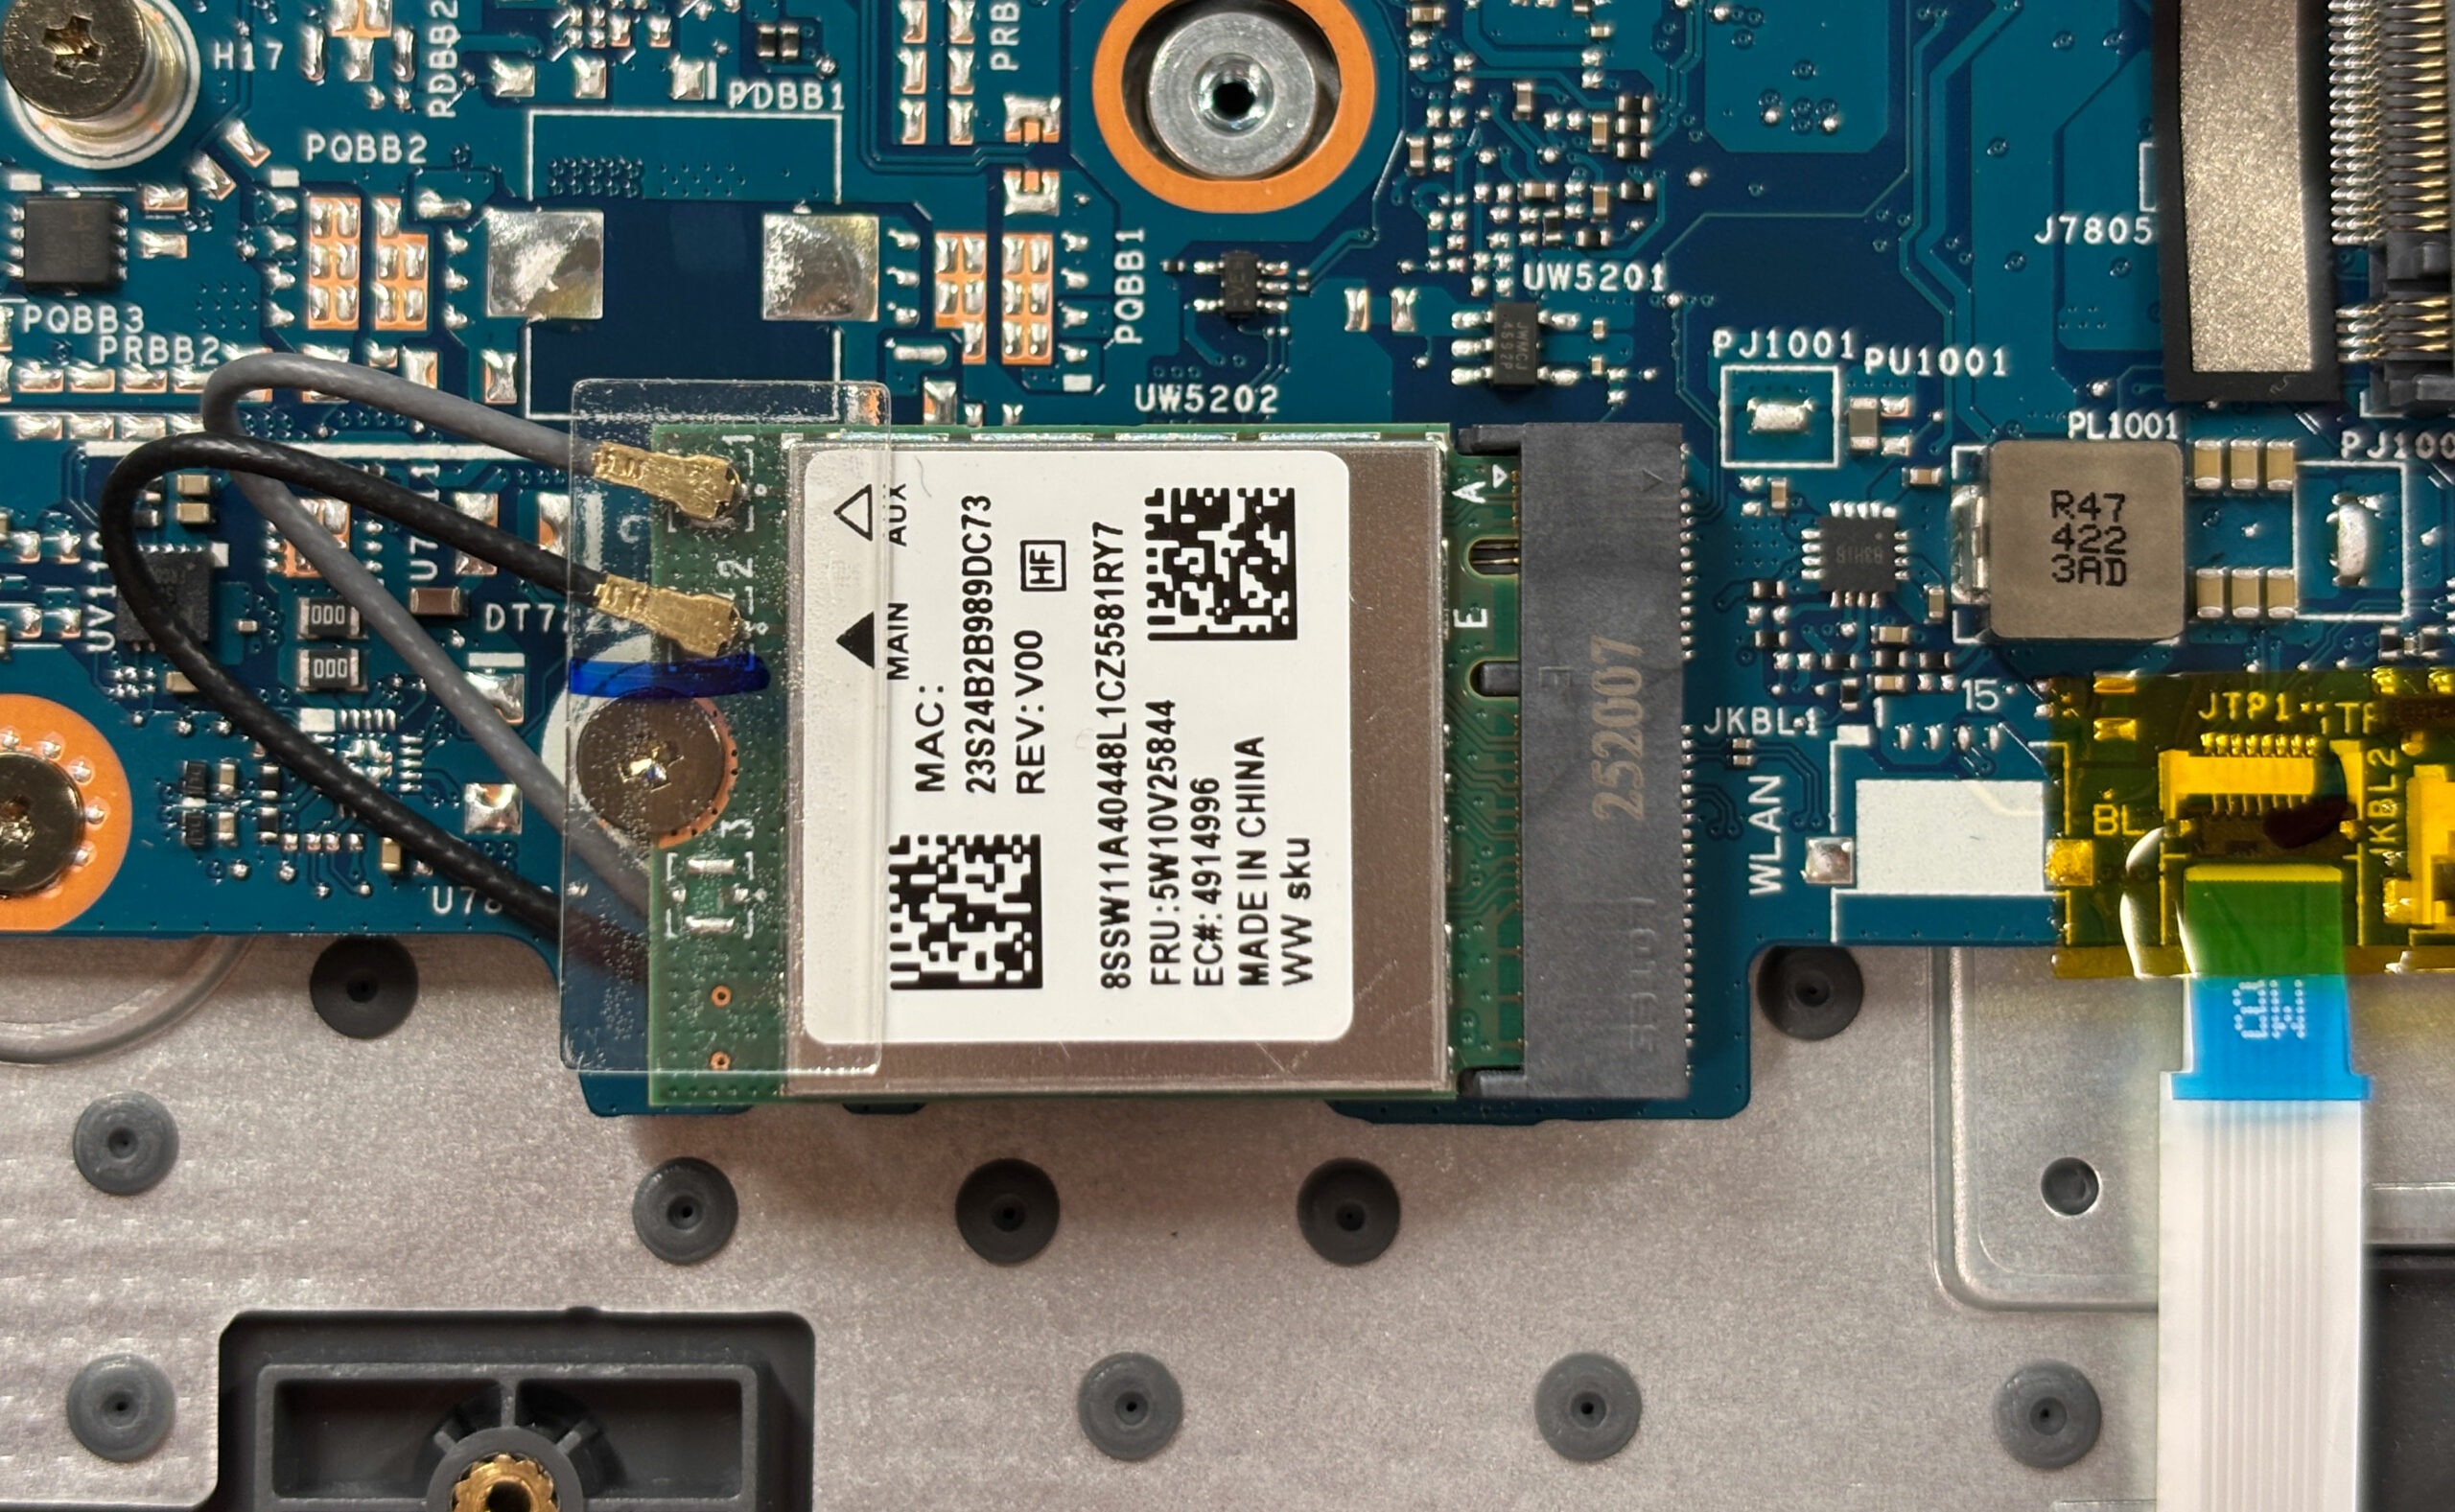
- Locate the M.2 Wi-Fi card (Wi-Fi 6 802.11ax, 2×2, Bluetooth 5.2) near one of the fans.
- To replace the wireless module:
- Carefully detach the two antenna leads labeled “Main” and “Aux” by lifting them straight up.
- Undo the single screw holding the card.
- Pull the card out at an angle.
- Install the new card in reverse order and reconnect the antennas (Main to Main, Aux to Aux).
- Both fans can be replaced by disconnecting their cables and undoing their mounting screws.
- The two M.2 SSDs and both SO-DIMMs are fully user-replaceable, making future upgrades simple.
More info: When reinstalling the memory shield, make sure it is centered in its spring clips and the conductive tape is firmly pressed down to maintain proper ESD grounding.
Cooling system
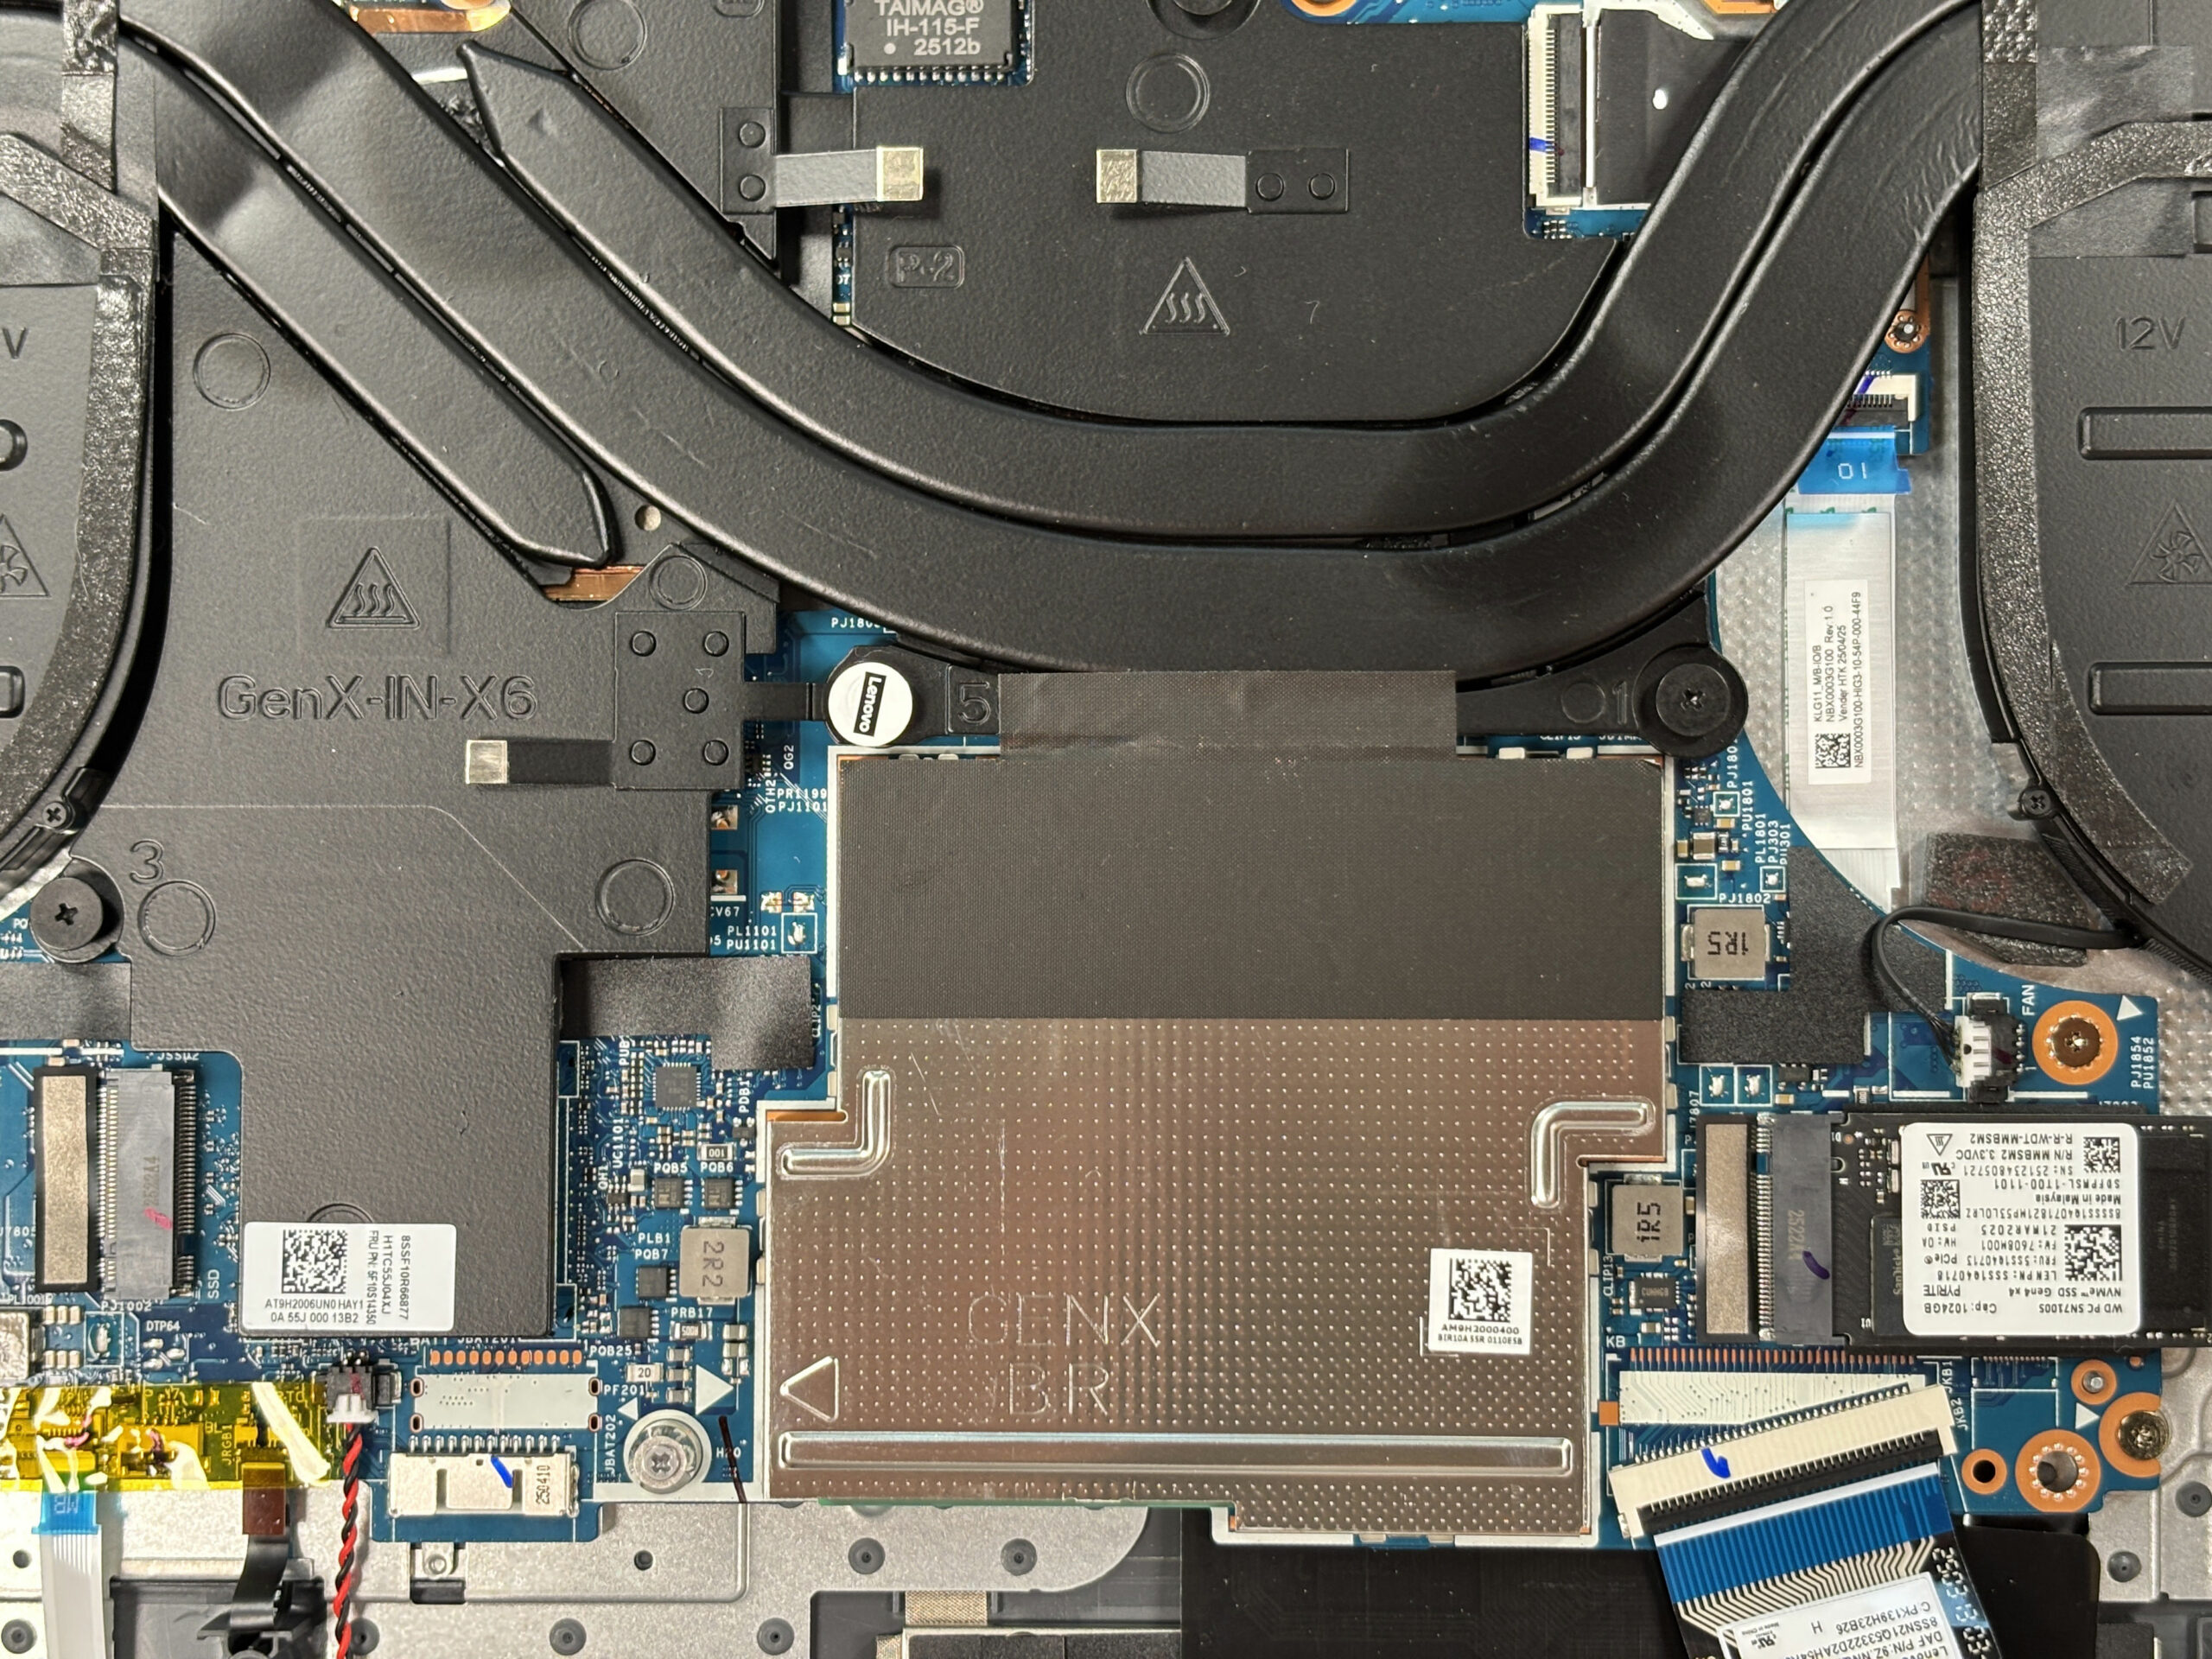
- The cooling assembly spans the CPU and GPU with multiple shared heatpipes.
- Two fans exhaust air toward the rear and sides of the chassis.
- There is no vapor chamber, but the footprint and fin area are generous for this class of gaming laptop.
- If you plan to repaste, follow the same screw order markings (if present) when removing and reinstalling the heatsink, and tighten the screws gradually in a cross pattern.
Summary: The Lenovo LOQ 17IRX10 (17″, Gen 10) is easy to service thanks to its accessible bottom panel, dual DDR5 SO-DIMM slots, two PCIe 4.0 M.2 bays, replaceable Wi-Fi card, and screw-mounted 60 Wh battery. There is no soldered memory, so RAM and storage upgrades are straightforward and future-proof.
Lenovo LOQ 17IRX10 (17", Gen 10) in-depth review
Lenovo's LOQ line has always been about smart, value-focused gaming, and the new LOQ 17IRX10 is a perfect embodiment of that philosophy. It avoids flashy, expensive materials to deliver a robust, practical desktop replacement that's packed with power and user-friendly features. However, its most impressive feature isn't the powerful CPU or the stable GPU; it's a small, deliberate design choice that shows a deep understanding of what gamers actually want: the keyboard. This machine makes a compelling case for being the most thoughtfully designed budget gamer on the market, but does its focu[...]

Pros
- Excellent gaming performance with great thermal stability for the GPU
- Superb keyboard with offset, full-sized arrow keys
- Great upgradeability with two RAM and two M.2 slots
- Fast, color-accurate, and PWM-free 165Hz display
- Extremely generous port selection with four USB-A ports
- Physical e-shutter for the webcam
Cons
- Very poor battery life due to small 60Wh battery
- No biometric login options (fingerprint or IR camera)
 Author: Dimitar Stalev

![[June 2026] Best-Selling Laptop Brands on Amazon Global – Apple’s Unrivaled Dominance in Units and Revenue](https://laptopmedia.com/wp-content/uploads/2026/07/GLOBAL-Best-Brands-400x225.jpg)
![[June 2026] Amazon Global: Top 10 Best-Selling Laptops – Apple’s New MacBook Neo Storms to #1, Reshaping the Market with Affordability](https://laptopmedia.com/wp-content/uploads/2026/07/Best-Selling-Laptops-GLOBAL-Top-10-400x225.jpg)
![[June 2026] Amazon Global: Top 10 Best-Selling Gaming Laptops – Acer’s Nitro V 16S AI Dominates Sales, While ASUS Leads Overall Revenue](https://laptopmedia.com/wp-content/uploads/2026/07/Best-Selling-Gaming-Laptops-GLOBAL-Top-10-400x225.jpg)
![[June 2026] Global Ranking of Best-Selling Laptop GPUs on Amazon – NVIDIA RTX 5060 is the Top-Selling Dedicated GPU](https://laptopmedia.com/wp-content/uploads/2026/07/Best-Selling-GPUs-GLOBAL-Top-10-400x225.jpg)
![[June 2026] Global Ranking of Best-Selling Laptop CPUs on Amazon – Apple M5 Dominates, AMD Ryzen 7 260 Gets Solid Premium Share](https://laptopmedia.com/wp-content/uploads/2026/07/Best-Selling-CPUs-GLOBAL-Top-10-400x225.jpg)