Inside Acer Aspire E 15 (E5-575G) – disassembly, internal photos and upgrade options
Finally, Acer started putting those service lids where they belong! Better late than never, right? Anyway, this article is aimed for the budget-friendly Aspire E 15 (E5-575G), which is an updated version of its predecessor in terms of design, hardware, and usability. Here’s what hides under the bottom cover.
You can find the notebook’s price and configurations here: http://amzn.to/2chdGDJ
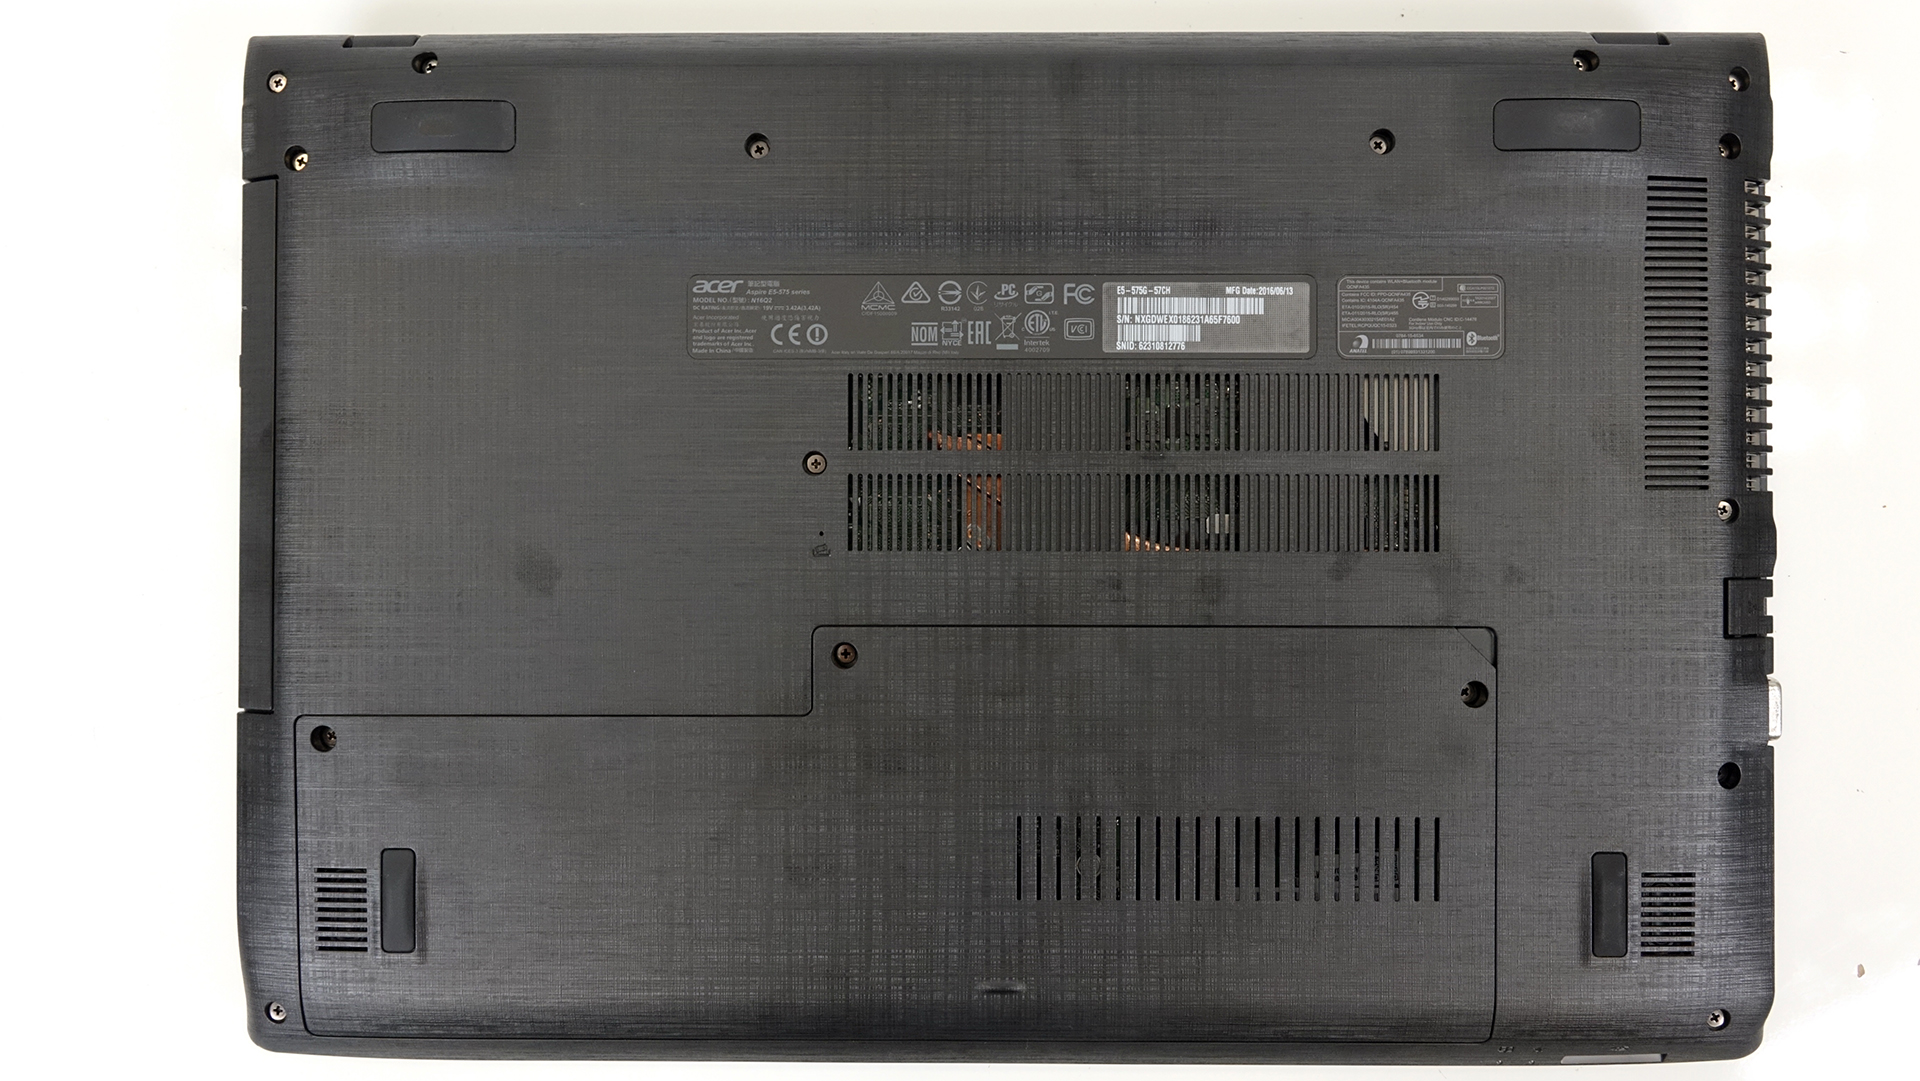
1. Removing the service lid
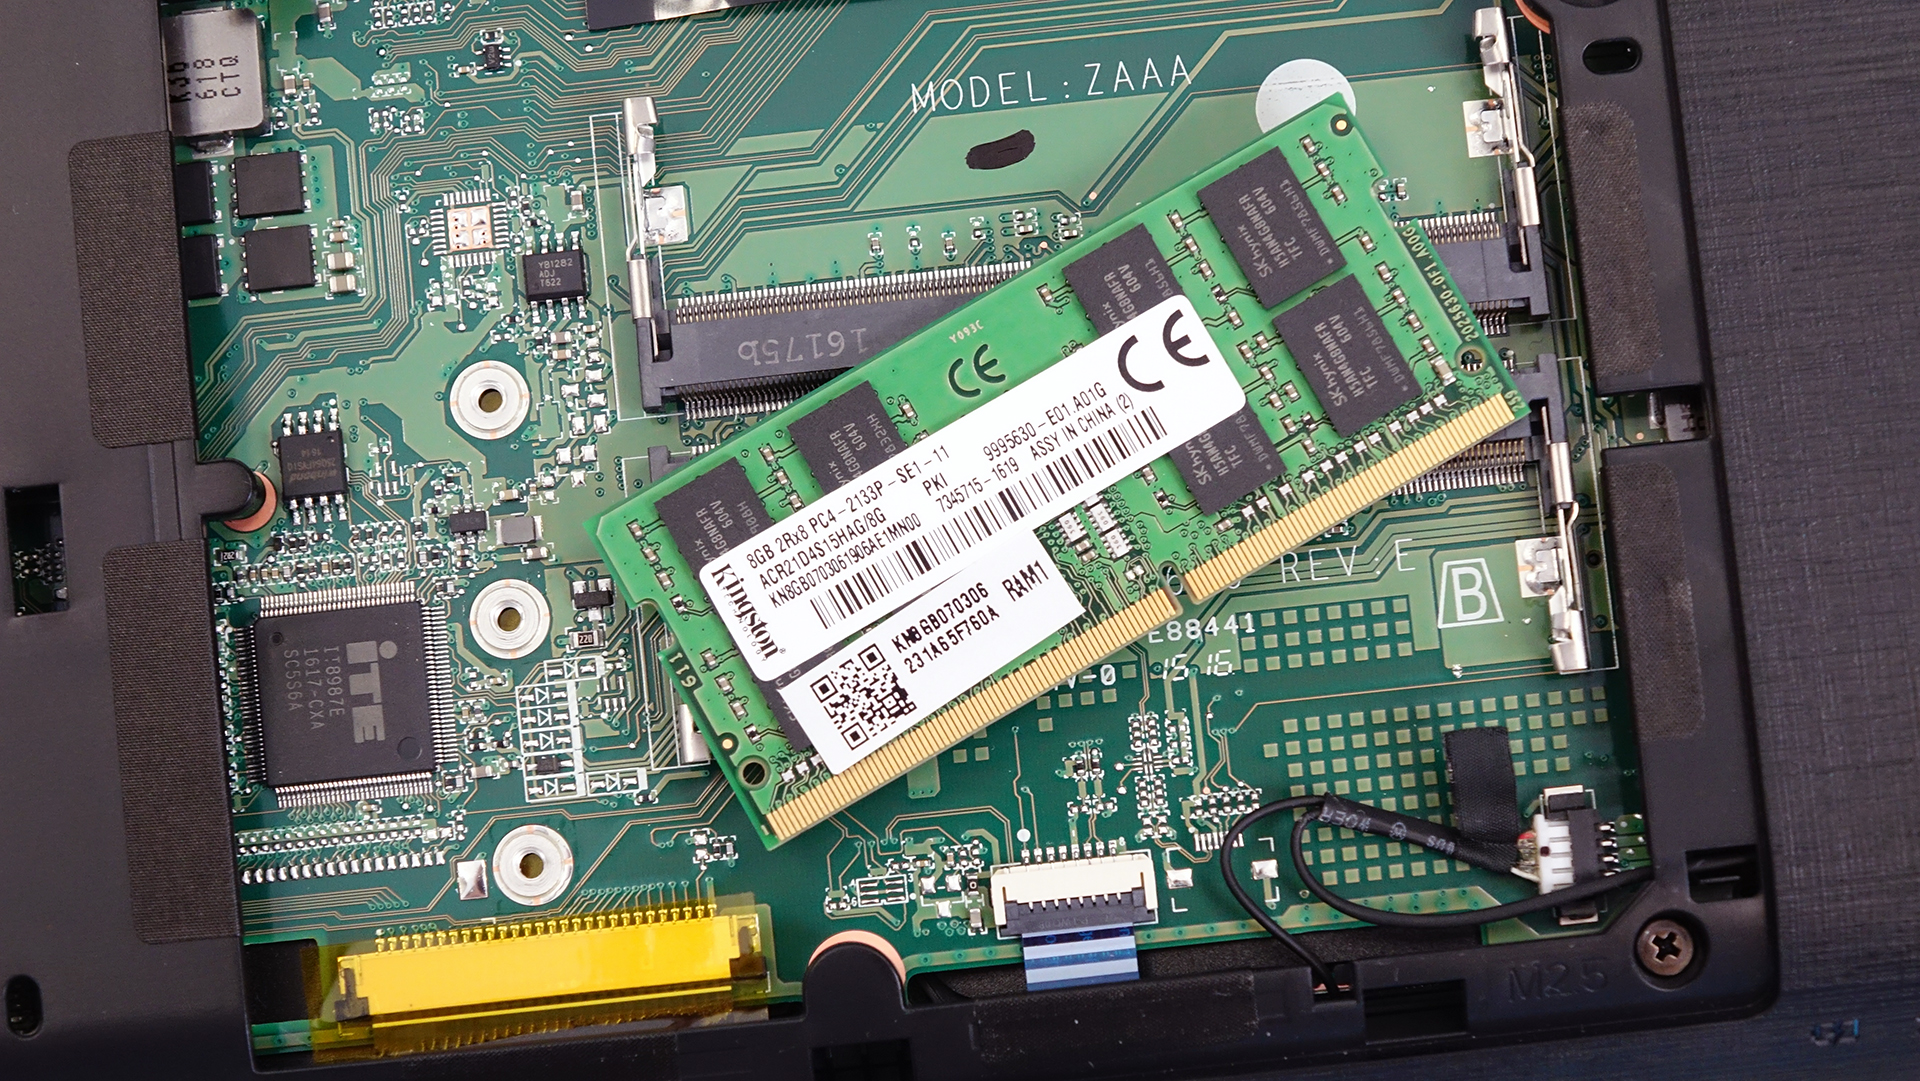
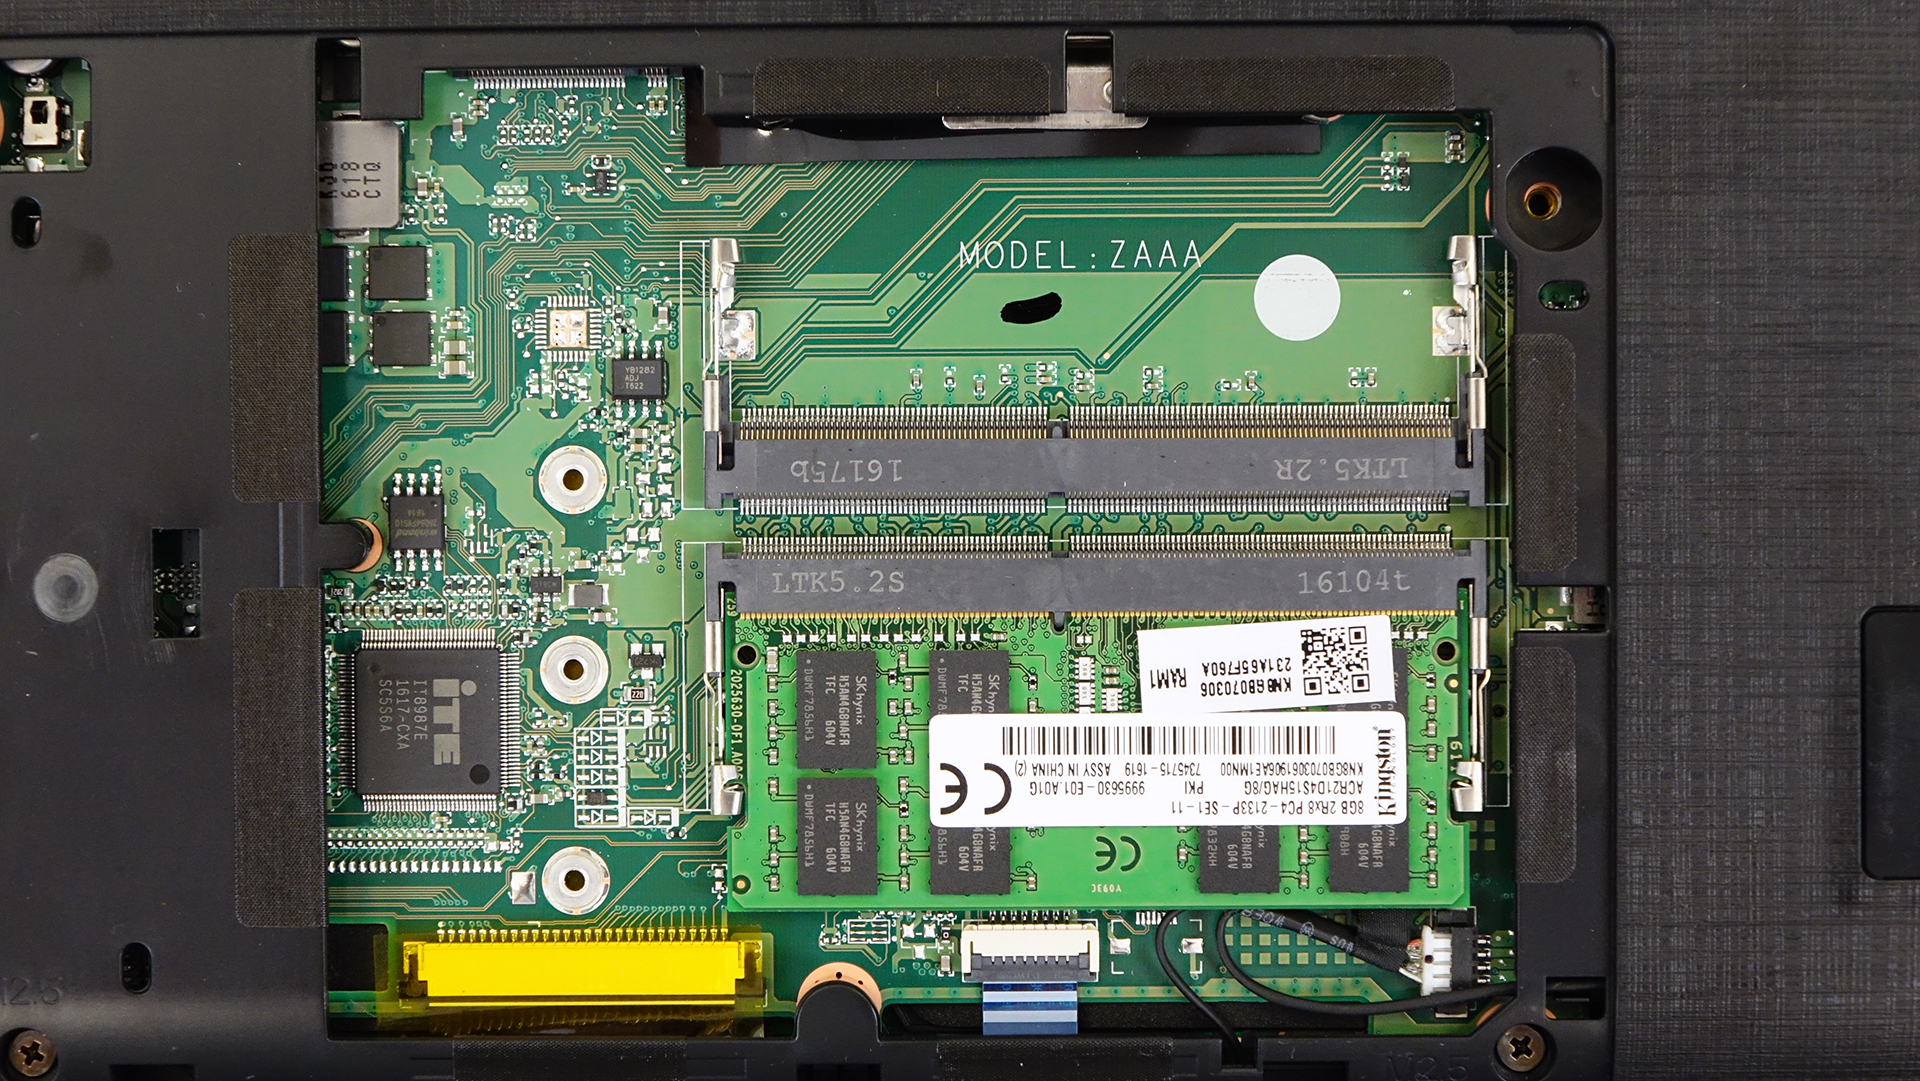
If you are going to upgrade RAM or storage, you are in for a super easy upgrade. All you have to do is pop open the service lid and you will see this.
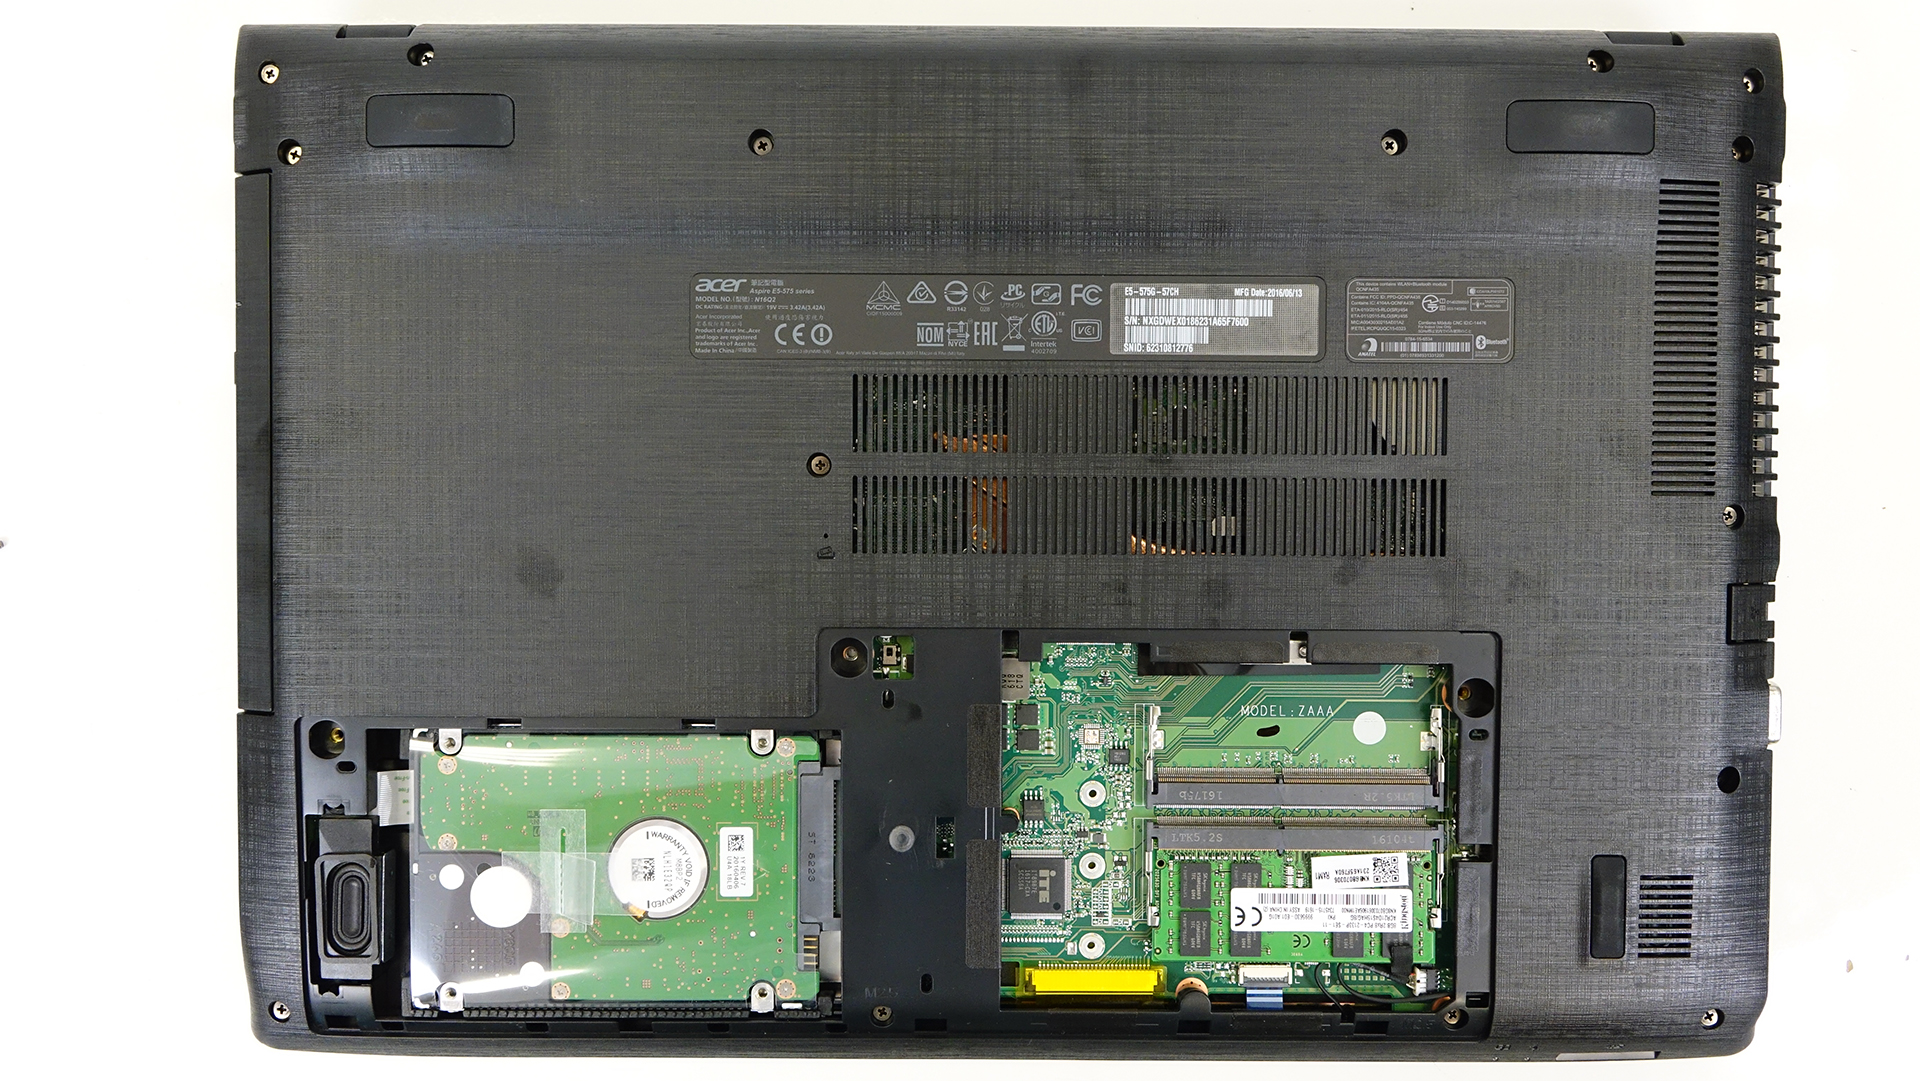
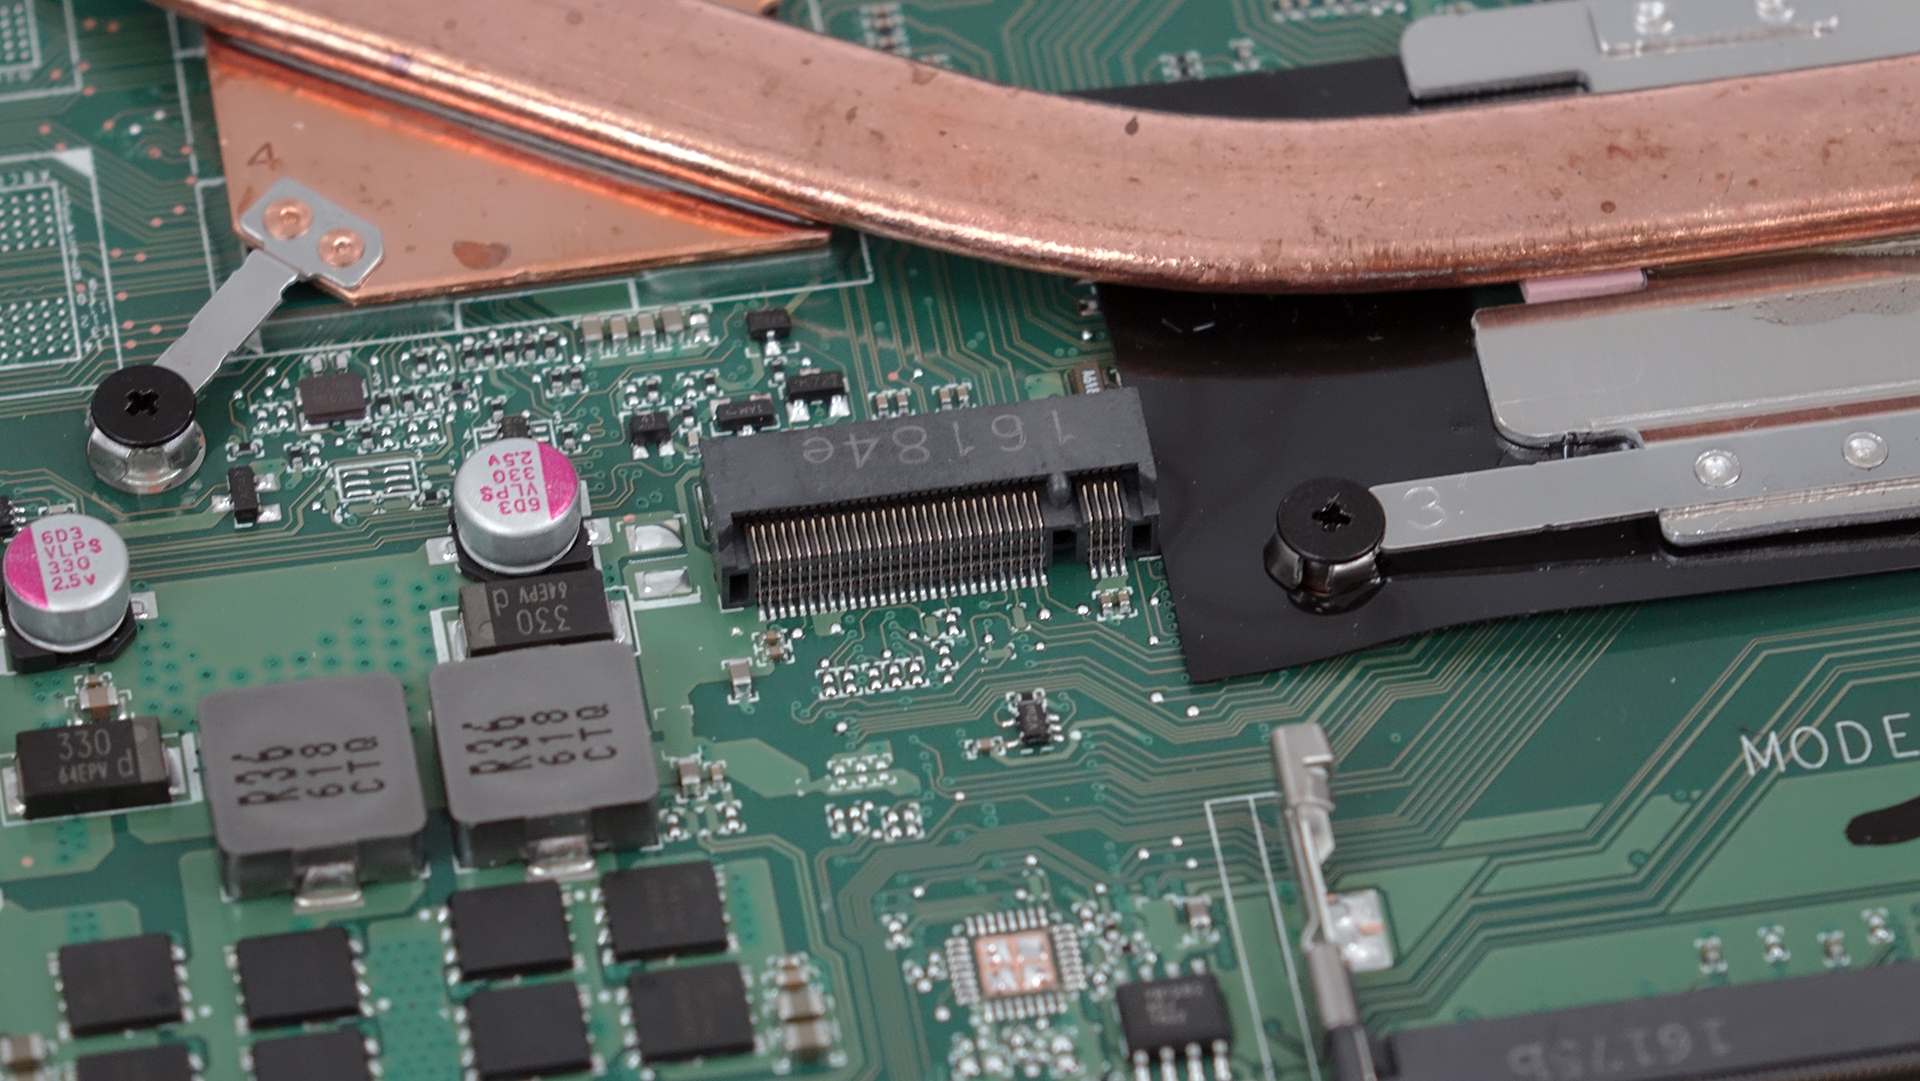
You will have access to the 2.5-inch HDD, which in our case is a Seagate 1TB unit. If you want to, you can stick in an M.2 SATA SSD located next to the RAM slots. There are three holes that should fit the three most used standards – 2280, 2260 and 2232.
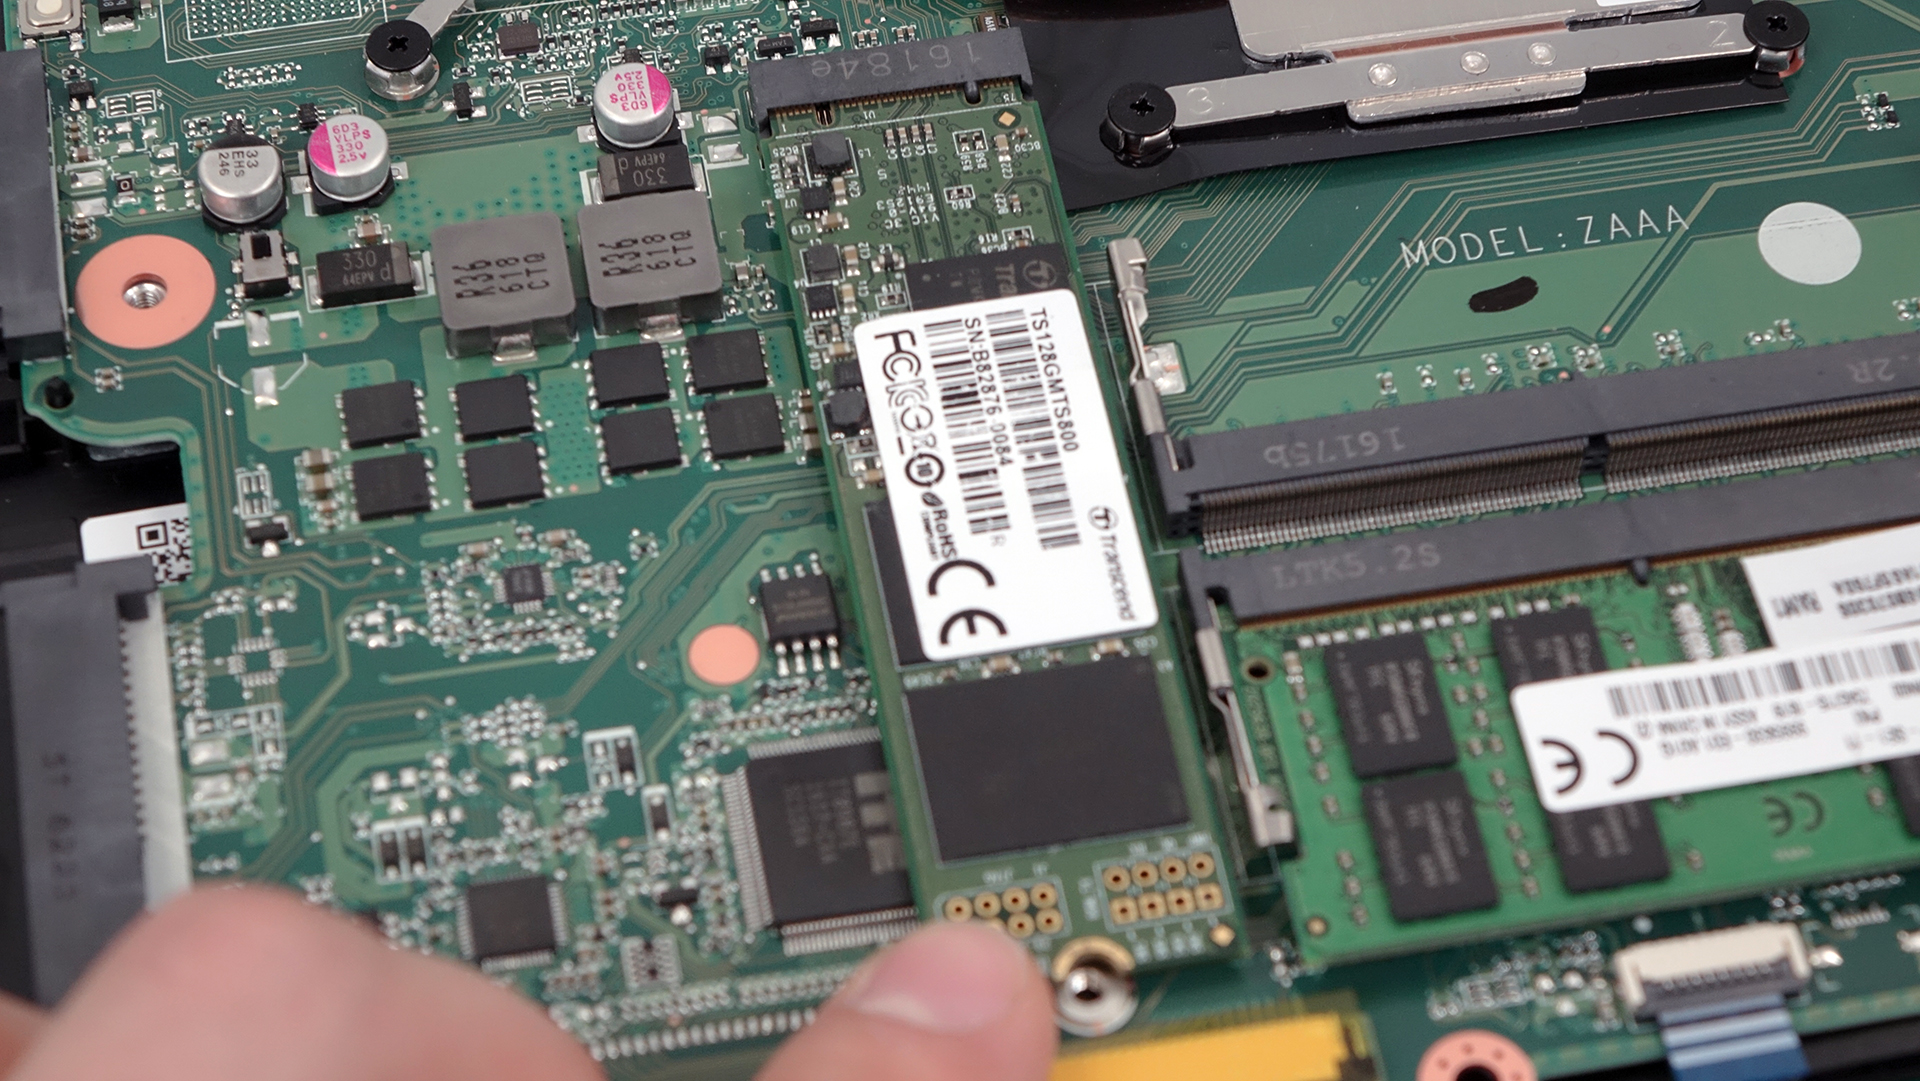
As for the RAM slots, they are two one of which is taken by an 8GB DDR4-2133 chip.
2. Removing the back cover
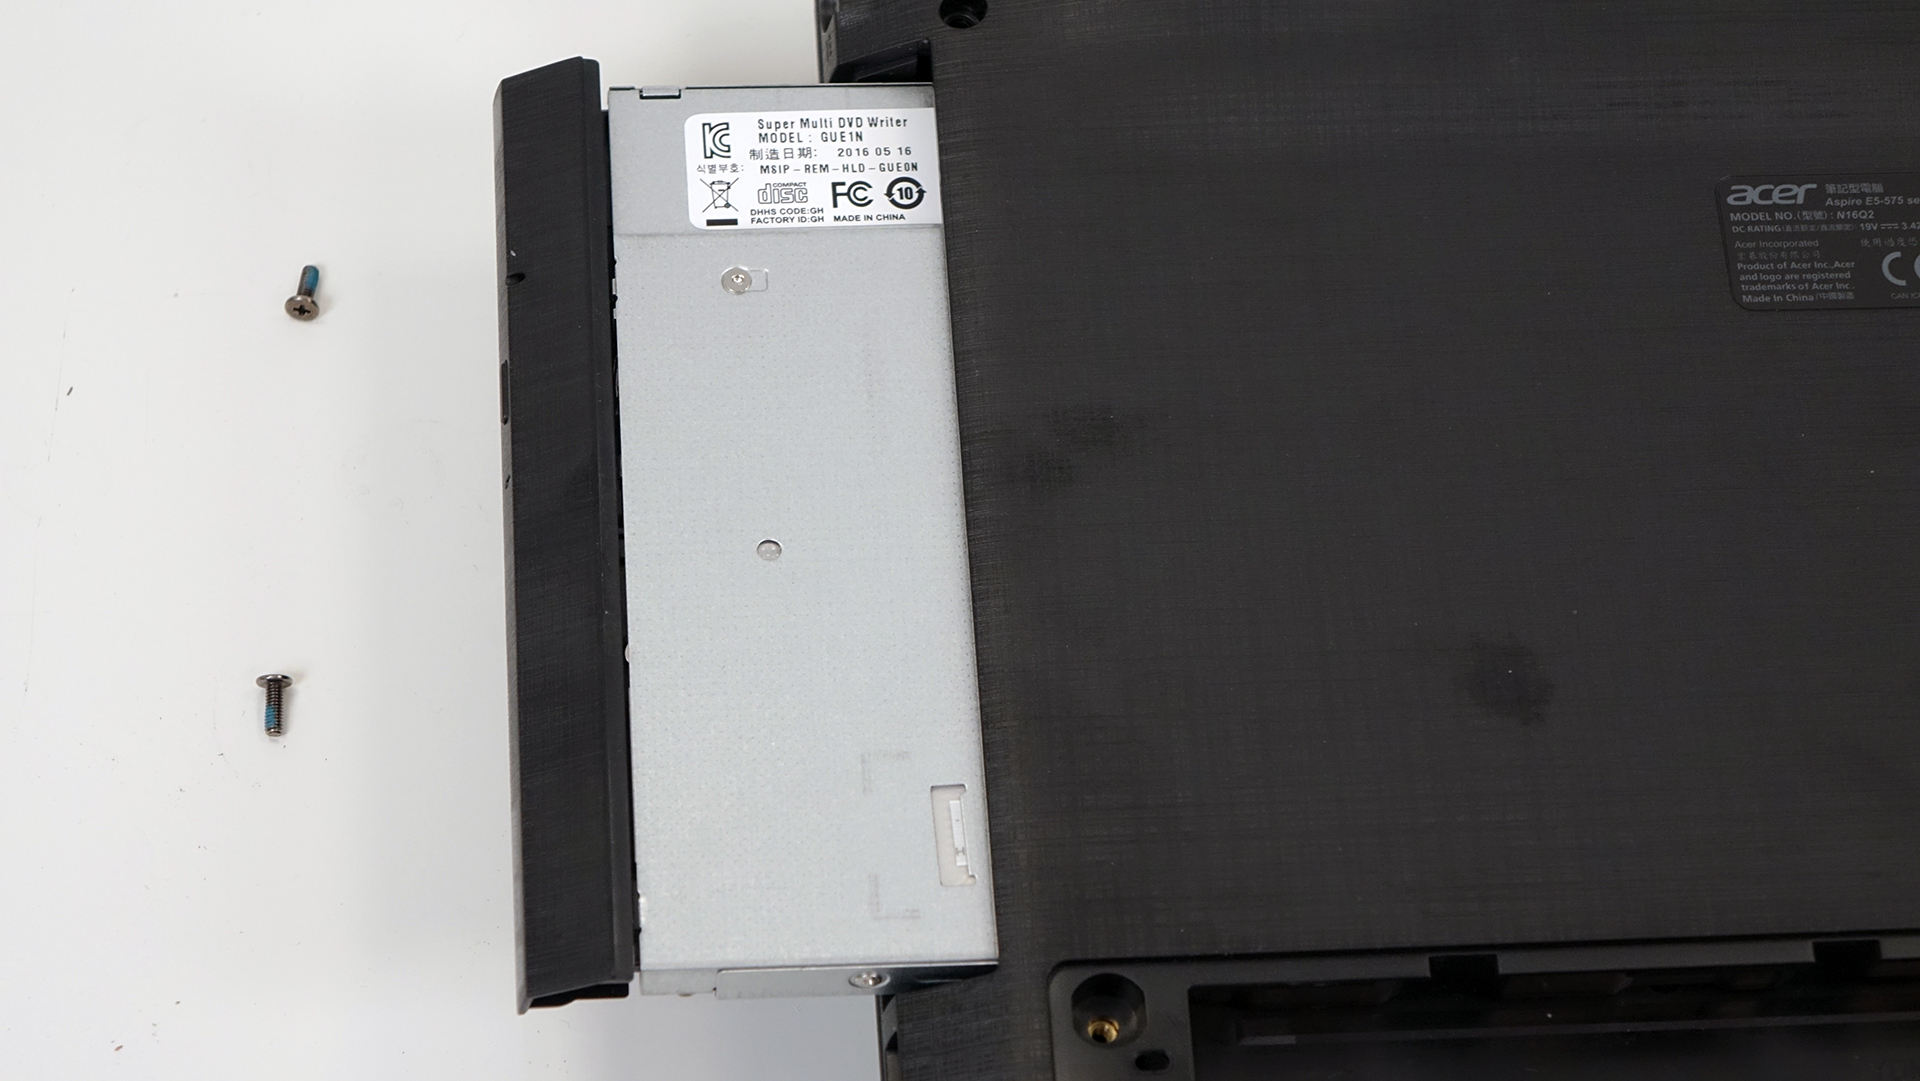
If you wish to proceed for whatever reason, you should remove all the screws around the bottom. There are a few located under the service lid and three holding the plate under the optical drive. So before you do anything else, make sure you’ve removed the optical drive and unscrewed the three bolts beneath it.

3. Battery and Wi-Fi module
The battery is located right between the hinges and can be removed quite easily. It’s rated at 41.4 Wh (2800 mAh).

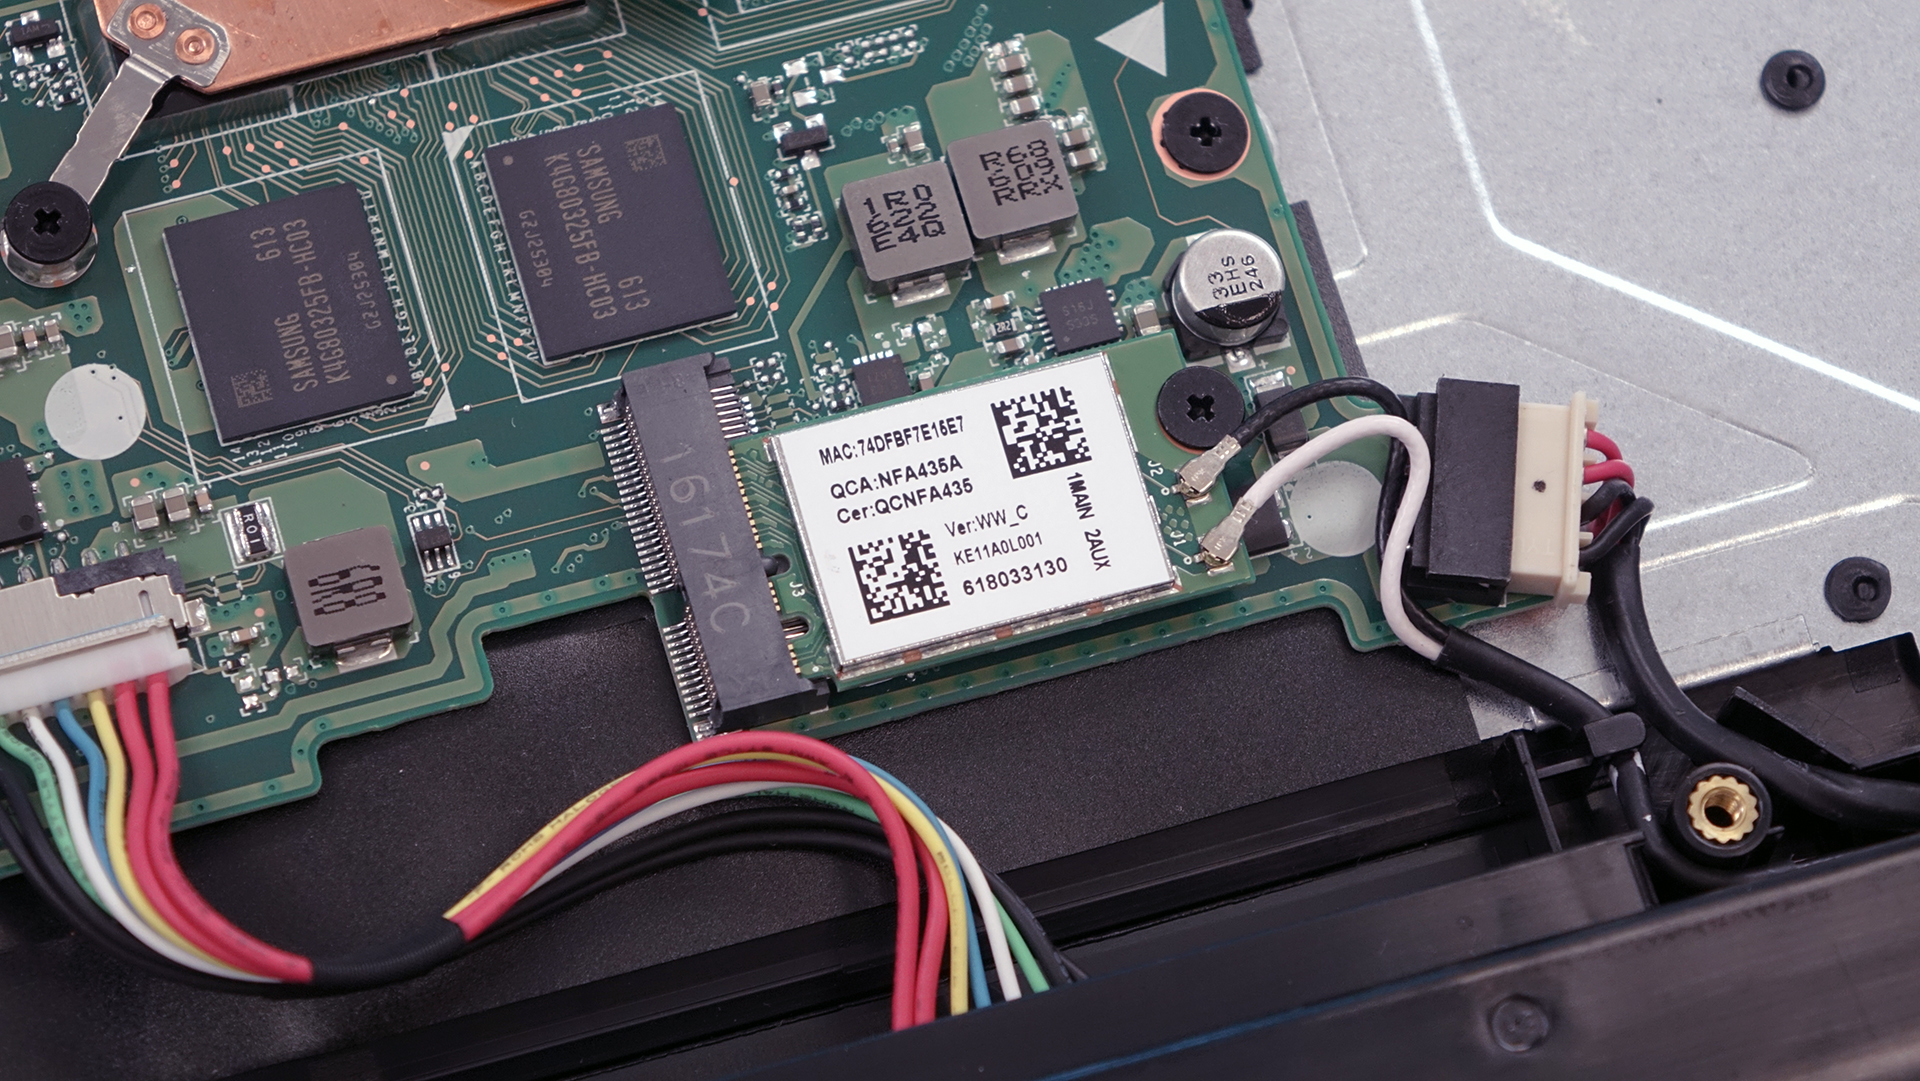
The Wi-Fi card is right next to the battery pack manufactured by Qualcomm with model number QCNFA435.
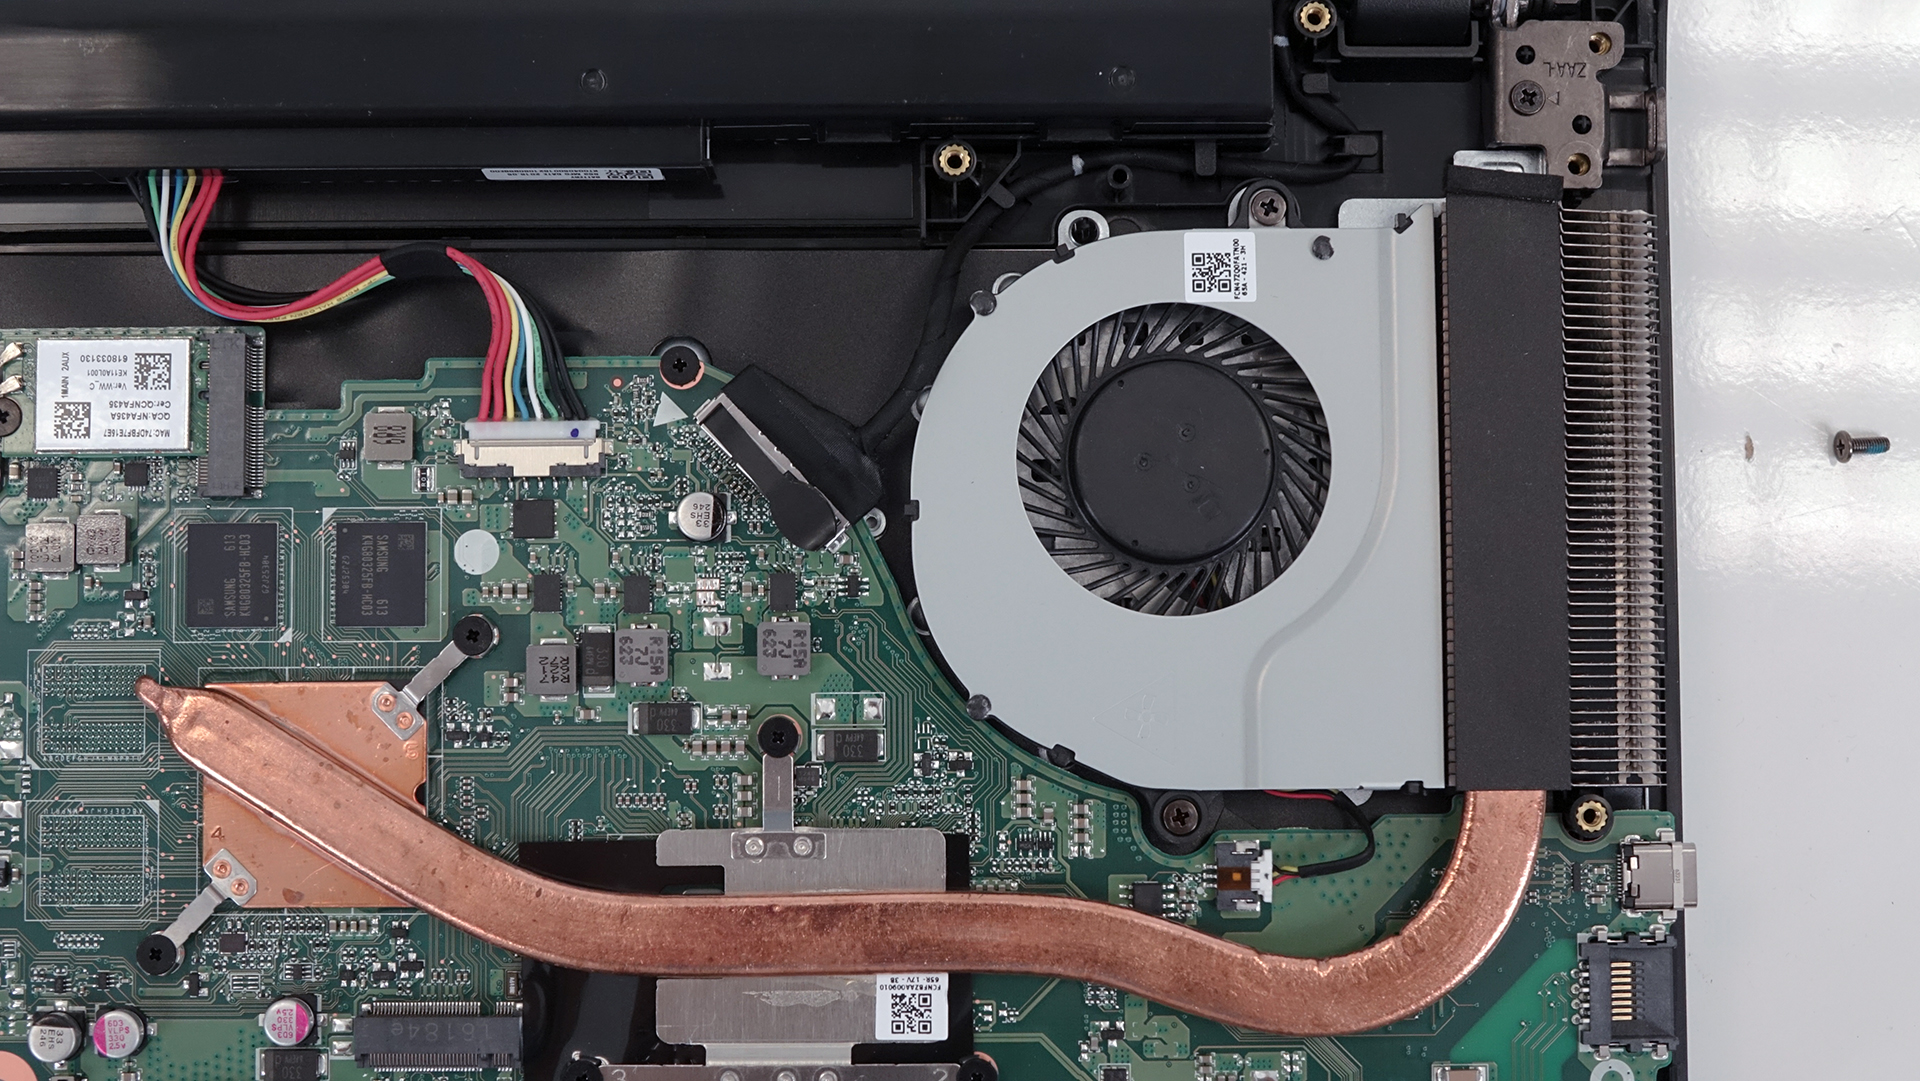
4. Cooling system
The cooling system is modest and consists of only one heat pipe going through two main heatsinks for the CPU and GPU. The fan is located on the left side of the notebook pushing the hot air through the exhaust vent.
You can find the notebook’s price and configurations here: http://amzn.to/2chdGDJ


![[June 2026] Best-Selling Laptop Brands on Amazon Global – Apple’s Unrivaled Dominance in Units and Revenue](https://laptopmedia.com/wp-content/uploads/2026/07/GLOBAL-Best-Brands-400x225.jpg)
![[June 2026] Amazon Global: Top 10 Best-Selling Laptops – Apple’s New MacBook Neo Storms to #1, Reshaping the Market with Affordability](https://laptopmedia.com/wp-content/uploads/2026/07/Best-Selling-Laptops-GLOBAL-Top-10-400x225.jpg)
![[June 2026] Amazon Global: Top 10 Best-Selling Gaming Laptops – Acer’s Nitro V 16S AI Dominates Sales, While ASUS Leads Overall Revenue](https://laptopmedia.com/wp-content/uploads/2026/07/Best-Selling-Gaming-Laptops-GLOBAL-Top-10-400x225.jpg)
![[June 2026] Global Ranking of Best-Selling Laptop GPUs on Amazon – NVIDIA RTX 5060 is the Top-Selling Dedicated GPU](https://laptopmedia.com/wp-content/uploads/2026/07/Best-Selling-GPUs-GLOBAL-Top-10-400x225.jpg)
![[June 2026] Global Ranking of Best-Selling Laptop CPUs on Amazon – Apple M5 Dominates, AMD Ryzen 7 260 Gets Solid Premium Share](https://laptopmedia.com/wp-content/uploads/2026/07/Best-Selling-CPUs-GLOBAL-Top-10-400x225.jpg)

how can we know if battery needed to replace
my laptop mulfunction where can we by motherboard