Inside ASUS ZenBook Flip 15 UX563 – disassembly and upgrade options
Now, how does a sleek, beautiful 2-in-1 device look on the inside? Let’s take a peek.
Check out all ASUS ZenBook Flip 15 UX563 prices and configurations in our Specs System or read more in our In-Depth review.
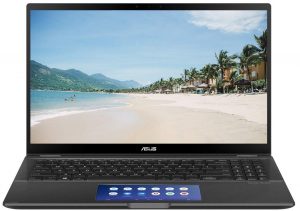
1. Remove the bottom plate
Thankfully, there are no hidden screws, which means you only need to remove the 10 visible Torx-head ones. After you do so, we would recommend starting the prying process from the hinges area and following along the edge.
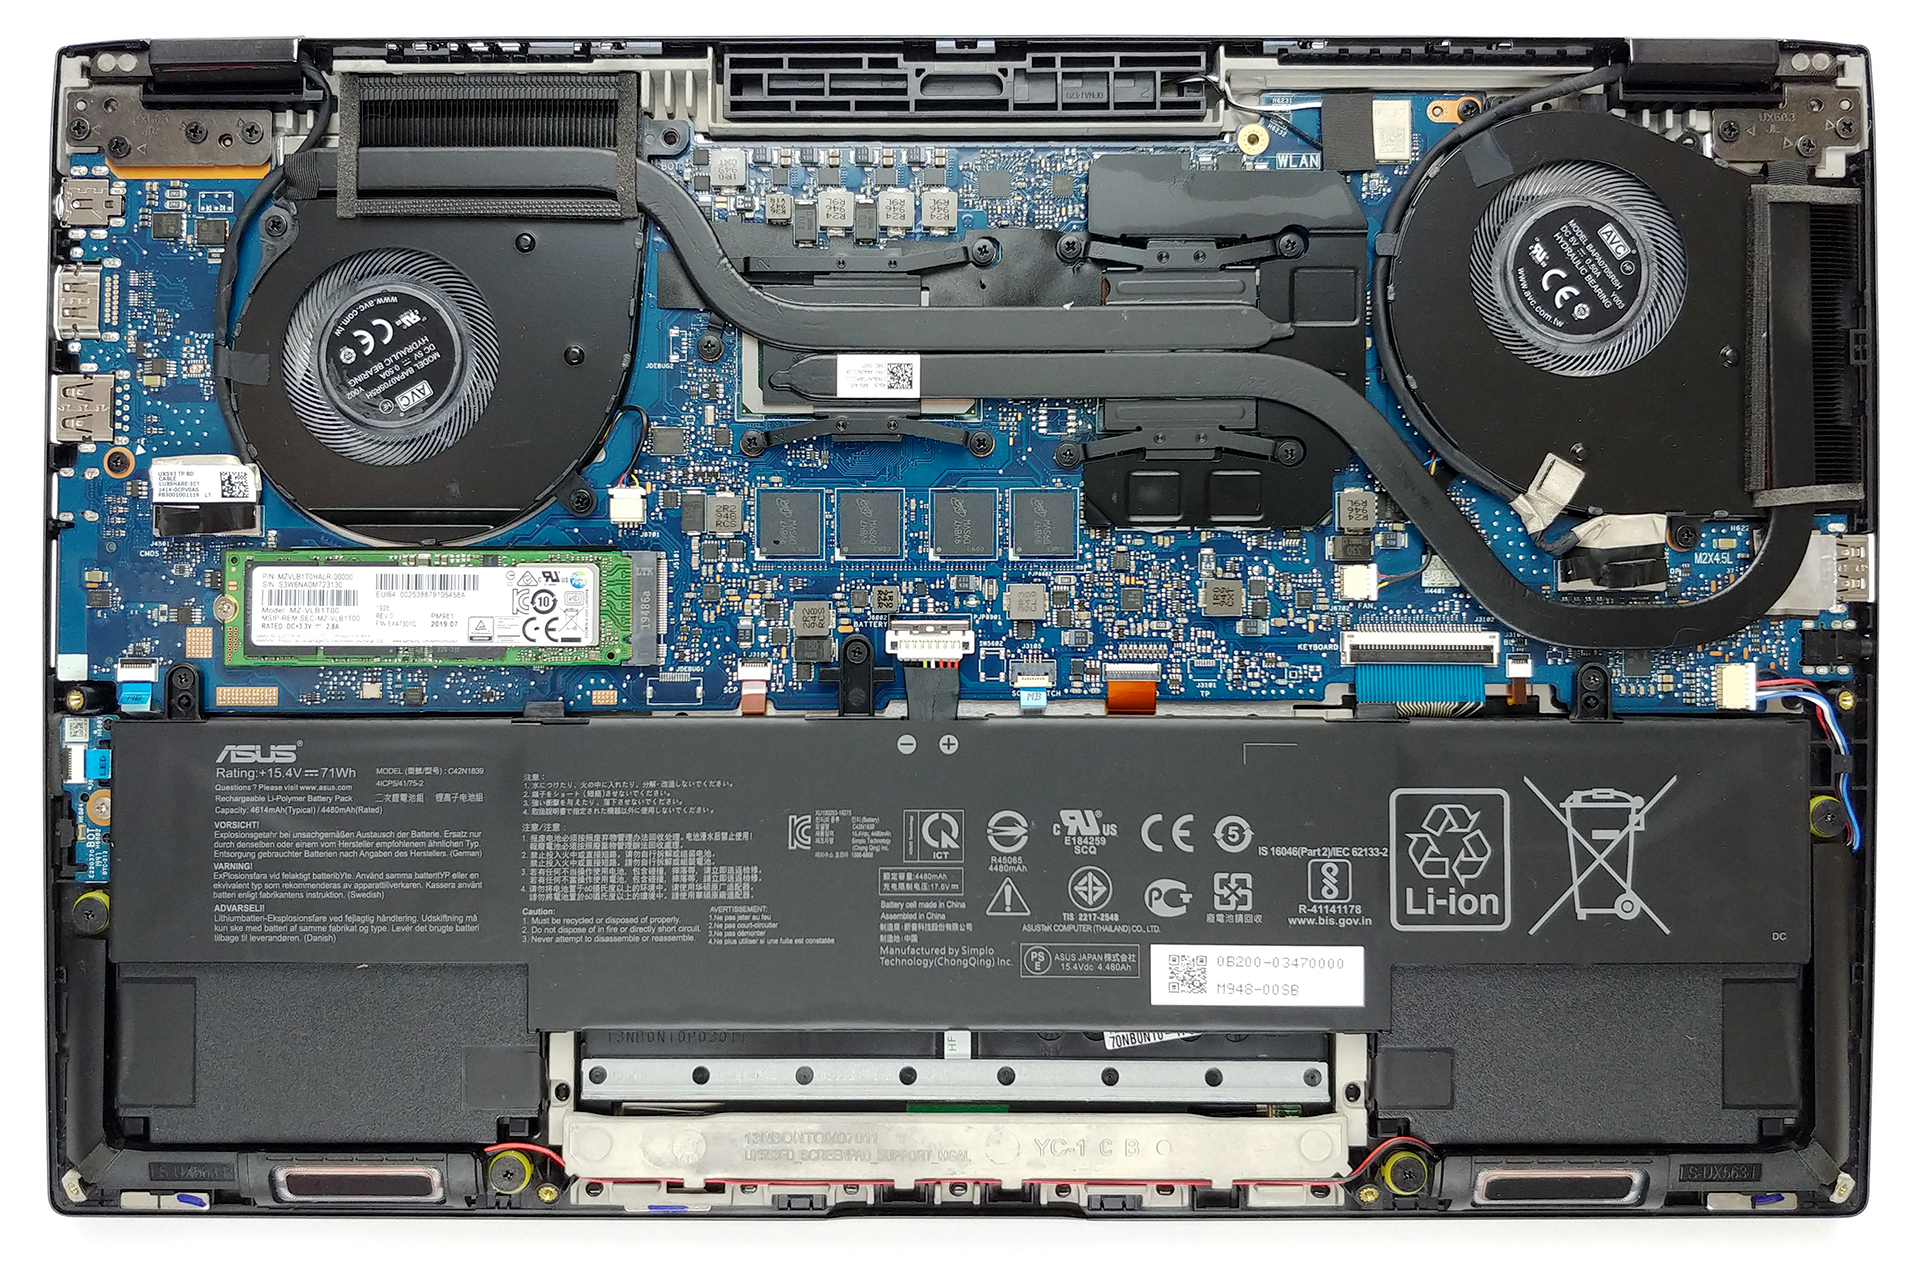
2. Battery
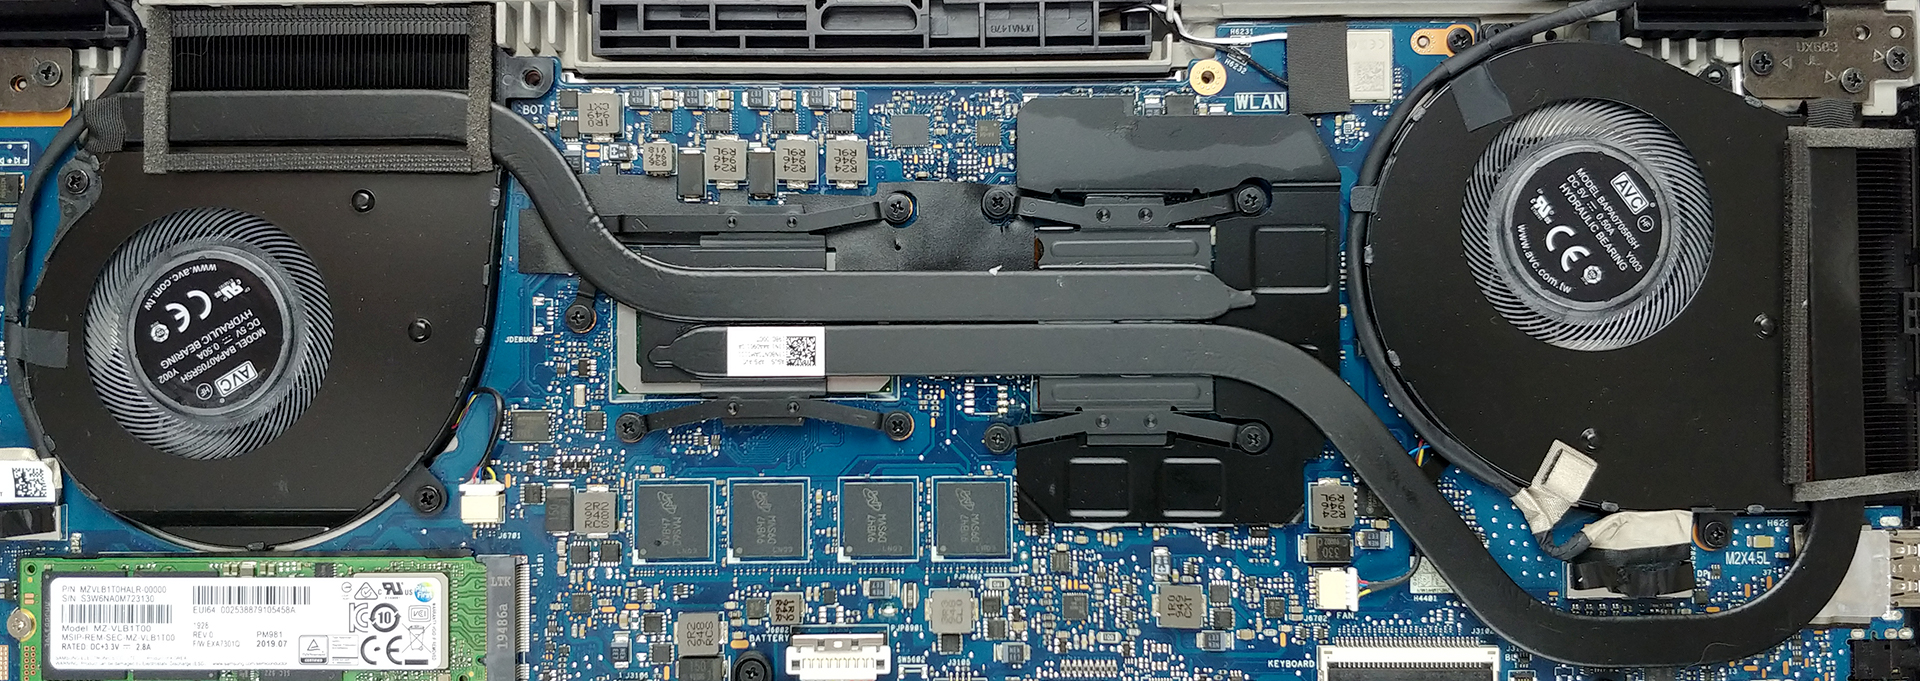
Battery-wise we are looking at a 71Wh package, which should easily deal with the UHD monitor option.
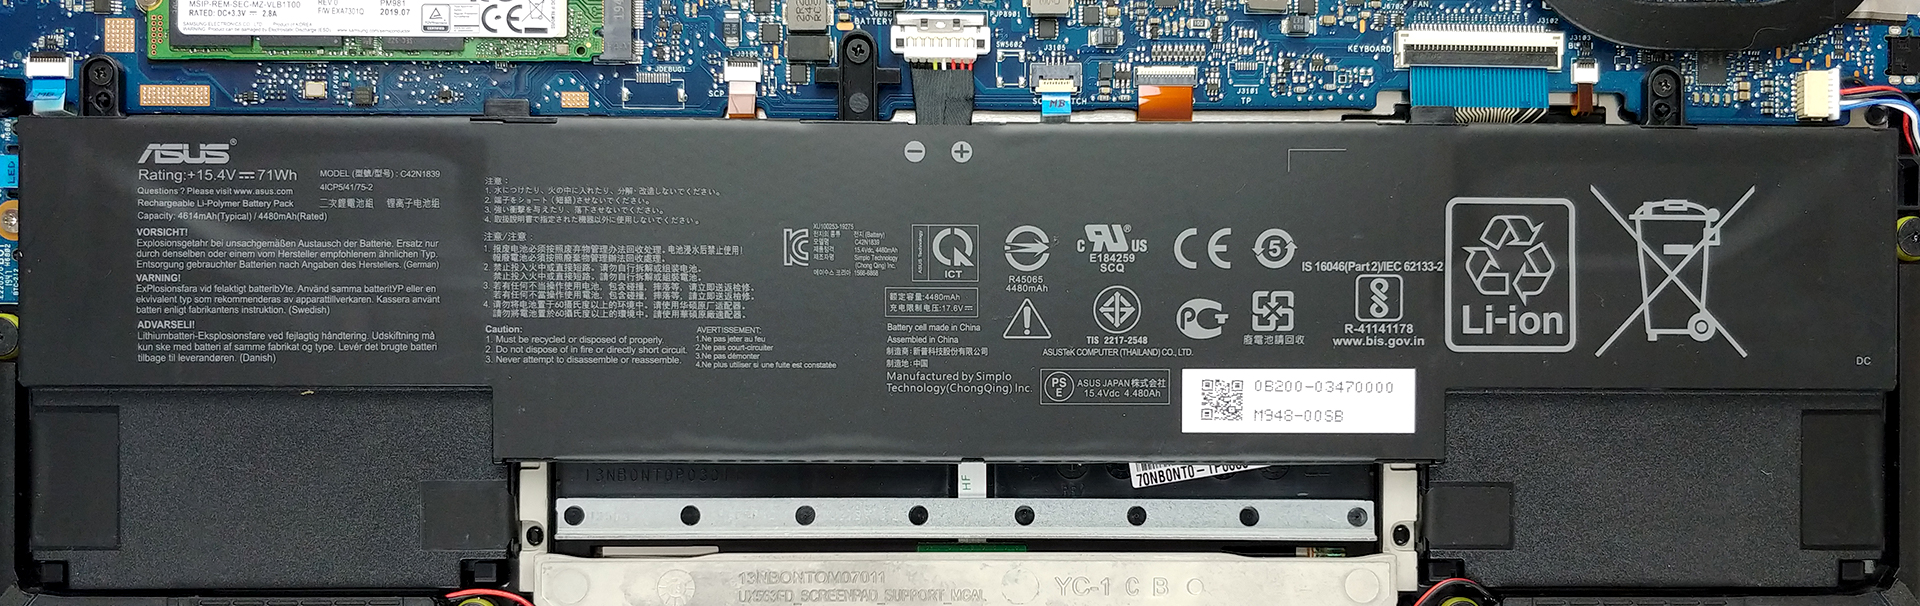
3. Memory and storage
As of recently, less and fewer ultrabooks come with a RAM expansion slot. This unit is not an exclusion from the trend and only offers you the preinstalled memory chips. On the bright side, there is a single M.2 PCIe x4 slot.
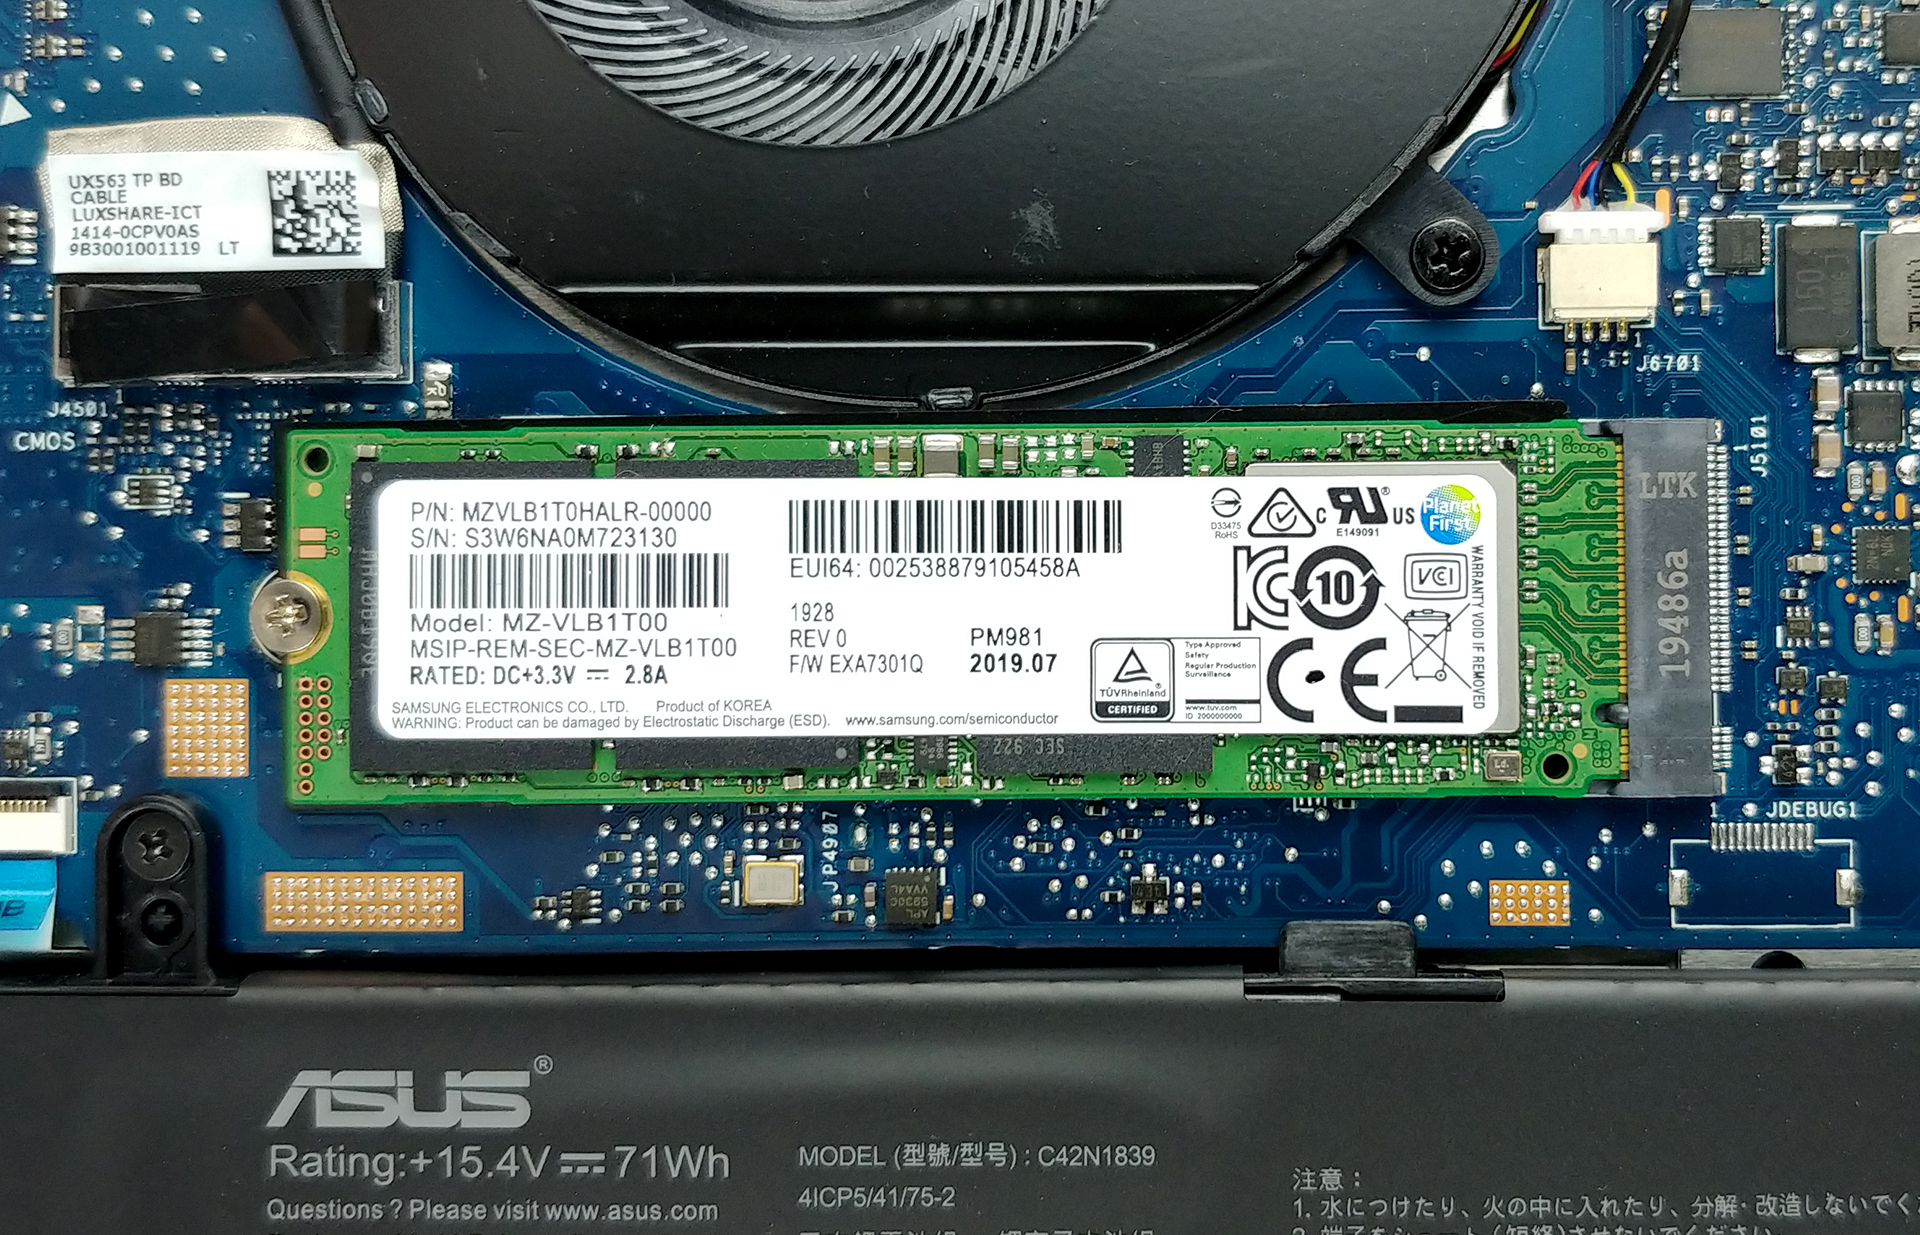
4. Cooling system
If you remember our ZenBook Flip 15 UX562 review, you would know that it used only one heat pipe to cool down both the CPU and the GPU simultaneously. However, ASUS has switched its philosophy and now uses two heat pipes, each of them going to a separate heat spreader.
Check out all ASUS ZenBook Flip 15 UX563 prices and configurations in our Specs System or read more in our In-Depth review.
 Author: Alex Iliev

![[June 2026] Best-Selling Laptop Brands on Amazon Global – Apple’s Unrivaled Dominance in Units and Revenue](https://laptopmedia.com/wp-content/uploads/2026/07/GLOBAL-Best-Brands-400x225.jpg)
![[June 2026] Amazon Global: Top 10 Best-Selling Laptops – Apple’s New MacBook Neo Storms to #1, Reshaping the Market with Affordability](https://laptopmedia.com/wp-content/uploads/2026/07/Best-Selling-Laptops-GLOBAL-Top-10-400x225.jpg)
![[June 2026] Amazon Global: Top 10 Best-Selling Gaming Laptops – Acer’s Nitro V 16S AI Dominates Sales, While ASUS Leads Overall Revenue](https://laptopmedia.com/wp-content/uploads/2026/07/Best-Selling-Gaming-Laptops-GLOBAL-Top-10-400x225.jpg)
![[June 2026] Global Ranking of Best-Selling Laptop GPUs on Amazon – NVIDIA RTX 5060 is the Top-Selling Dedicated GPU](https://laptopmedia.com/wp-content/uploads/2026/07/Best-Selling-GPUs-GLOBAL-Top-10-400x225.jpg)
![[June 2026] Global Ranking of Best-Selling Laptop CPUs on Amazon – Apple M5 Dominates, AMD Ryzen 7 260 Gets Solid Premium Share](https://laptopmedia.com/wp-content/uploads/2026/07/Best-Selling-CPUs-GLOBAL-Top-10-400x225.jpg)
Where can I locate the BIOS CMOS battery in this laptop