MSI Vector 16 HX A13V review – Titan Performance in a 16-inch Package
Disassembly, Upgrade options, and Maintenance
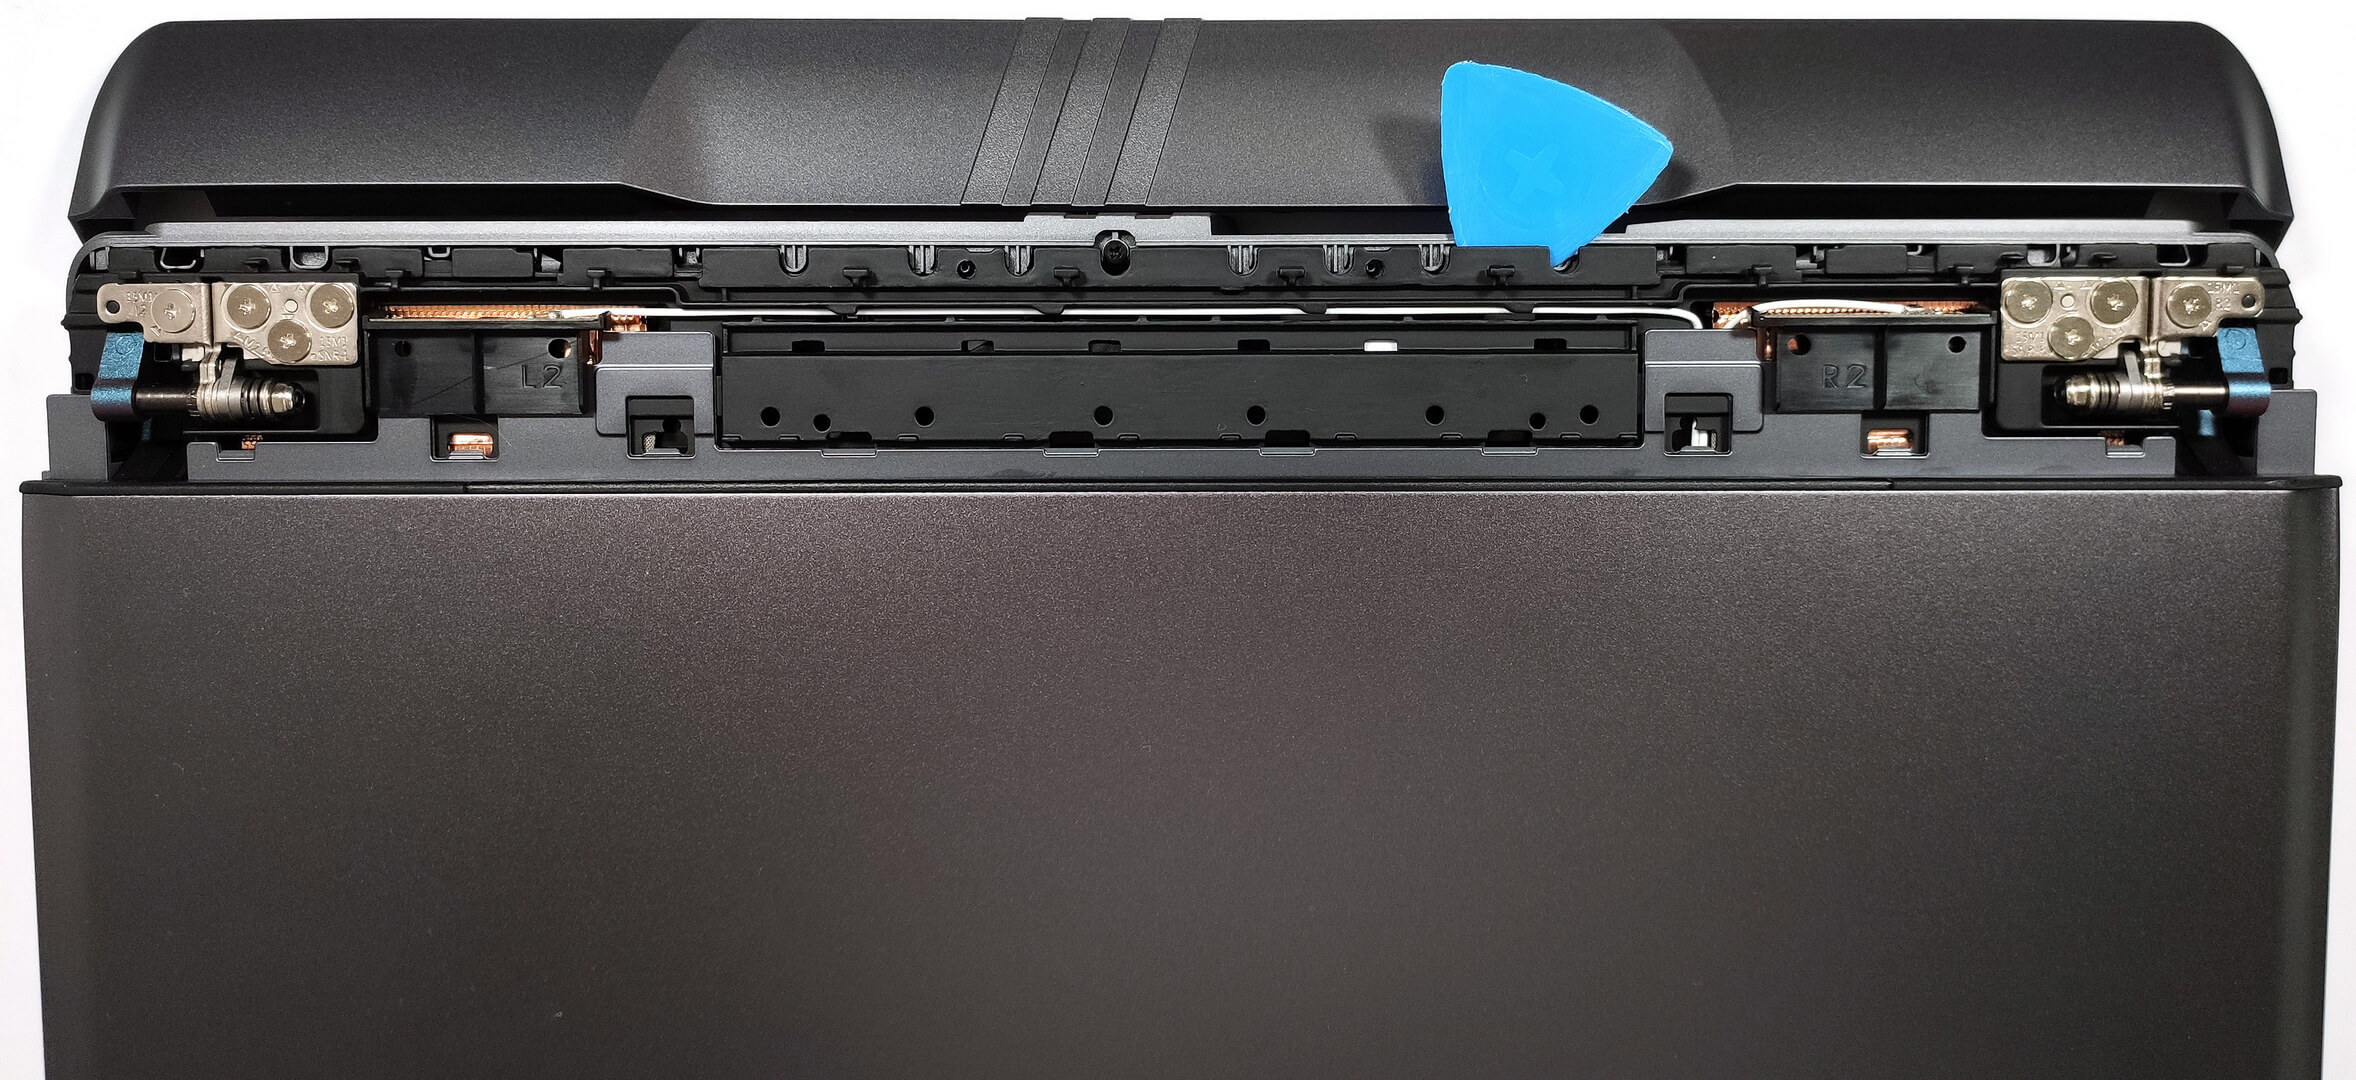
To see the internals of this powerful machine, you need to undo 13 Phillips-head screws. Then, flip the laptop, pry the sides of the hinge cover with a thin plastic tool, and use a lever tool to pop the front of the cap. You can also open the lid which will ease the whole process. With that out of the way, you can lift away the shield from the chassis. Now it’s time to pry the back with a thin plastic tool. Insert it in between the plate and the base and carefully pop the panel step by step. Turn over the laptop, open the lid, and pry the sides and the front through the base.


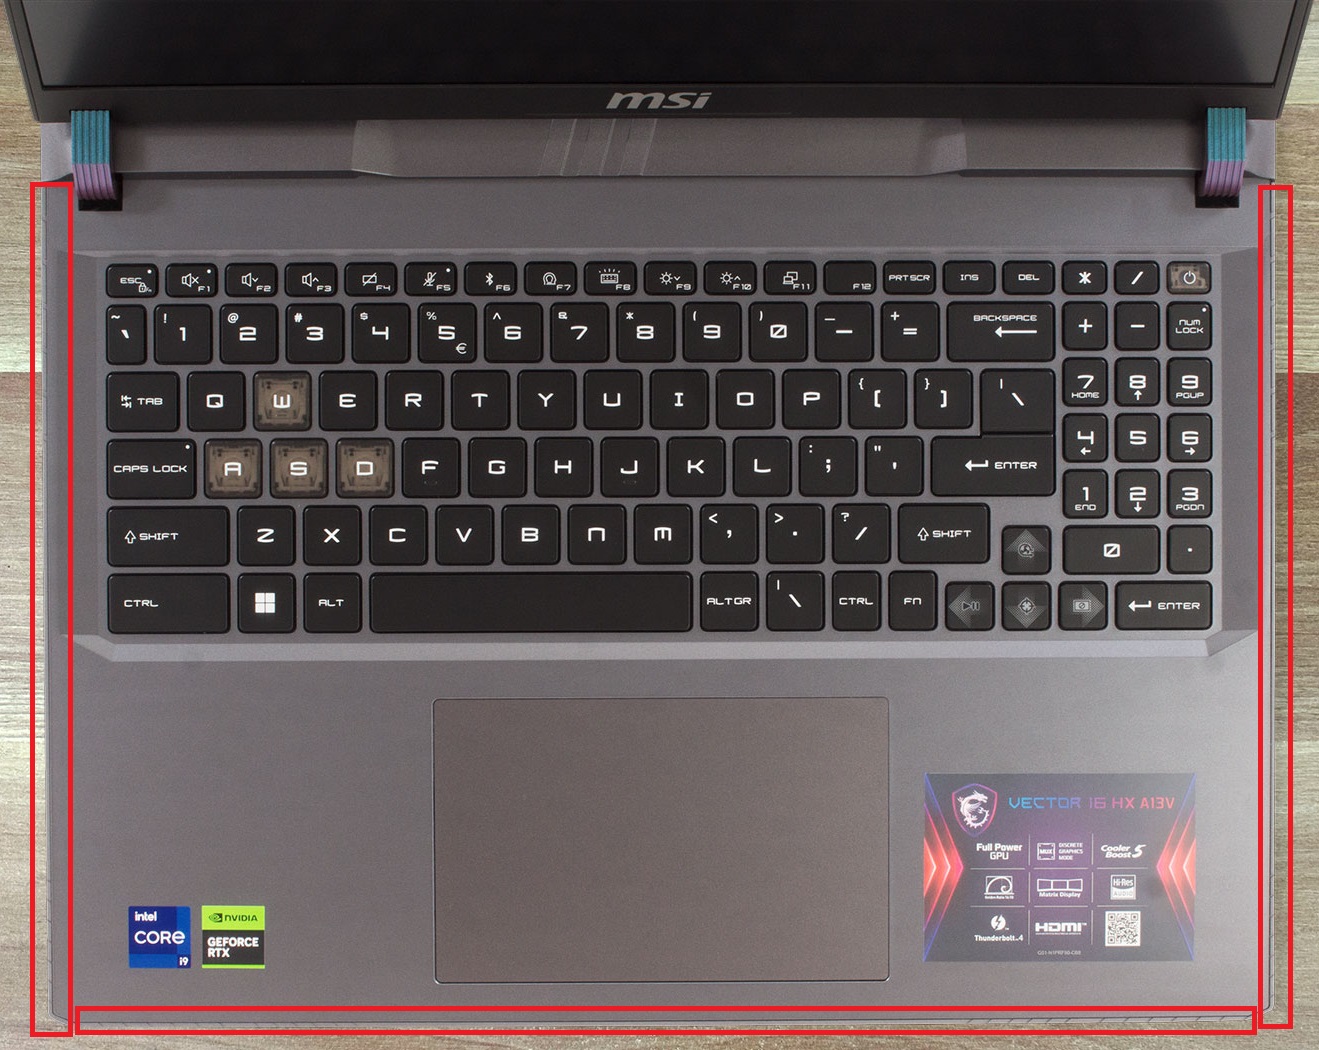
Flip the device upside down. You can’t raise the bottom plate straight upwards because the Audio jack sticks out of the mainboard. Lift up on the left and gently slide the panel to the right side.
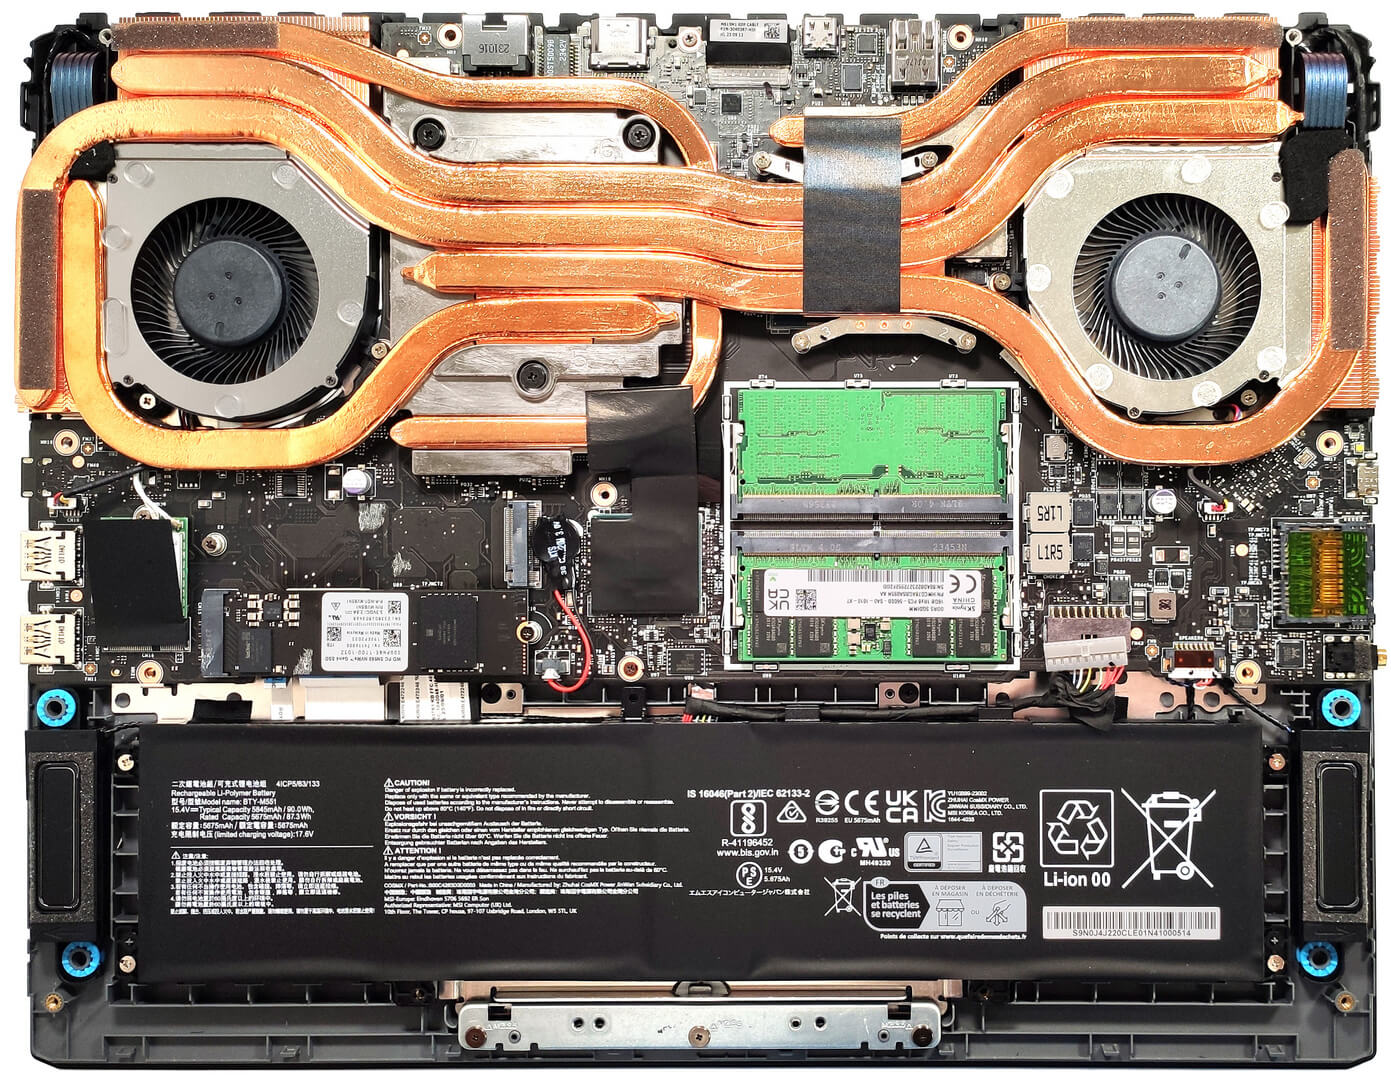
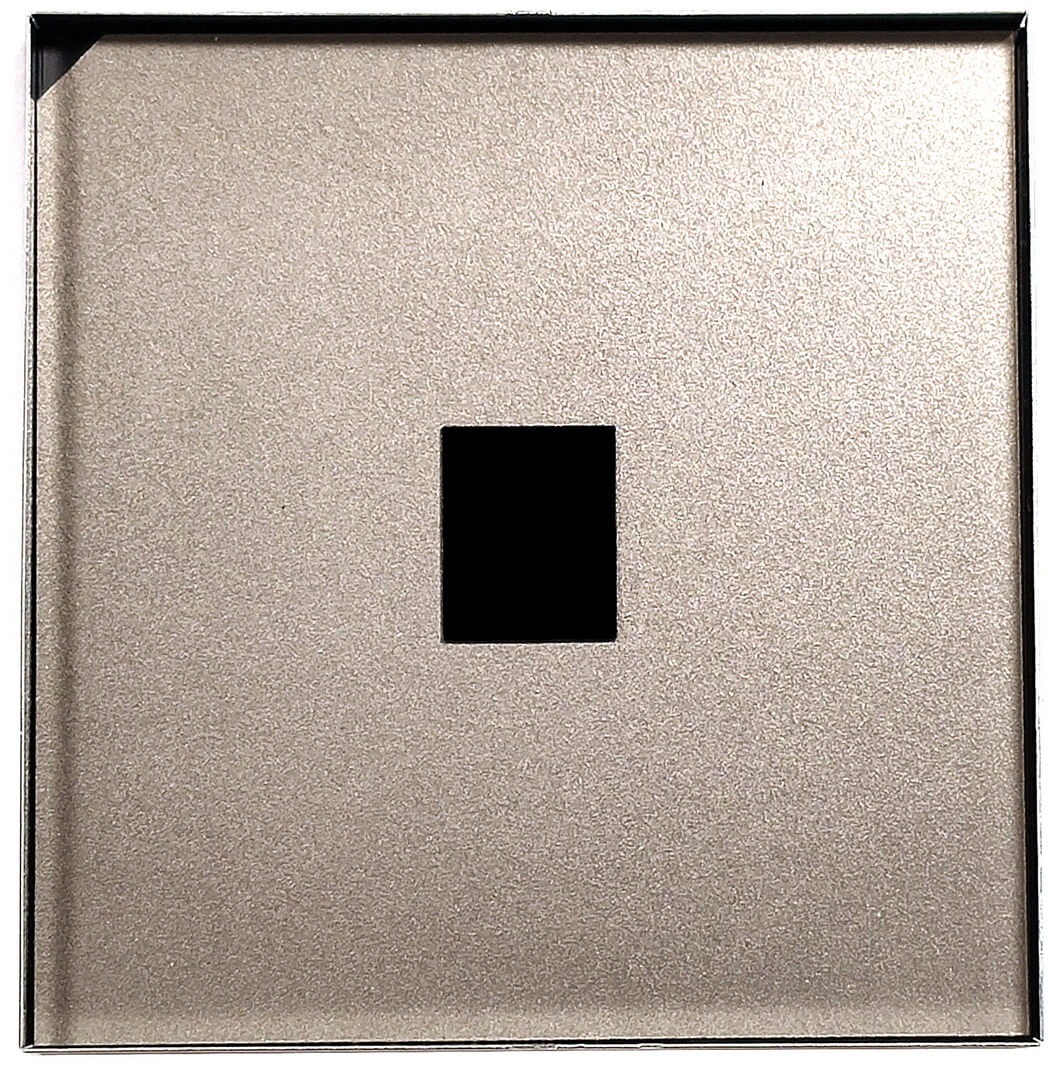
Here’s how the bottom panel looks on the inside.

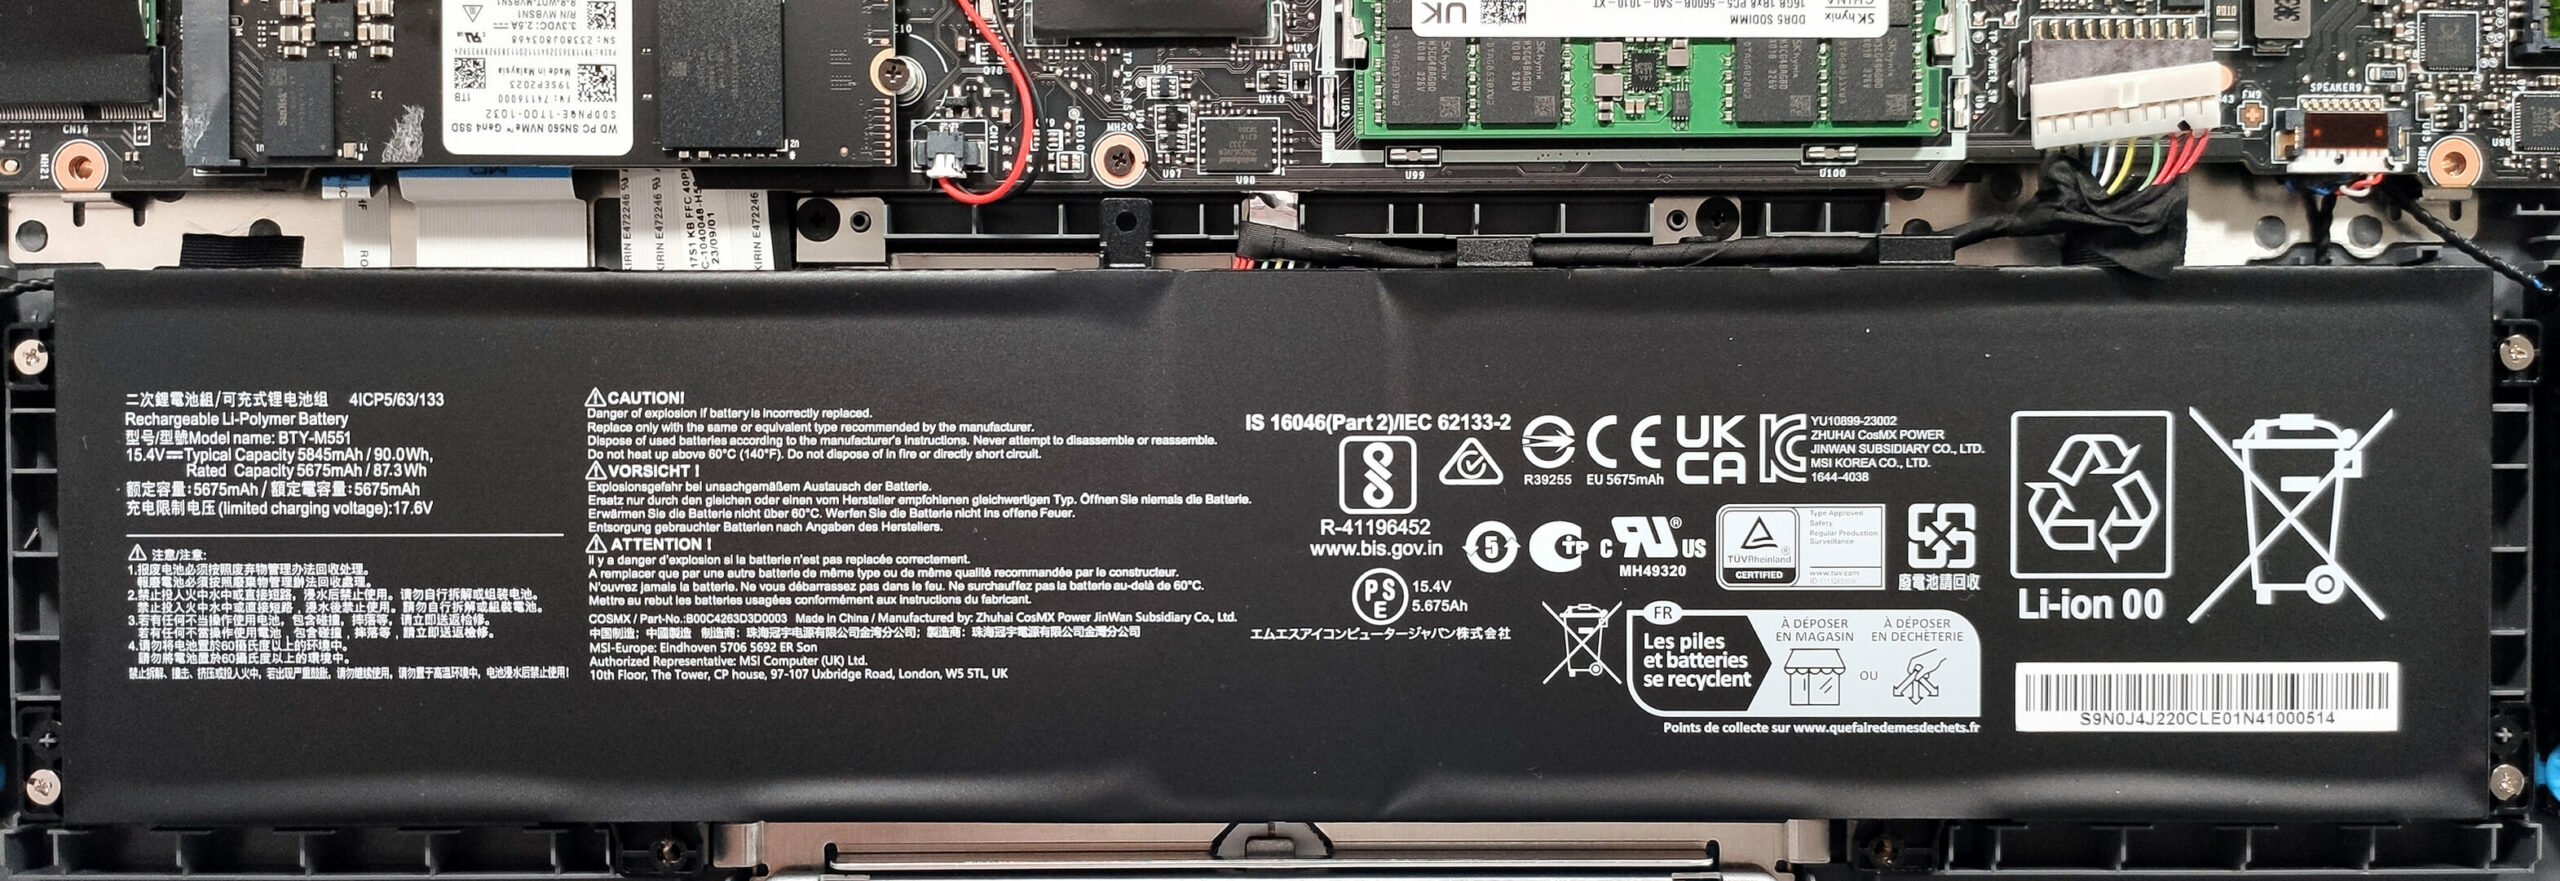
Here we have a 90Wh battery. To take it out, detach the connector from the mainboard and undo the 4 Phillips-head screws that keep the unit in place. The battery has enough juice for around 7 hours of Web browsing or 6 hours of video playback.
The RAM zone is protected by a metal cap. It’s glued to the plastic shrouds of the slots with a tiny pad so try not to pull the metal cap too hard. According to MSI, the two SODIMMs fit up to 64GB of DDR5-5600MHz RAM in dual-channel mode. However, since the CPU can support up to 192GB, this laptop likely wouldn’t have issues running a larger amount of memory than the official manufacturer’s specified limit.

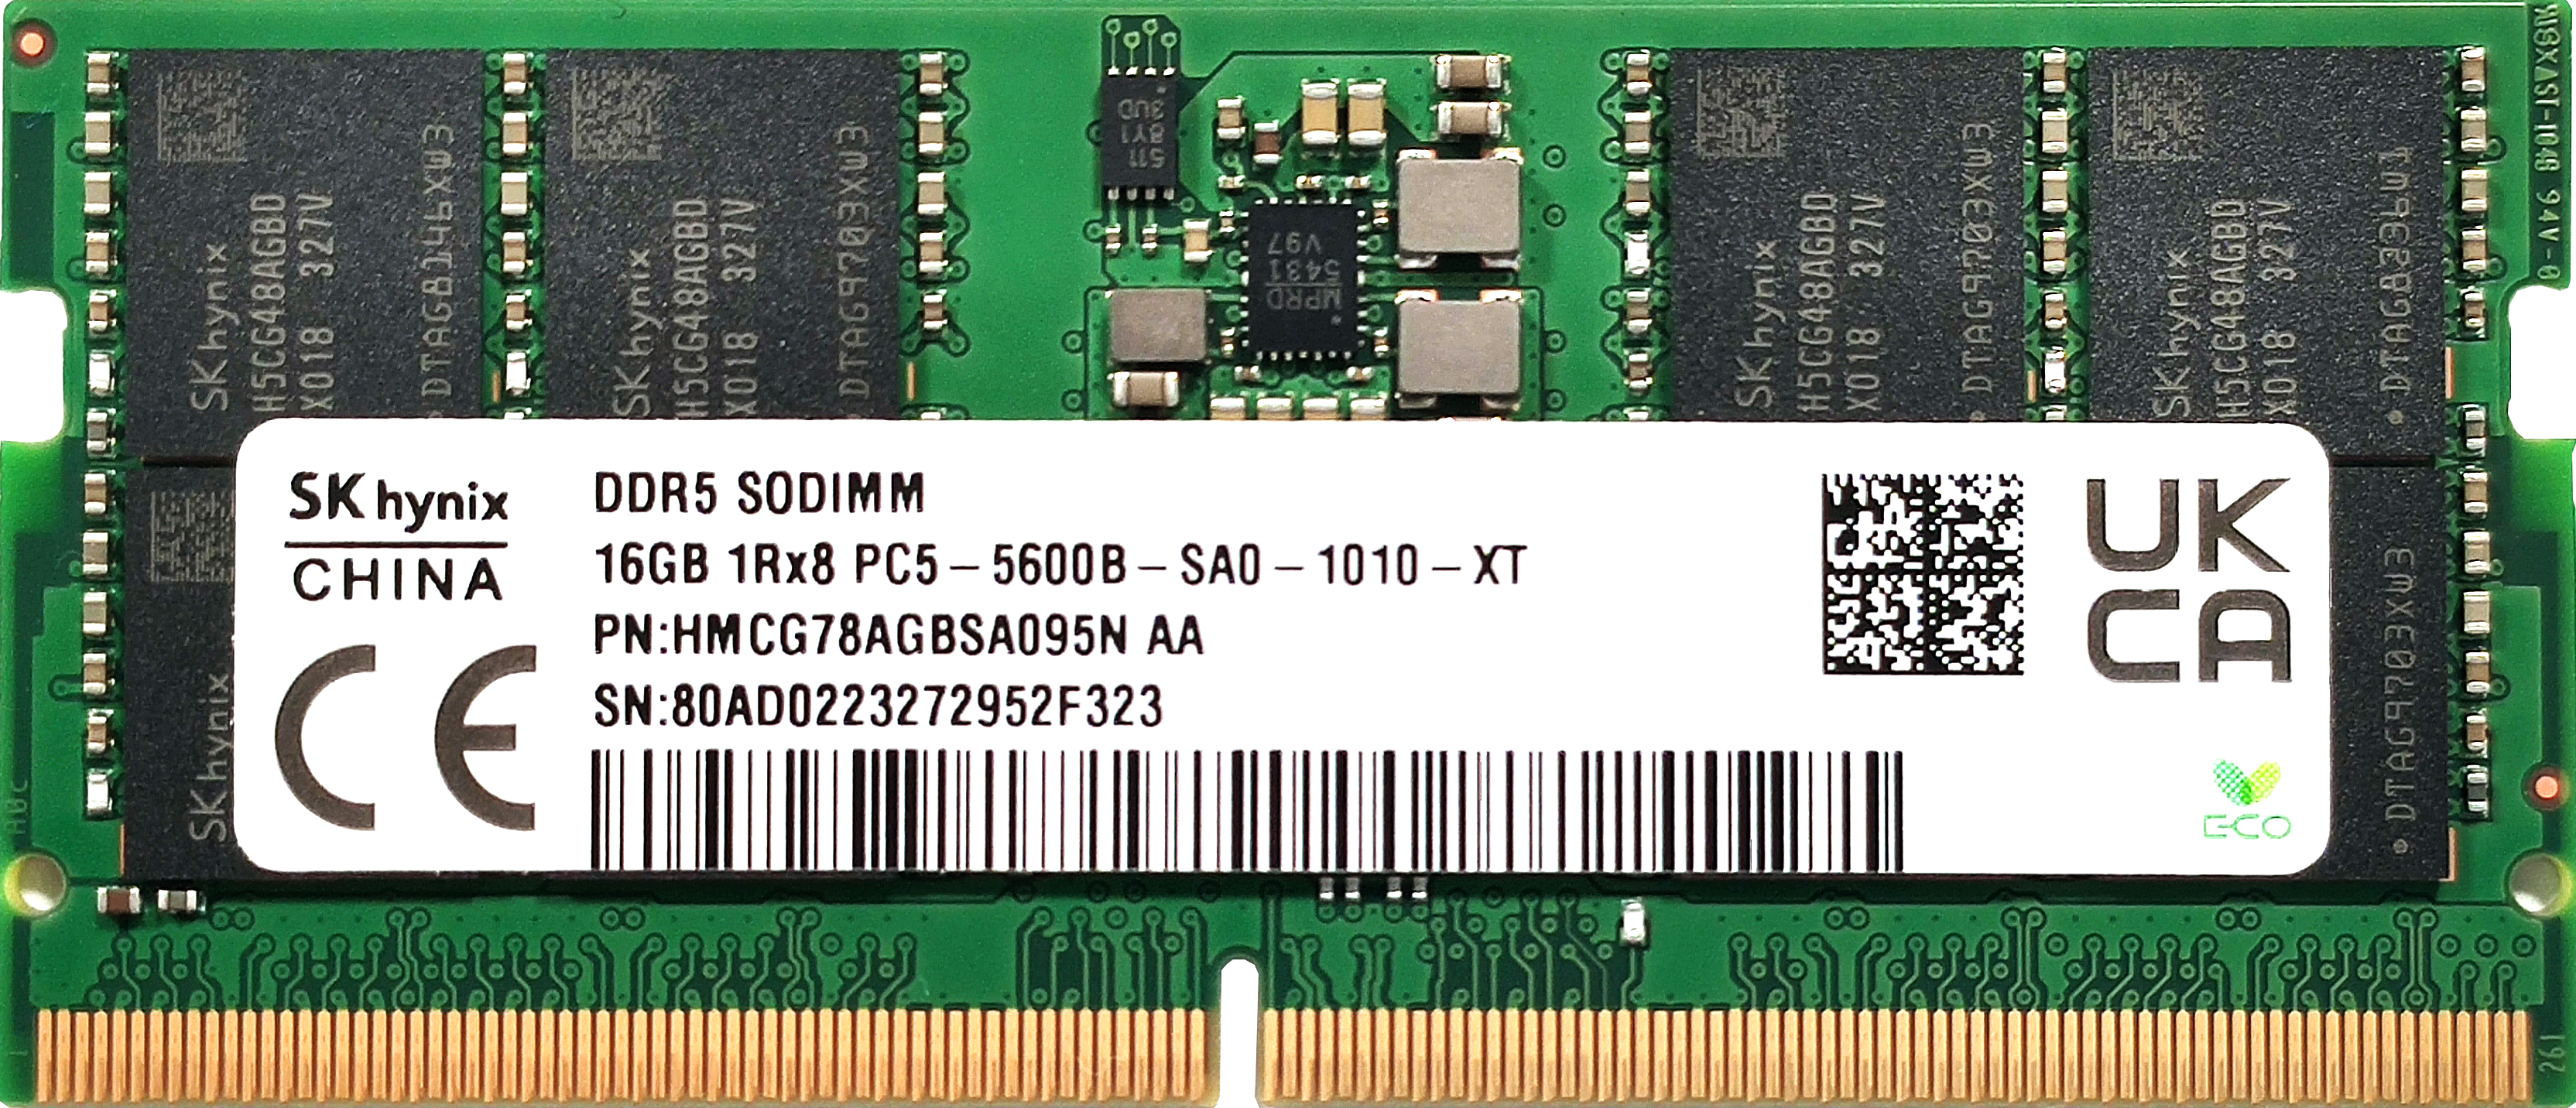
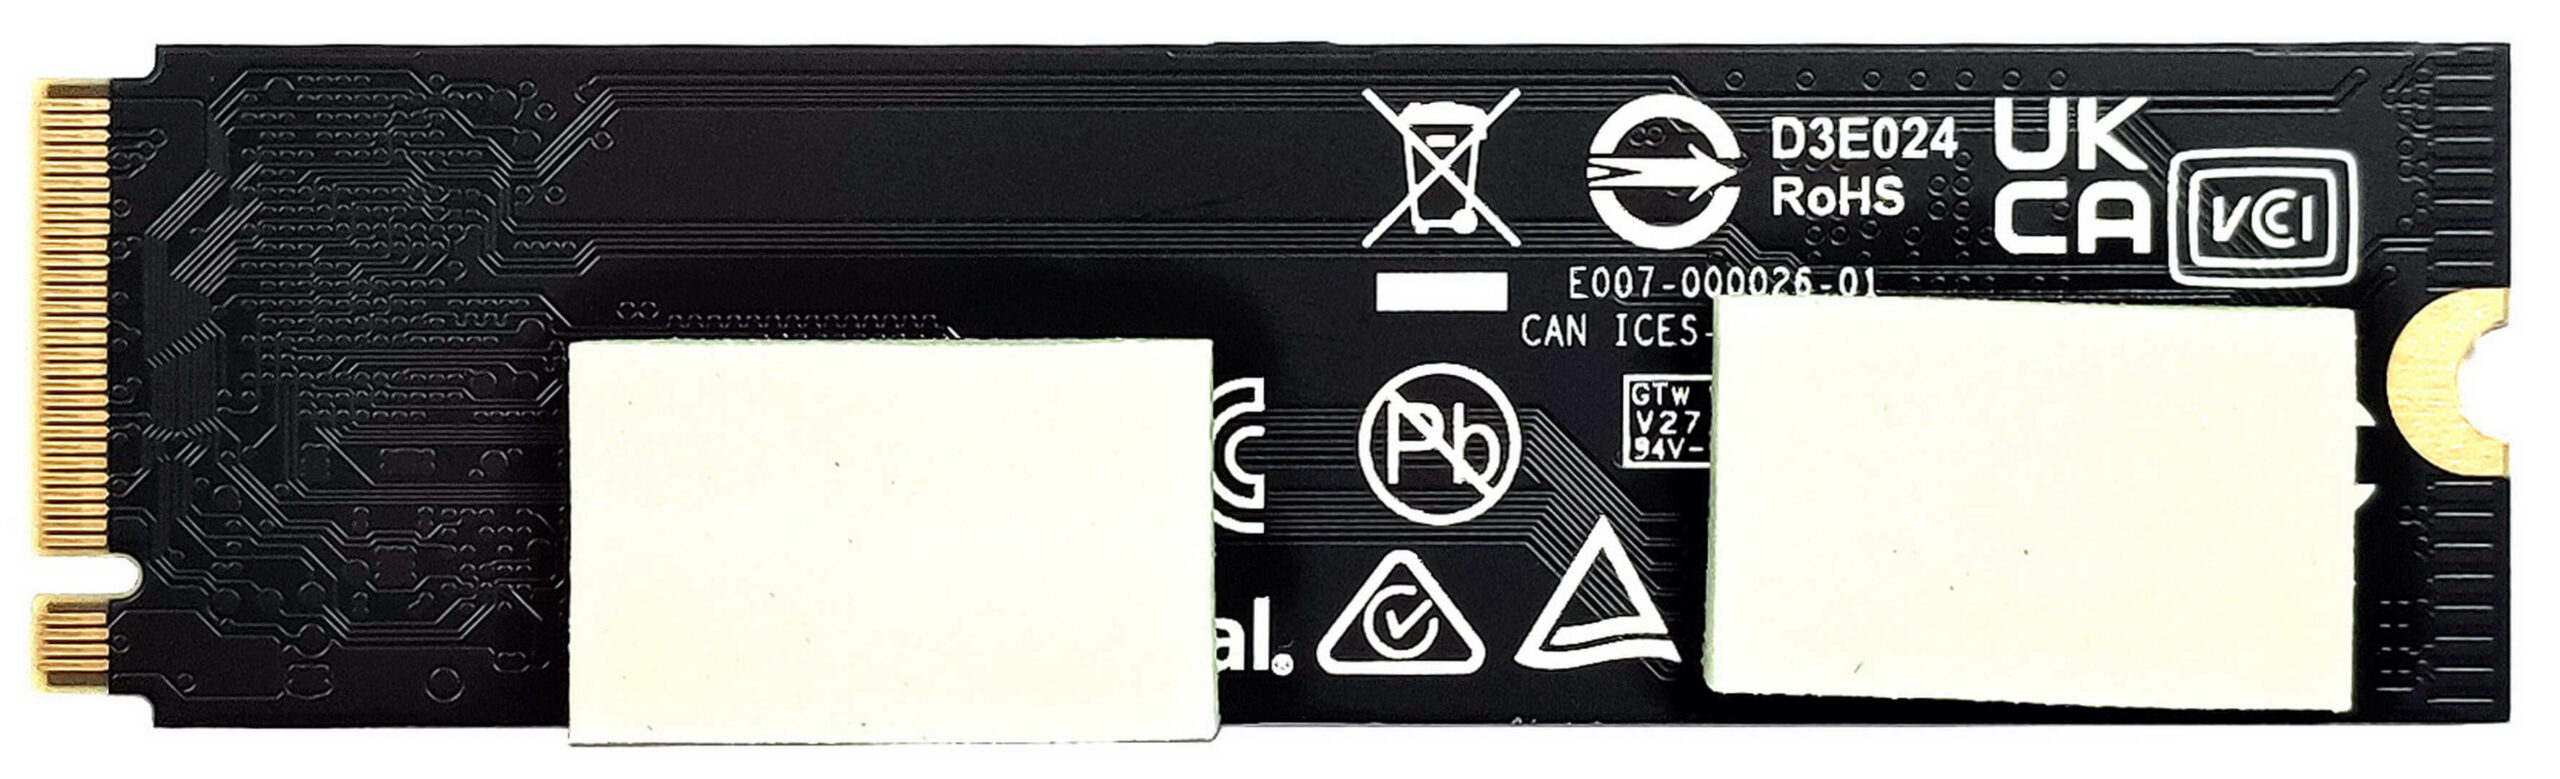
For storage, there are two M.2 slots – one for Gen 4 and one for Gen 5 SSDs. We can see two thick thermal pads below the preinstalled NVMe.

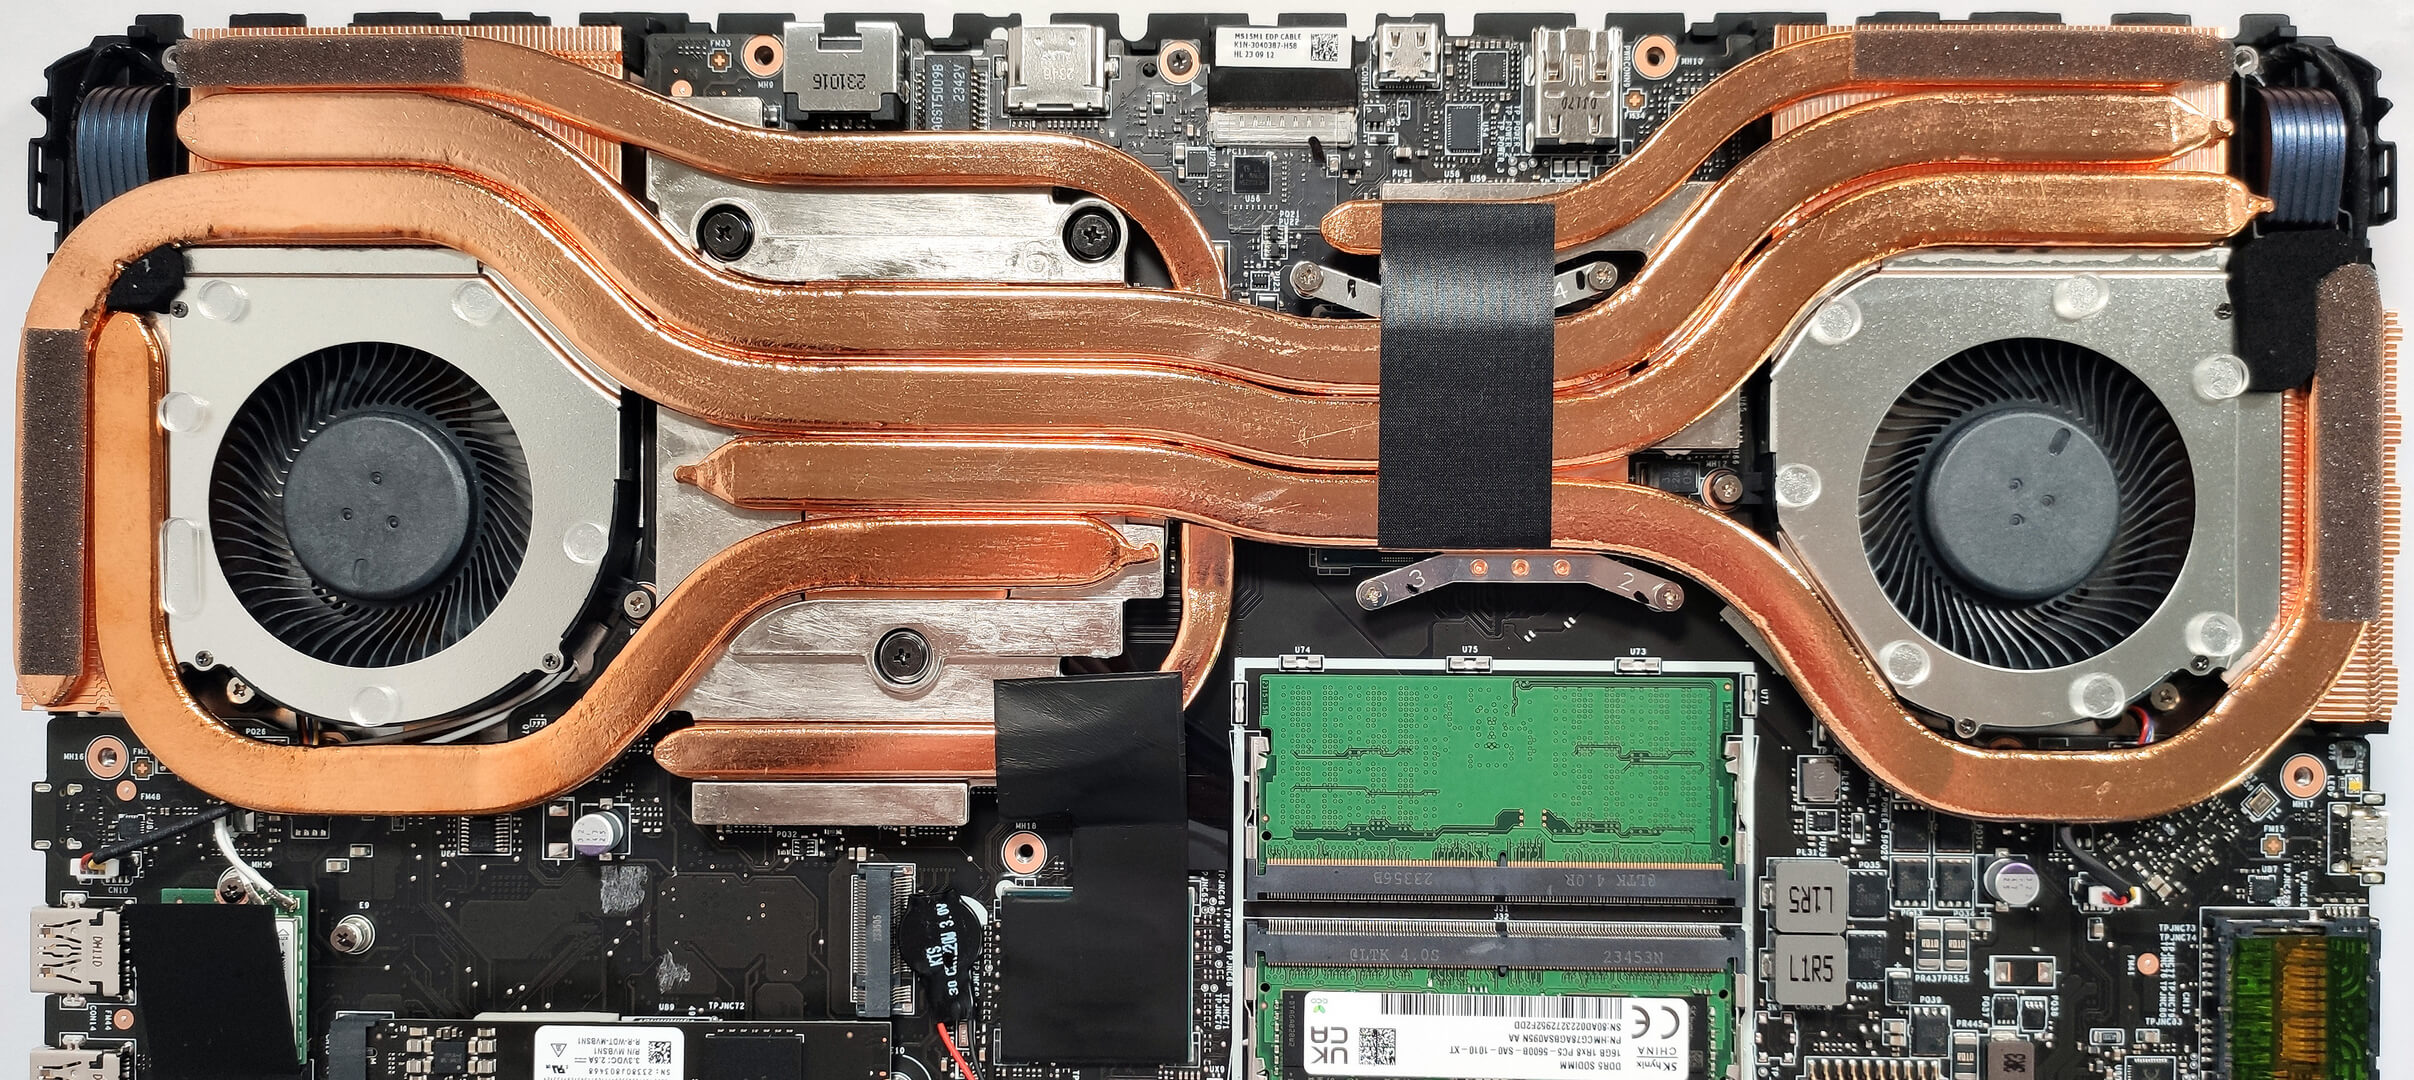
The Cooler Boost 5 thermal system looks impressive! It comprises two fans and three thick heat pipes shared between the CPU and the GPU. You get one extra heat pipe for the processor as well as two more for the video card’s VRMs and memory. The bottom pipe is connected to the chipset via foil. The cooling is complemented by four big heat sinks as well as two heat spreaders, the larger one is on the GPU side.
 Author: Nikolay Palaozov
 Author: eng. Kroum NikolovHead of Engineering at LaptopMedia.com, inventor and innovator with 40+ years of experience in electronics and high technology.

![[June 2026] Best-Selling Laptop Brands on Amazon Global – Apple’s Unrivaled Dominance in Units and Revenue](https://laptopmedia.com/wp-content/uploads/2026/07/GLOBAL-Best-Brands-400x225.jpg)
![[June 2026] Amazon Global: Top 10 Best-Selling Laptops – Apple’s New MacBook Neo Storms to #1, Reshaping the Market with Affordability](https://laptopmedia.com/wp-content/uploads/2026/07/Best-Selling-Laptops-GLOBAL-Top-10-400x225.jpg)
![[June 2026] Amazon Global: Top 10 Best-Selling Gaming Laptops – Acer’s Nitro V 16S AI Dominates Sales, While ASUS Leads Overall Revenue](https://laptopmedia.com/wp-content/uploads/2026/07/Best-Selling-Gaming-Laptops-GLOBAL-Top-10-400x225.jpg)
![[June 2026] Global Ranking of Best-Selling Laptop GPUs on Amazon – NVIDIA RTX 5060 is the Top-Selling Dedicated GPU](https://laptopmedia.com/wp-content/uploads/2026/07/Best-Selling-GPUs-GLOBAL-Top-10-400x225.jpg)
![[June 2026] Global Ranking of Best-Selling Laptop CPUs on Amazon – Apple M5 Dominates, AMD Ryzen 7 260 Gets Solid Premium Share](https://laptopmedia.com/wp-content/uploads/2026/07/Best-Selling-CPUs-GLOBAL-Top-10-400x225.jpg)
Hello! Which M.2 slot is Gen 4 and which is Gen 5?
Hye bro, top is Gen 5, bottom is Gen 4. No documentation. I heard this from multiple youtubers.
Cheers!