MSI Vector GP78 HX (13V) review – offers great build quality, fast display, and exceptional performance
Disassembly, Upgrade options, and Maintenance
If you want to see the internals of this powerful device, you have to undo 13 Phillips-head screws. Then, you have to flip the laptop in order to remove the back plastic shroud behind the lid. To do that, you can start popping the cover from one of the two sides that are close to the bottom panel and then you can work your way around the backside.
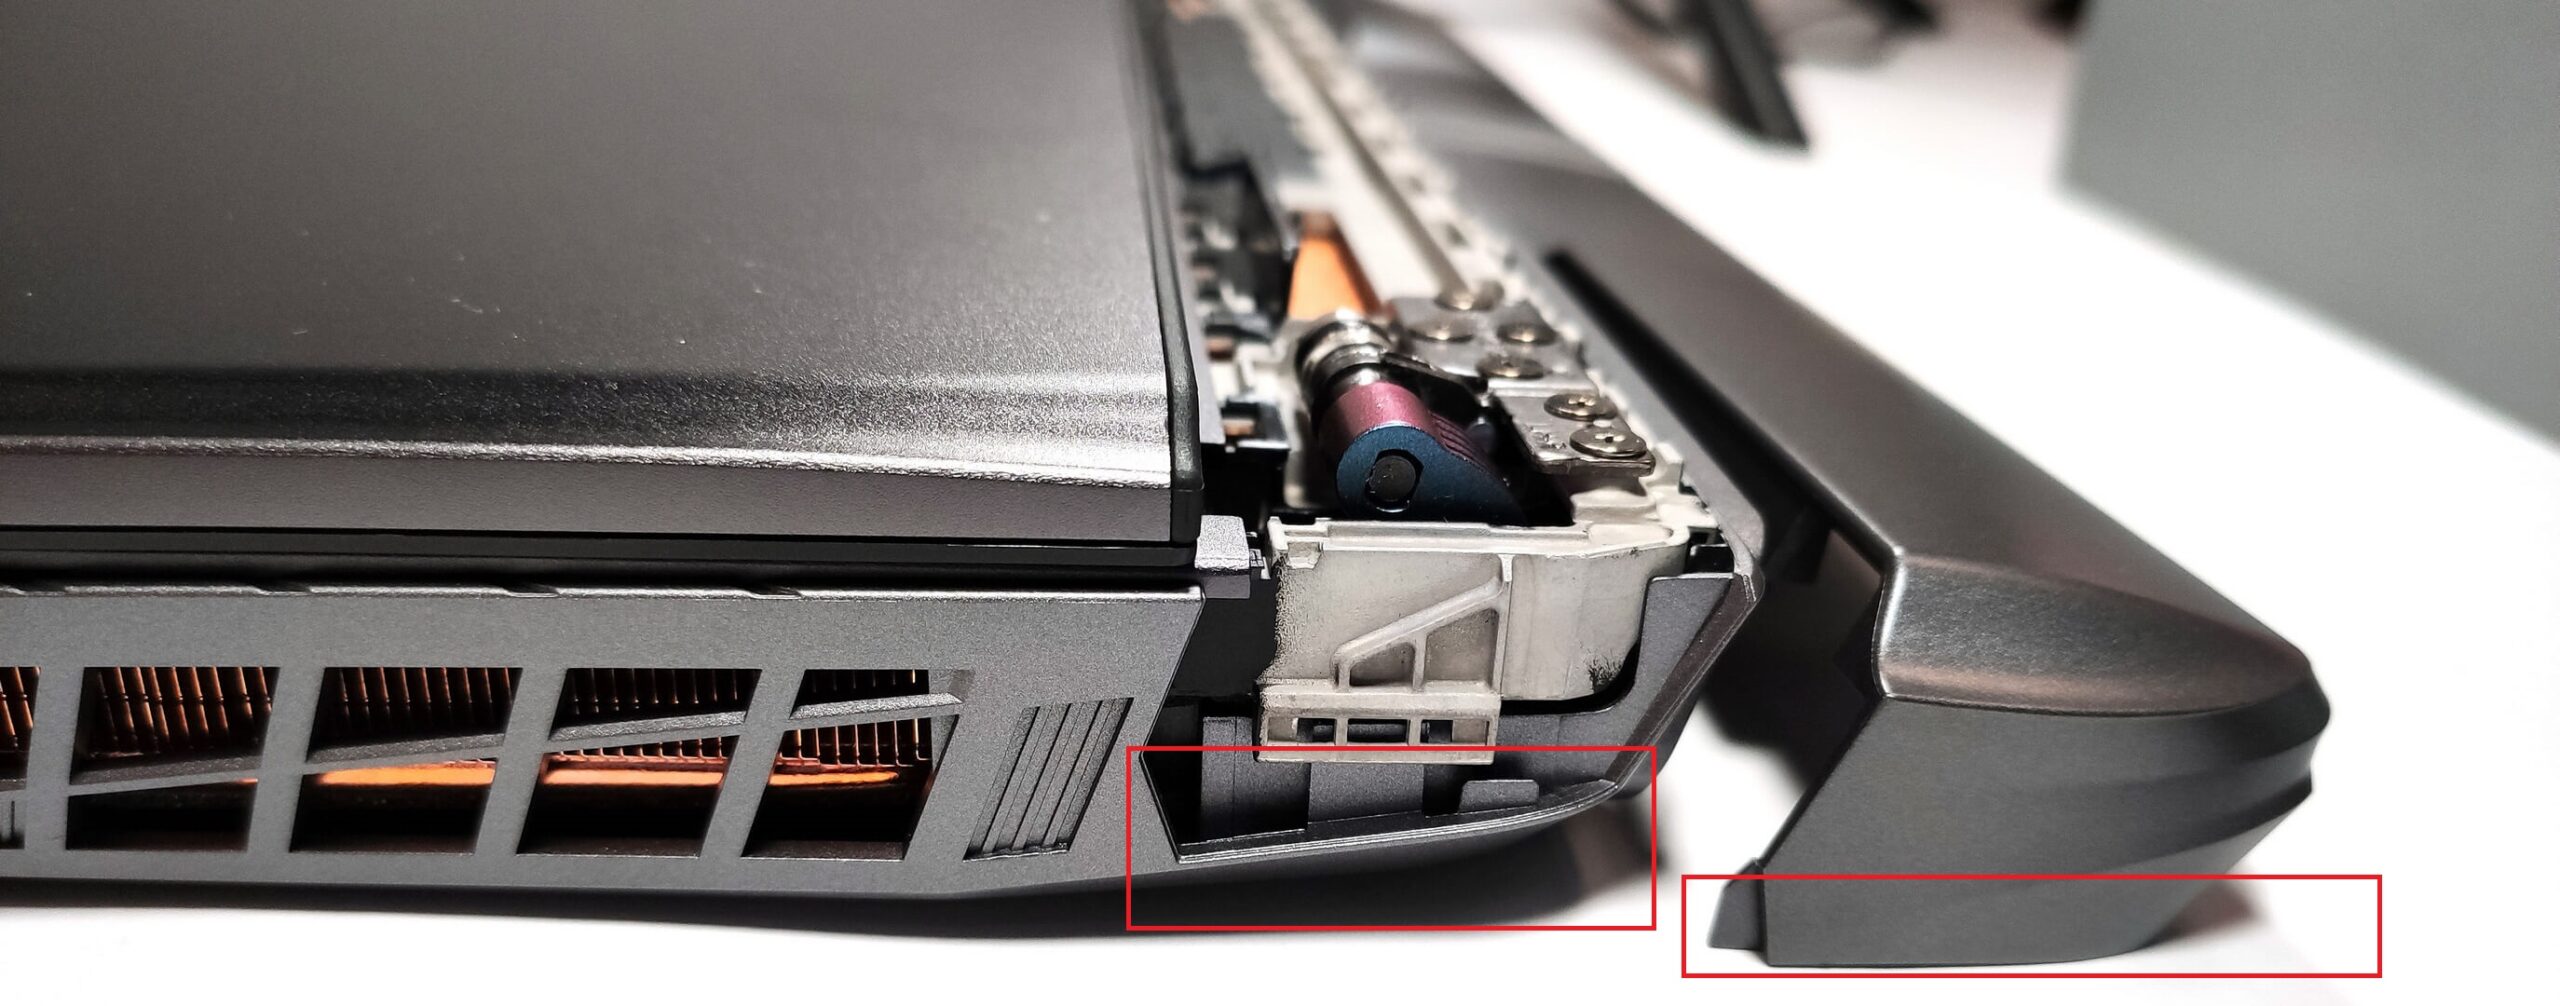
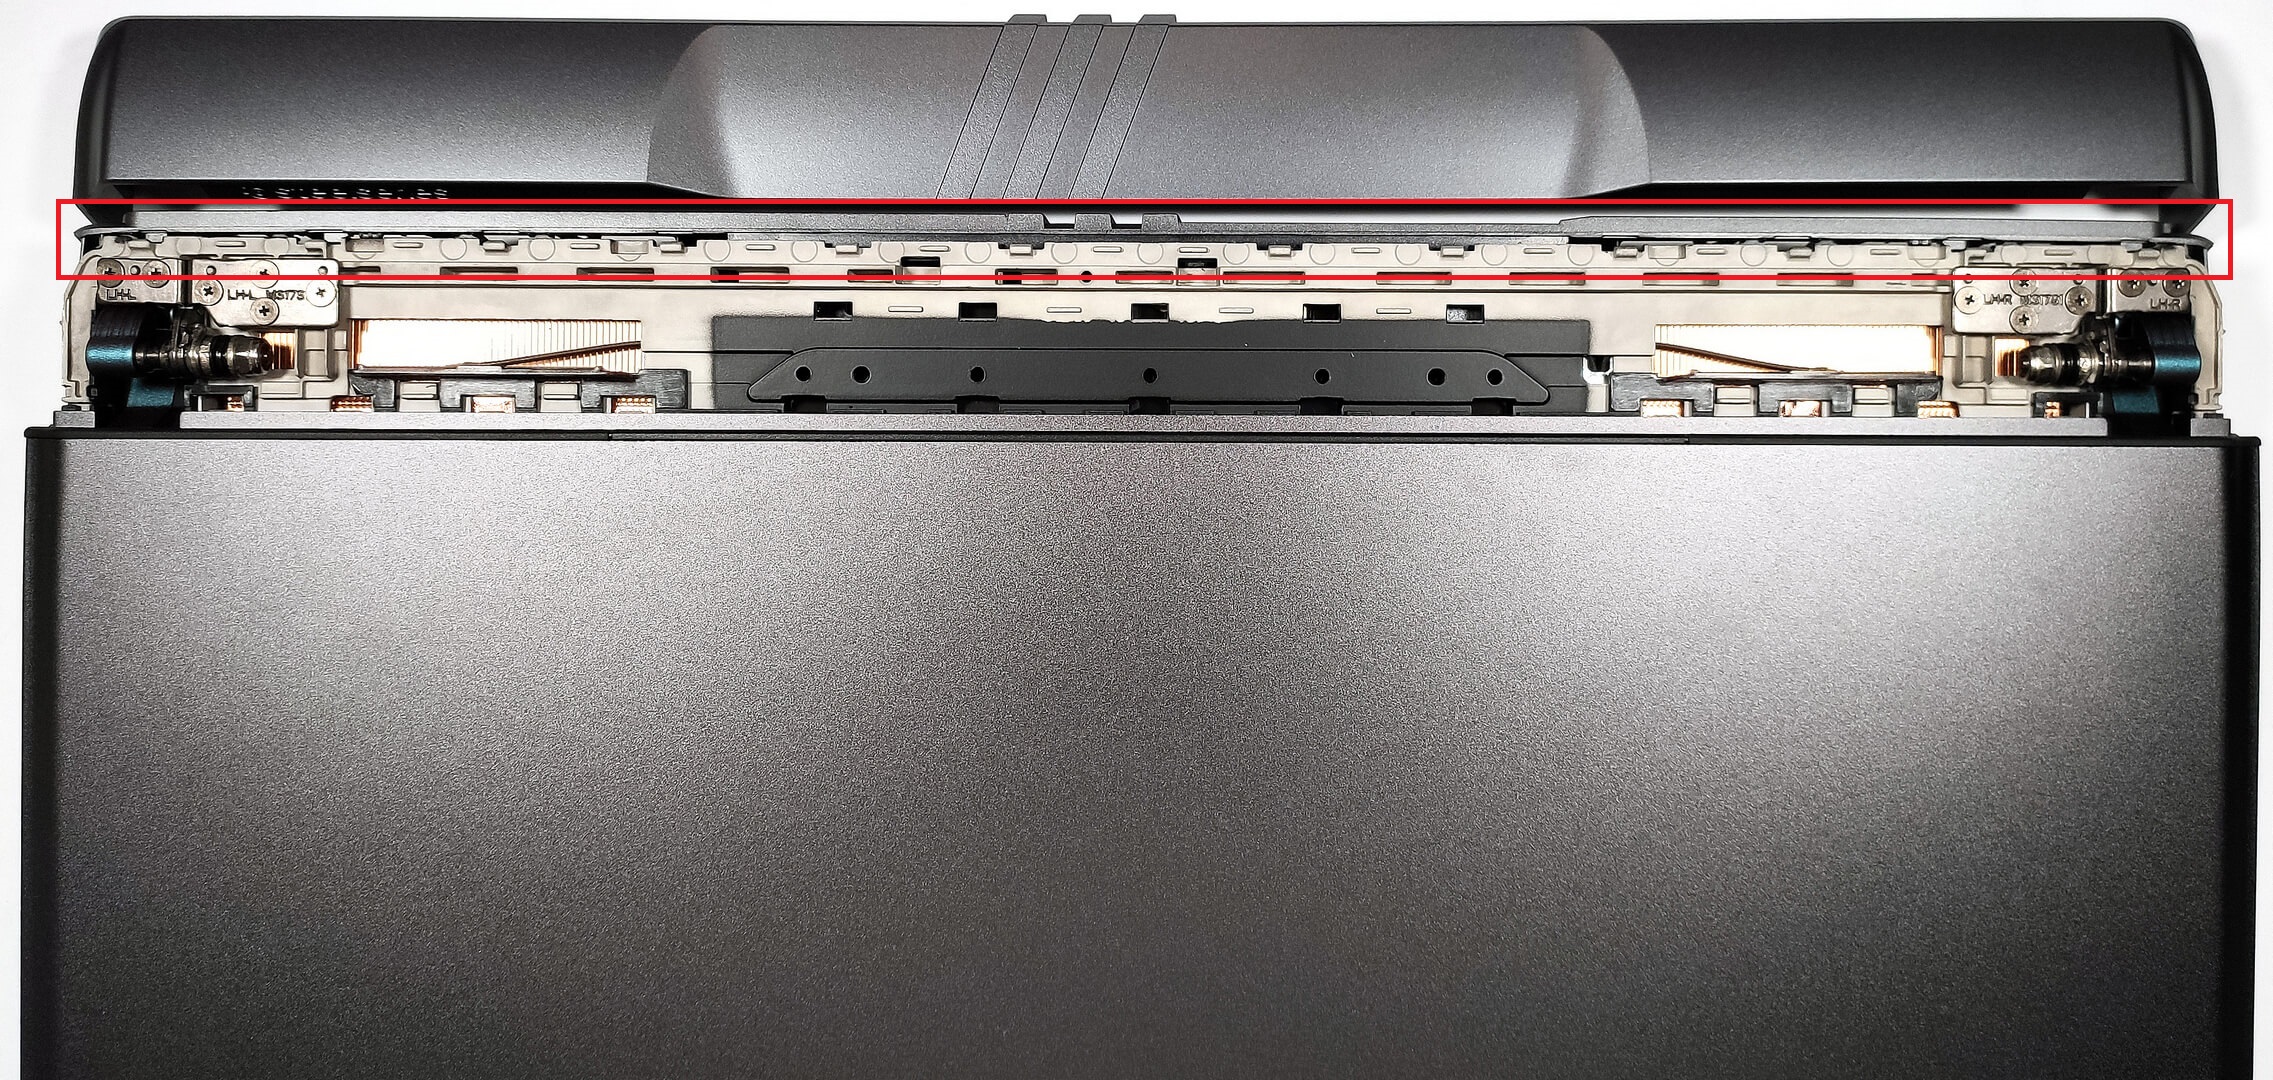
Now, you can safely lift the hinge cover away from the laptop. With that out of the way, we can clearly see the back end of the bottom plate. You can carefully pry it with a plastic tool. When it’s done, you need to open the lid and pry through the base.
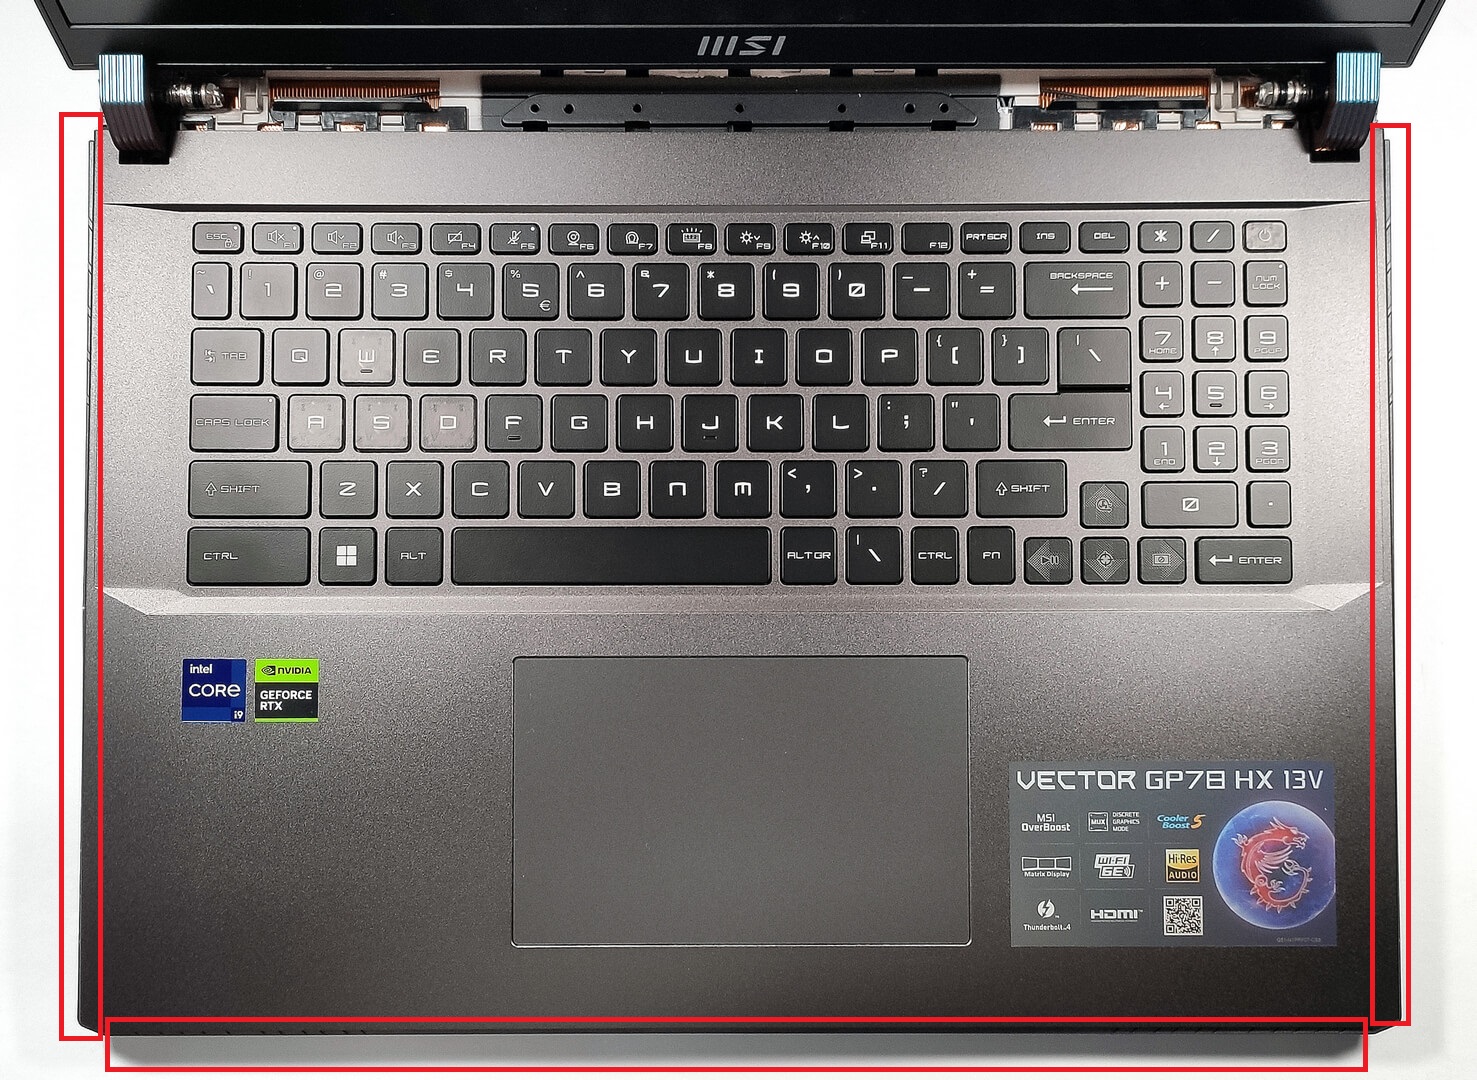
You have to flip the machine upside down and raise the bottom plate by holding firmly the two exhaust vents on the back.

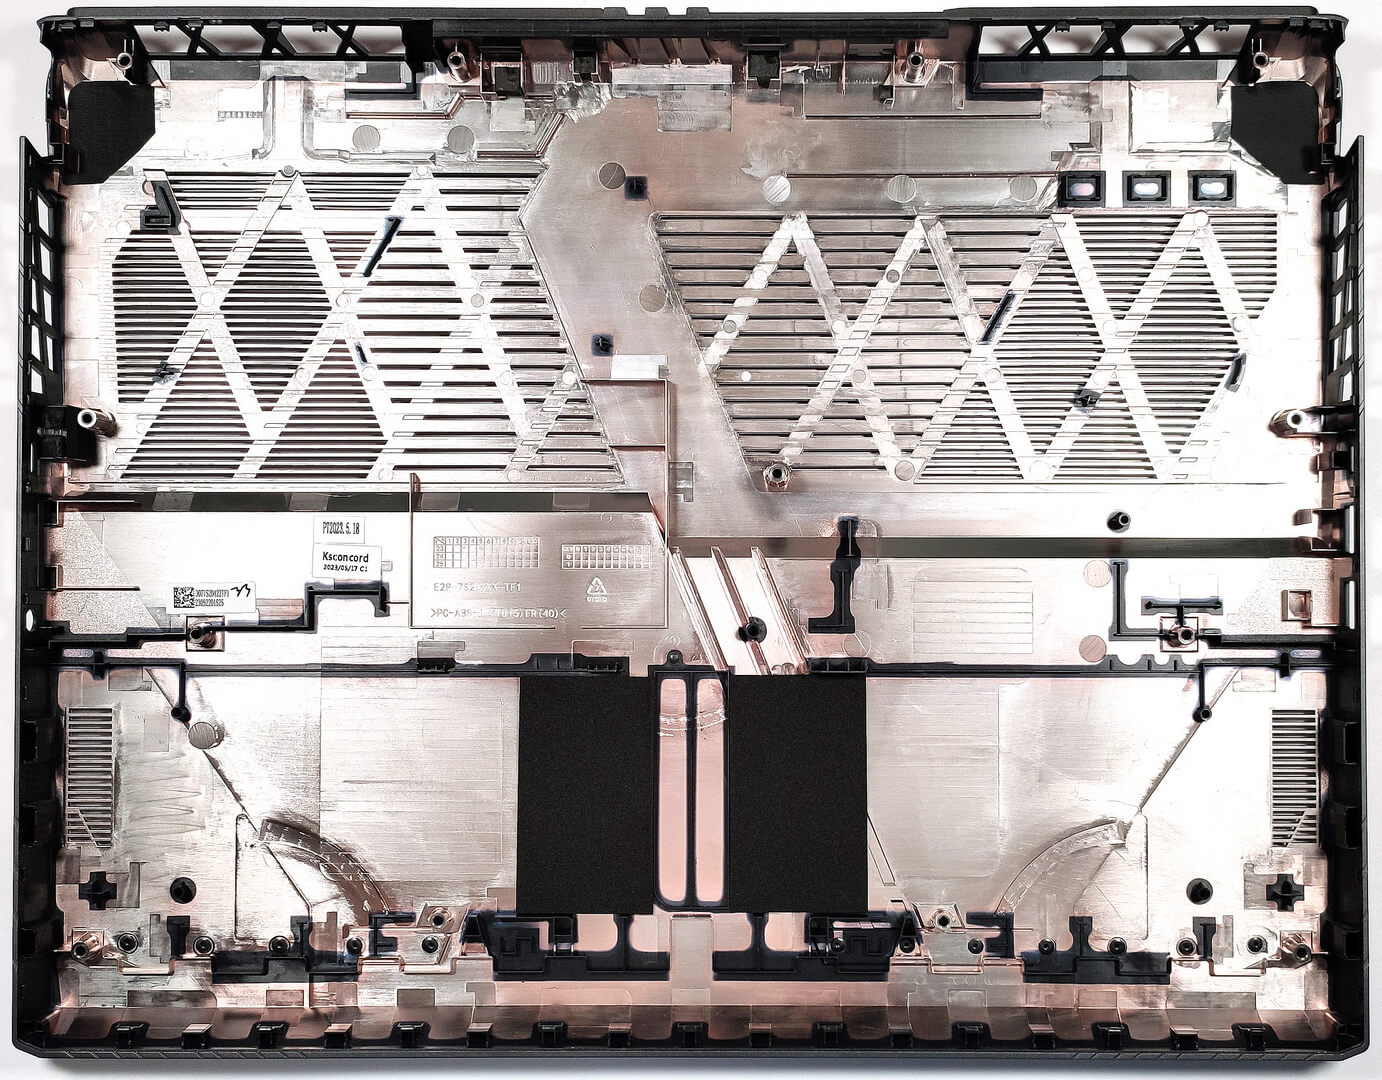
Here’s how the bottom plate looks on the inside.
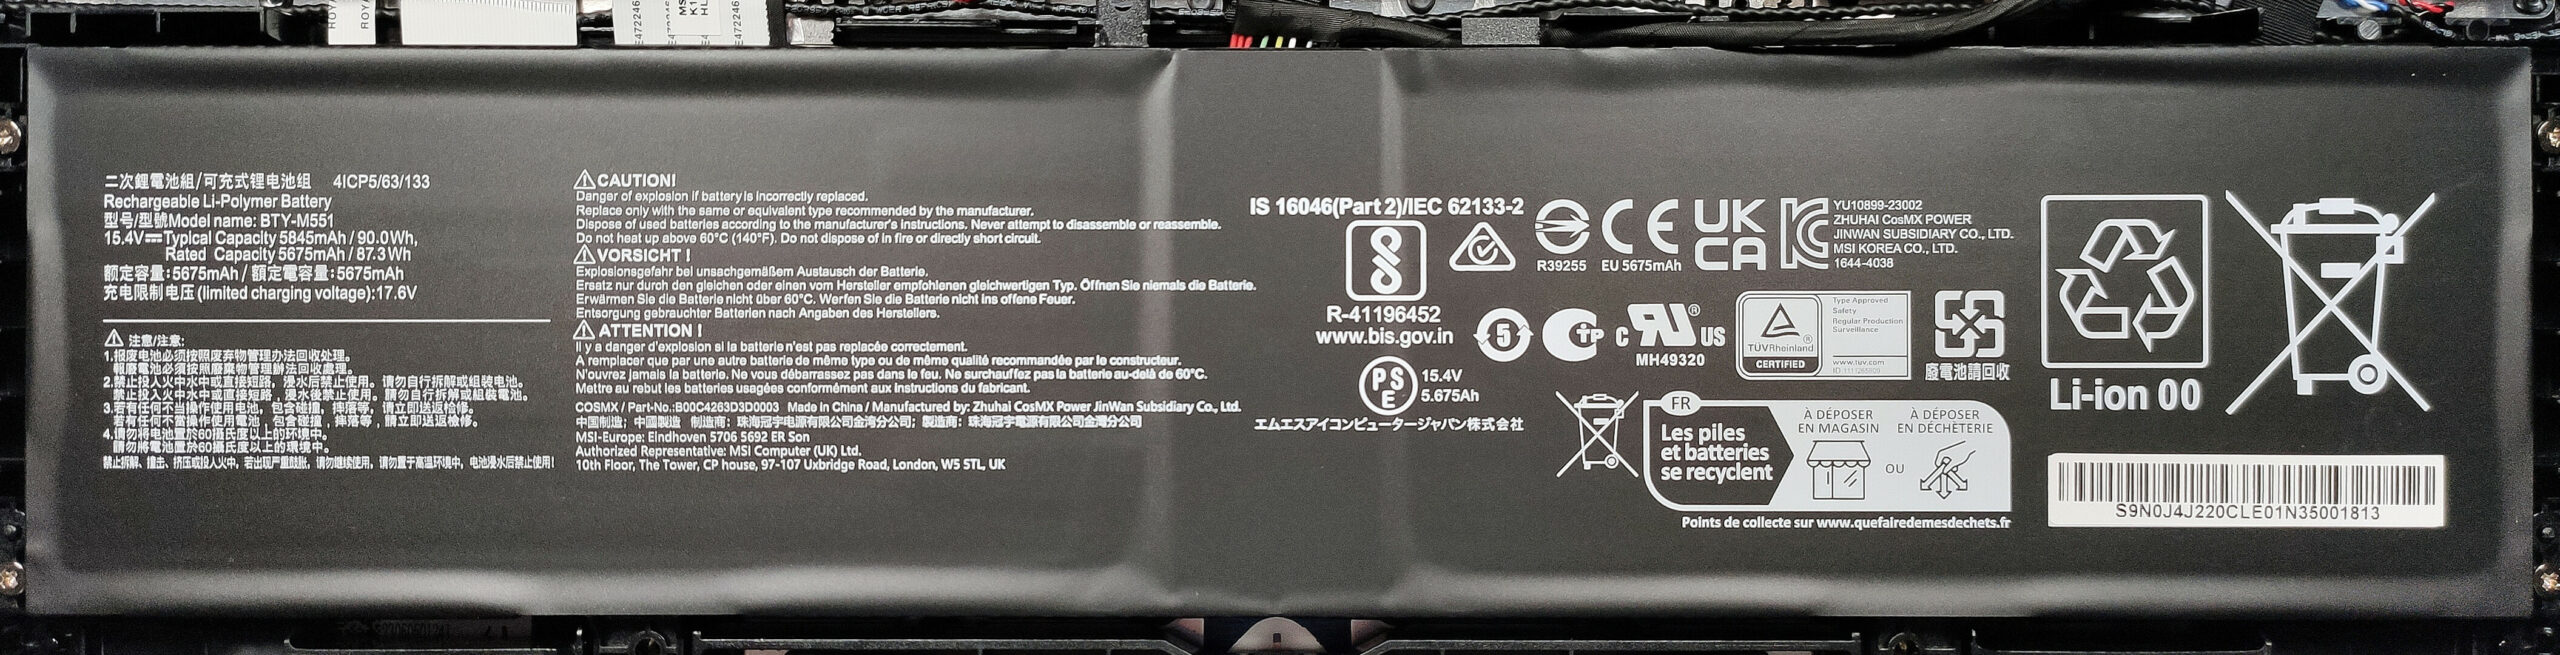
Here, we have a 90Wh battery pack. Unplug the battery connector before undoing the four Phillips-head screws which are fixing the unit in place. The capacity is enough for 5 hours and 33 minutes of Web browsing, or 4 hours and 32 minutes of video playback.
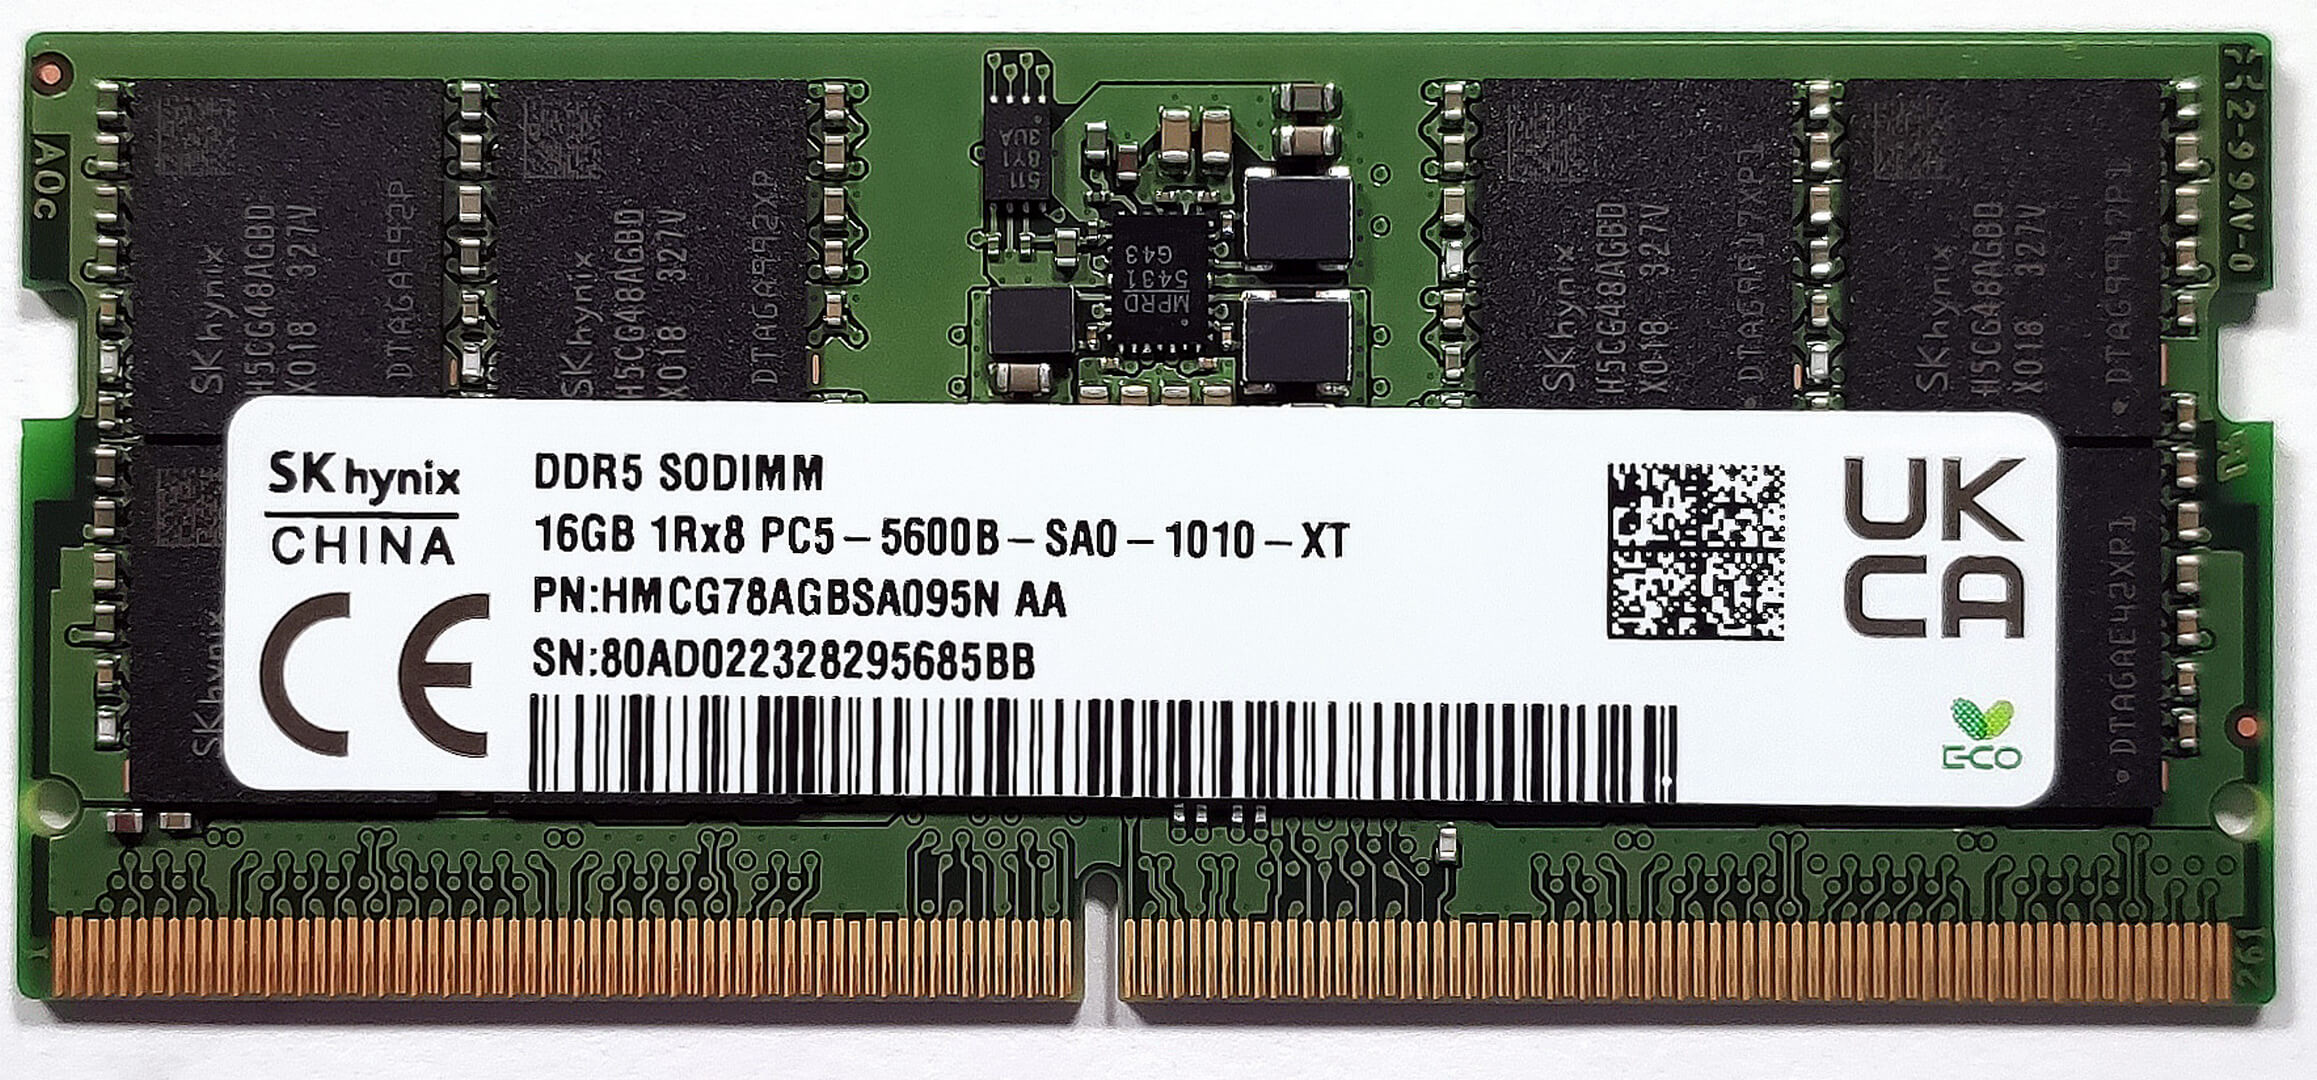
There is a protective metal cover above the RAM section. It’s glued to the plastic parts of the slots with a small pad so don’t pull out the metal cap too harshly.

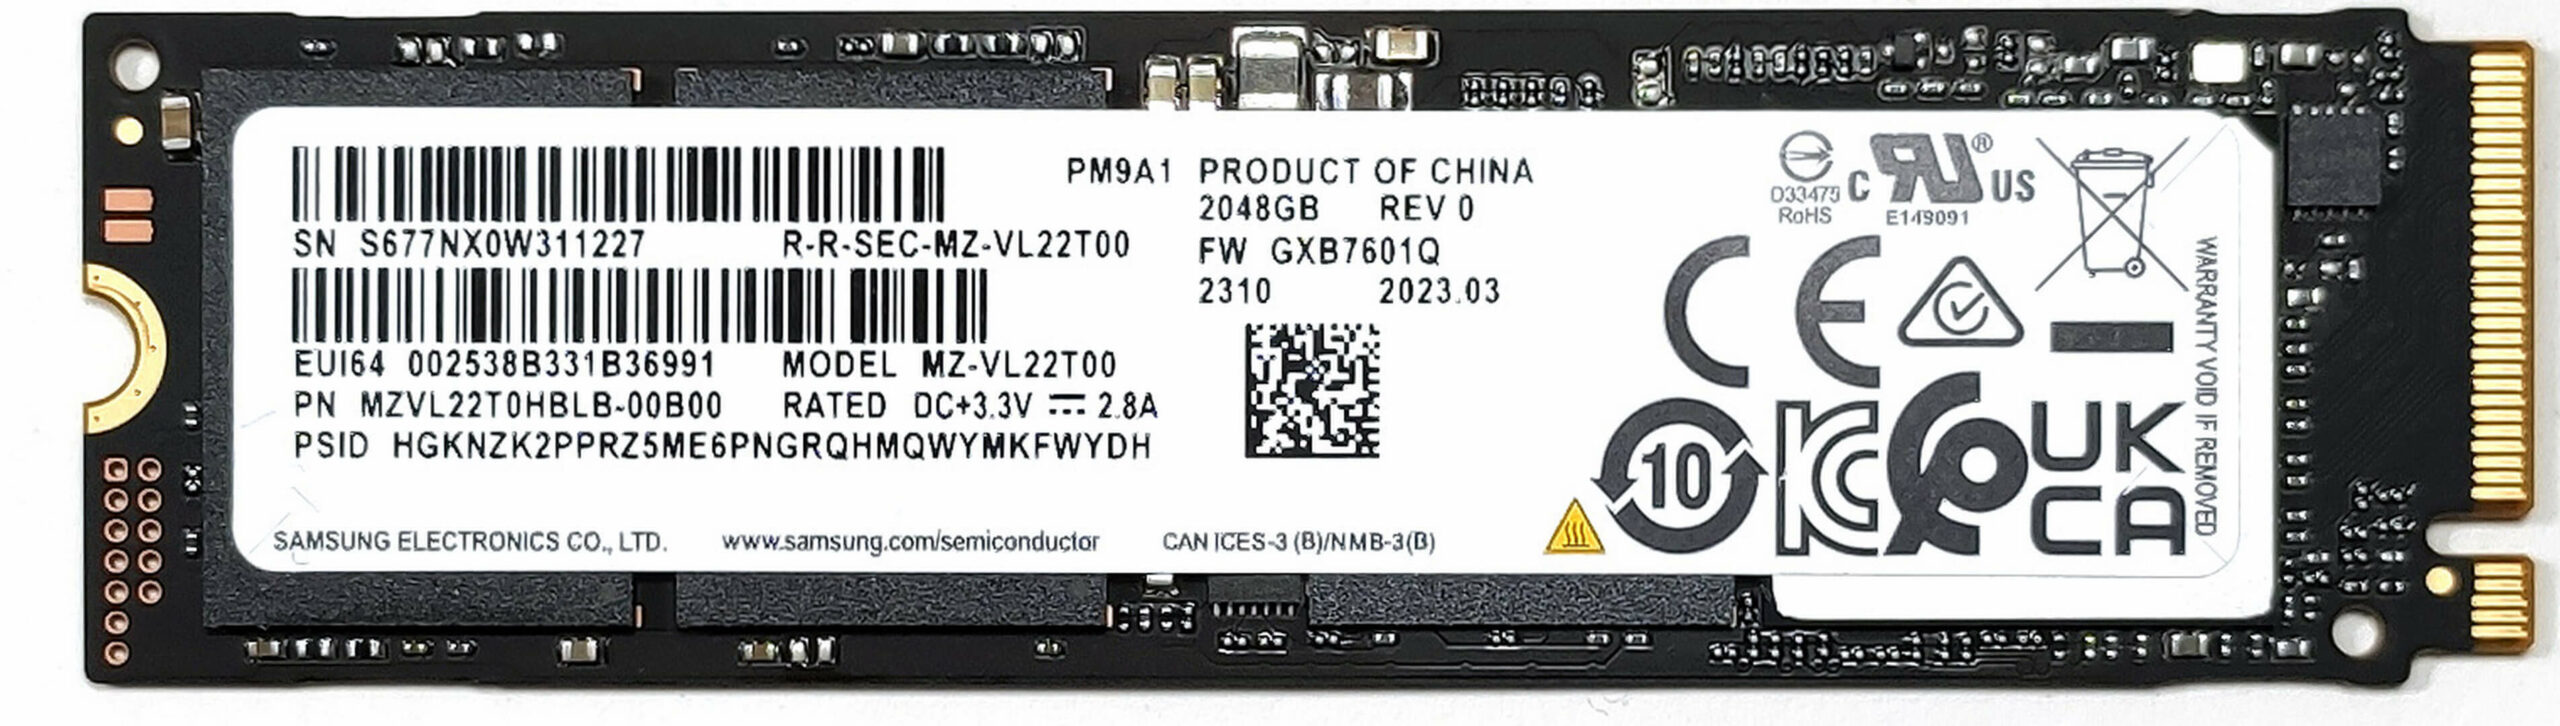
The two SODIMM slots fit up to 64GB of DDR5-5600MHz memory in dual-channel mode. For storage, there are two M.2 slots – one for Gen 4 SSD, and one for the latest and greatest Gen 5 NVMes. There are two thick cooling pads below the preinstalled SSD.
The cooling is a true monstrosity. It comprises two fans and three thick heat pipes shared between the CPU and the GPU. There is one extra heat pipe for the processor as well as two more for the video card’s VRMs and memory. We can spot two heat spreaders, the huge one is on the GPU side. The system is also complemented by four big heat sinks.


![[June 2026] Best-Selling Laptop Brands on Amazon Global – Apple’s Unrivaled Dominance in Units and Revenue](https://laptopmedia.com/wp-content/uploads/2026/07/GLOBAL-Best-Brands-400x225.jpg)
![[June 2026] Amazon Global: Top 10 Best-Selling Laptops – Apple’s New MacBook Neo Storms to #1, Reshaping the Market with Affordability](https://laptopmedia.com/wp-content/uploads/2026/07/Best-Selling-Laptops-GLOBAL-Top-10-400x225.jpg)
![[June 2026] Amazon Global: Top 10 Best-Selling Gaming Laptops – Acer’s Nitro V 16S AI Dominates Sales, While ASUS Leads Overall Revenue](https://laptopmedia.com/wp-content/uploads/2026/07/Best-Selling-Gaming-Laptops-GLOBAL-Top-10-400x225.jpg)
![[June 2026] Global Ranking of Best-Selling Laptop GPUs on Amazon – NVIDIA RTX 5060 is the Top-Selling Dedicated GPU](https://laptopmedia.com/wp-content/uploads/2026/07/Best-Selling-GPUs-GLOBAL-Top-10-400x225.jpg)
![[June 2026] Global Ranking of Best-Selling Laptop CPUs on Amazon – Apple M5 Dominates, AMD Ryzen 7 260 Gets Solid Premium Share](https://laptopmedia.com/wp-content/uploads/2026/07/Best-Selling-CPUs-GLOBAL-Top-10-400x225.jpg)

Bonjour, pouvez vous donner une explication quand au démontage du clavier ? Merci infiniment d’avance !!!
이 테스트는 구체적으로 어떻게 진행 되었나요?
스트레스테스트 프로그램, 온도 모니터링 프로그램, 팬설정이 궁금합니다.
제 노트북은 ptm7950및 언더볼팅을 적용하고도 파이어스트라이크 CPU 온도가 94도를 찍습니다.
How did this test specifically go?
I’m curious about the stress test program, temperature monitoring program, and fan settings.
My laptop has a firestrike CPU temperature of 94 degrees even with ptm7950 and undervolting.
gp78hx 13v