ASUS ROG Ally (2023) review – well-built powerful gaming console with fast display
Disassembly, Upgrade options, and Maintenance
If you want to have a sneak peek at the internals, you have to undo six Phillips-head screws. Some of them are captive. The bottom screw in the middle will slightly raise the bottom panel so you can begin the prying process from there. You can start from the front, then, work your way around the sides and on the backside.
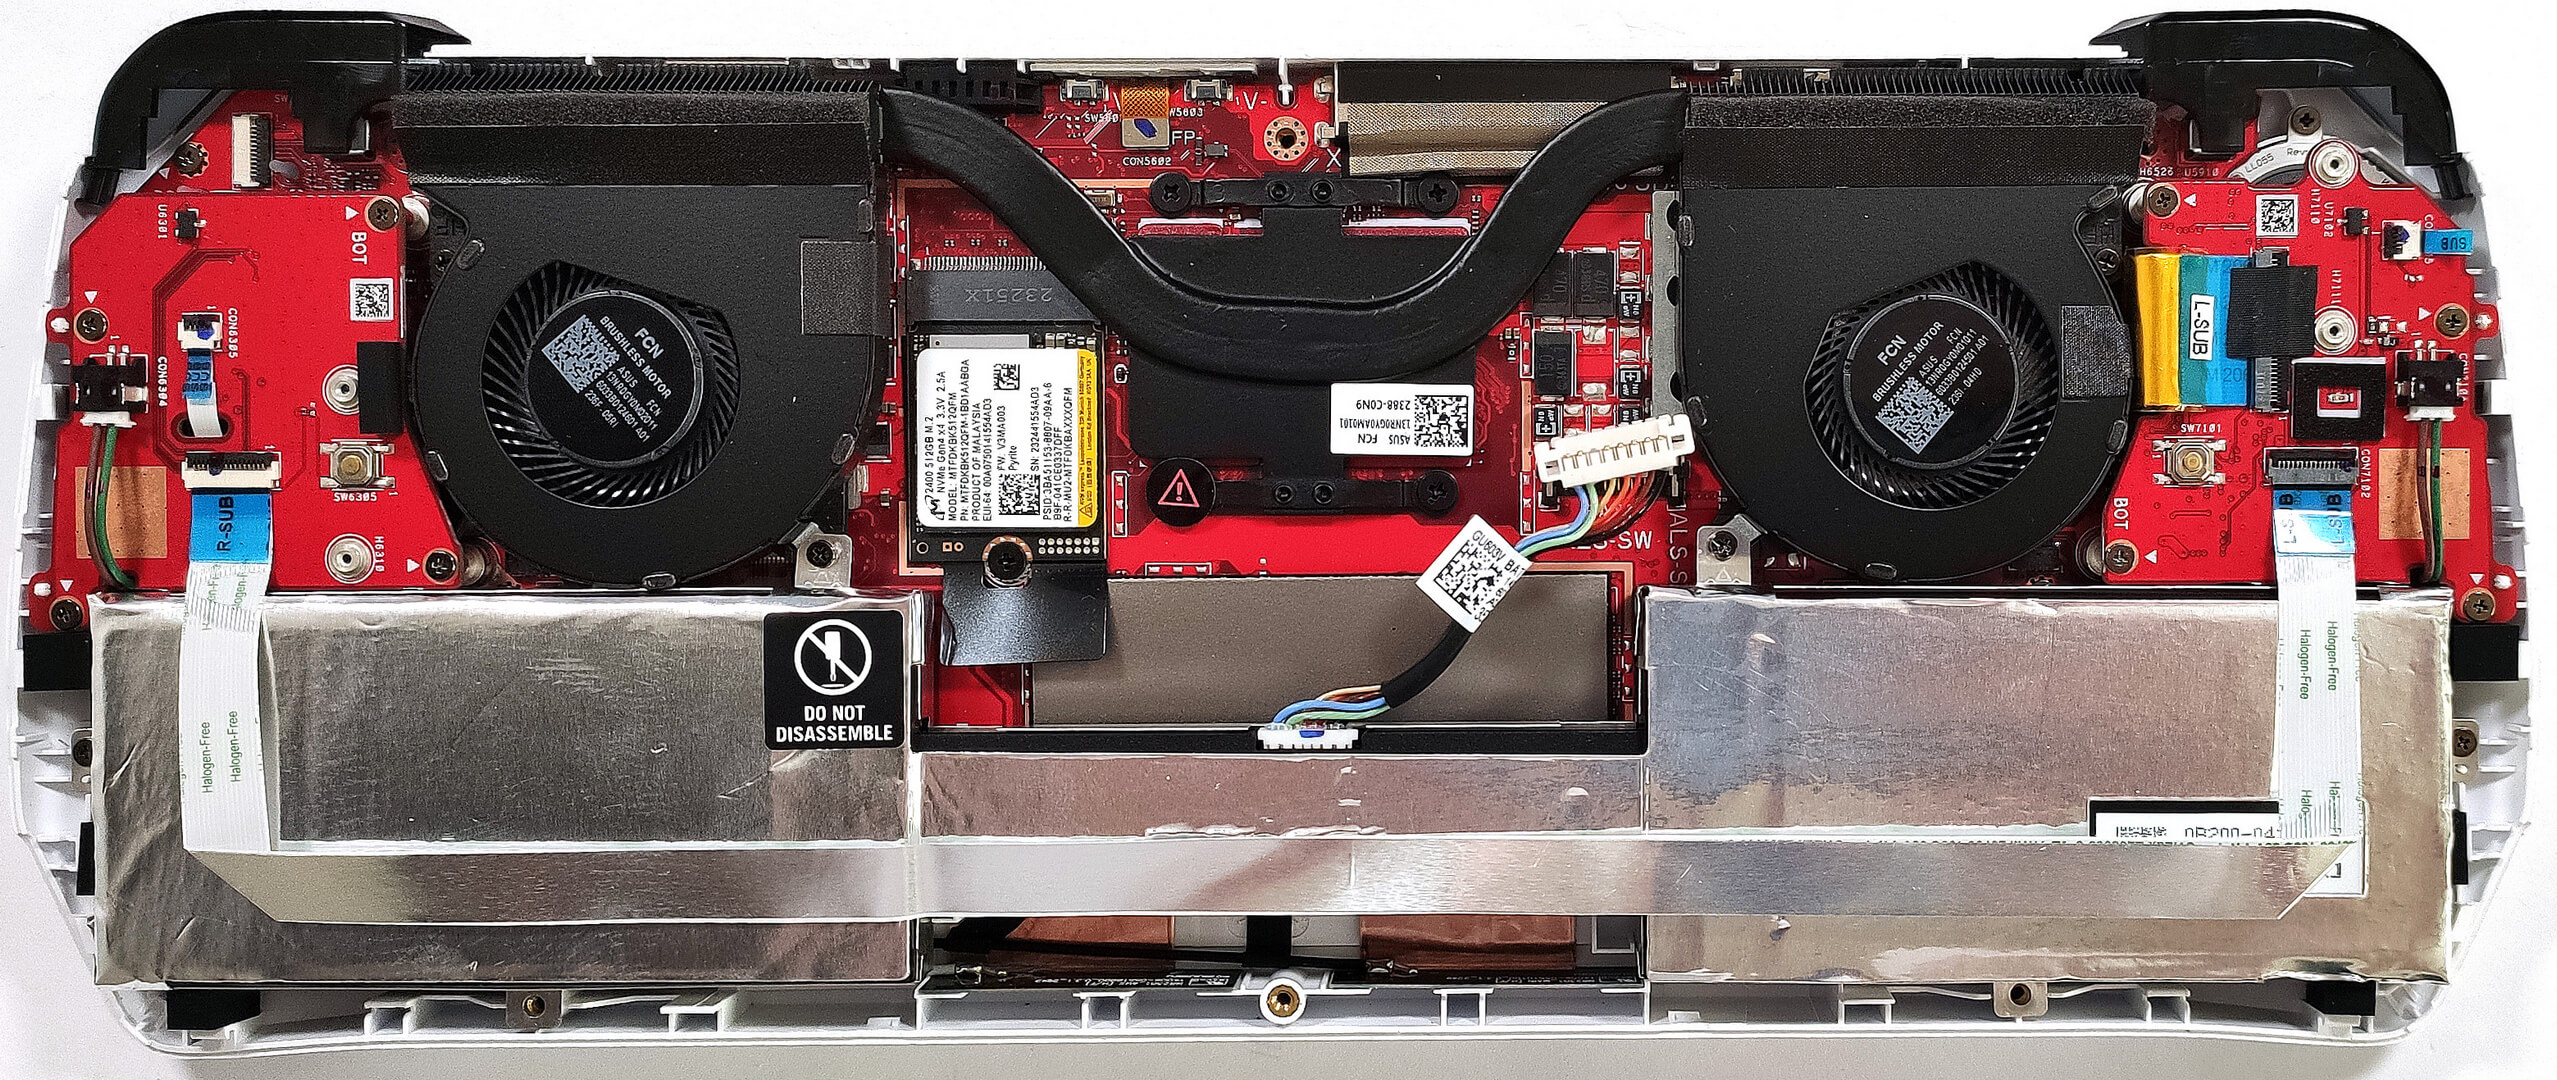
Here’s how the bottom plate looks on the inside.
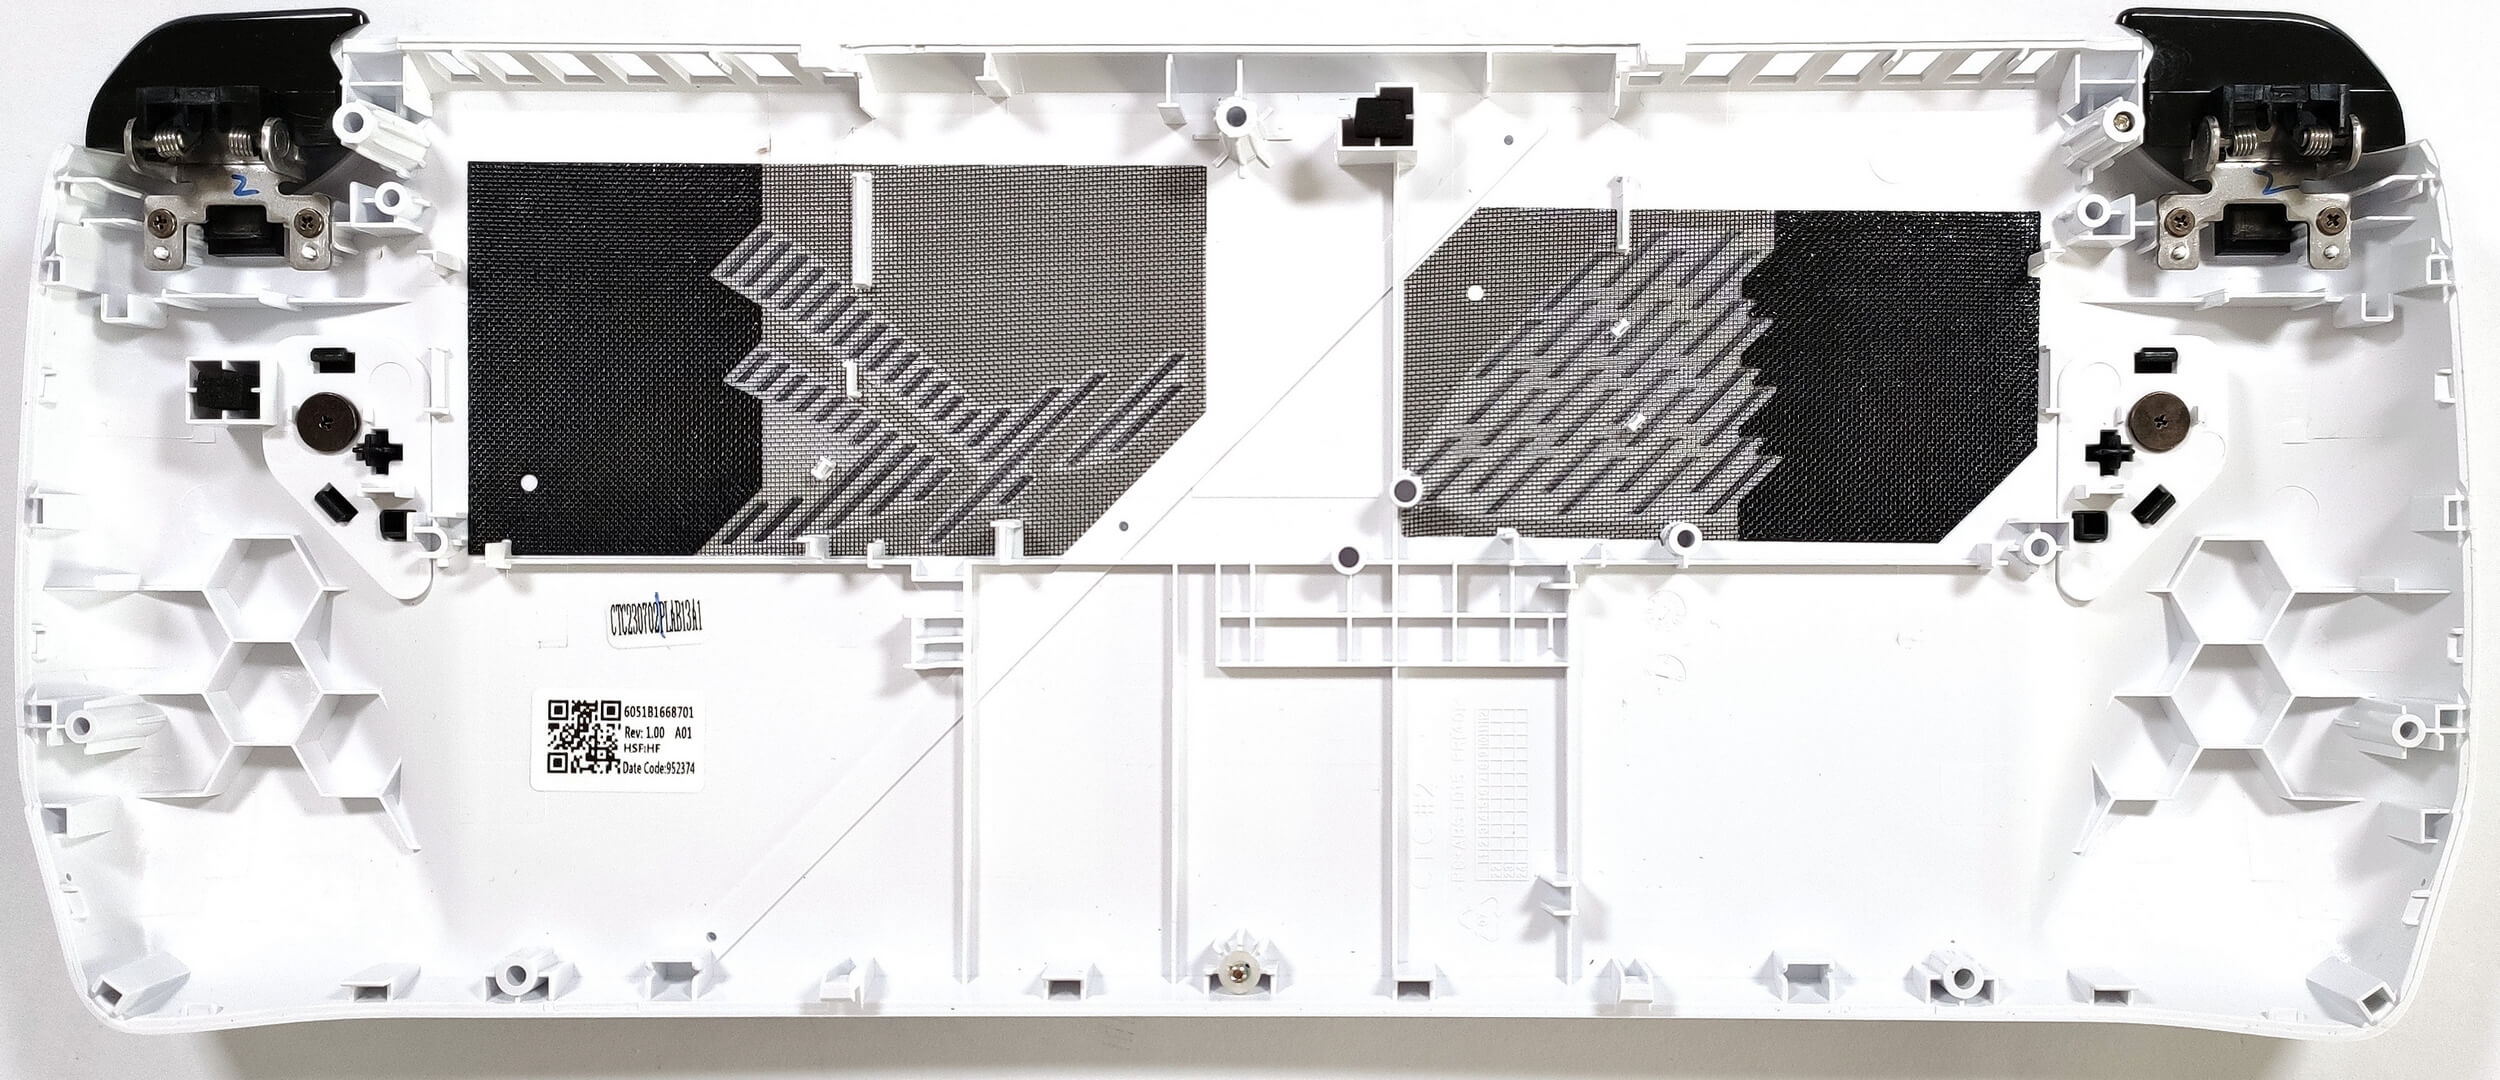
The battery is a 40Wh model. If you have to take it out, unplug the connector from the motherboard. Then, you have to undo the four Phillips-head screws that are fixing the unit to the chassis. The capacity is enough for 10 hours of either Web browsing or video playback. Not bad, given the high refresh rate display.

Expectedly, the memory is soldered. You get 16GB of LPDDR5-6400MHz RAM in dual-channel mode.

For storage, there is one M.2 slot for 2230 Gen 4 SSDs.


The cooling comprises two fans, one heat pipe, two heat sinks, and a heat spreader. You can also remove the cooling system if you have to change the thermal paste. You need to undo six Phillips-head screws. Two of them are holding the fans while the other four are securing in place the heat spreader above the APU chip.

 Author: Nikolay Palaozov
 Author: eng. Kroum NikolovHead of Engineering at LaptopMedia.com, inventor and innovator with 40+ years of experience in electronics and high technology.

![[June 2026] Best-Selling Laptop Brands on Amazon Global – Apple’s Unrivaled Dominance in Units and Revenue](https://laptopmedia.com/wp-content/uploads/2026/07/GLOBAL-Best-Brands-400x225.jpg)
![[June 2026] Amazon Global: Top 10 Best-Selling Laptops – Apple’s New MacBook Neo Storms to #1, Reshaping the Market with Affordability](https://laptopmedia.com/wp-content/uploads/2026/07/Best-Selling-Laptops-GLOBAL-Top-10-400x225.jpg)
![[June 2026] Amazon Global: Top 10 Best-Selling Gaming Laptops – Acer’s Nitro V 16S AI Dominates Sales, While ASUS Leads Overall Revenue](https://laptopmedia.com/wp-content/uploads/2026/07/Best-Selling-Gaming-Laptops-GLOBAL-Top-10-400x225.jpg)
![[June 2026] Global Ranking of Best-Selling Laptop GPUs on Amazon – NVIDIA RTX 5060 is the Top-Selling Dedicated GPU](https://laptopmedia.com/wp-content/uploads/2026/07/Best-Selling-GPUs-GLOBAL-Top-10-400x225.jpg)
![[June 2026] Global Ranking of Best-Selling Laptop CPUs on Amazon – Apple M5 Dominates, AMD Ryzen 7 260 Gets Solid Premium Share](https://laptopmedia.com/wp-content/uploads/2026/07/Best-Selling-CPUs-GLOBAL-Top-10-400x225.jpg)